Troubleshooting: Skipped Stitches on High-Speed Lockstitch Machines
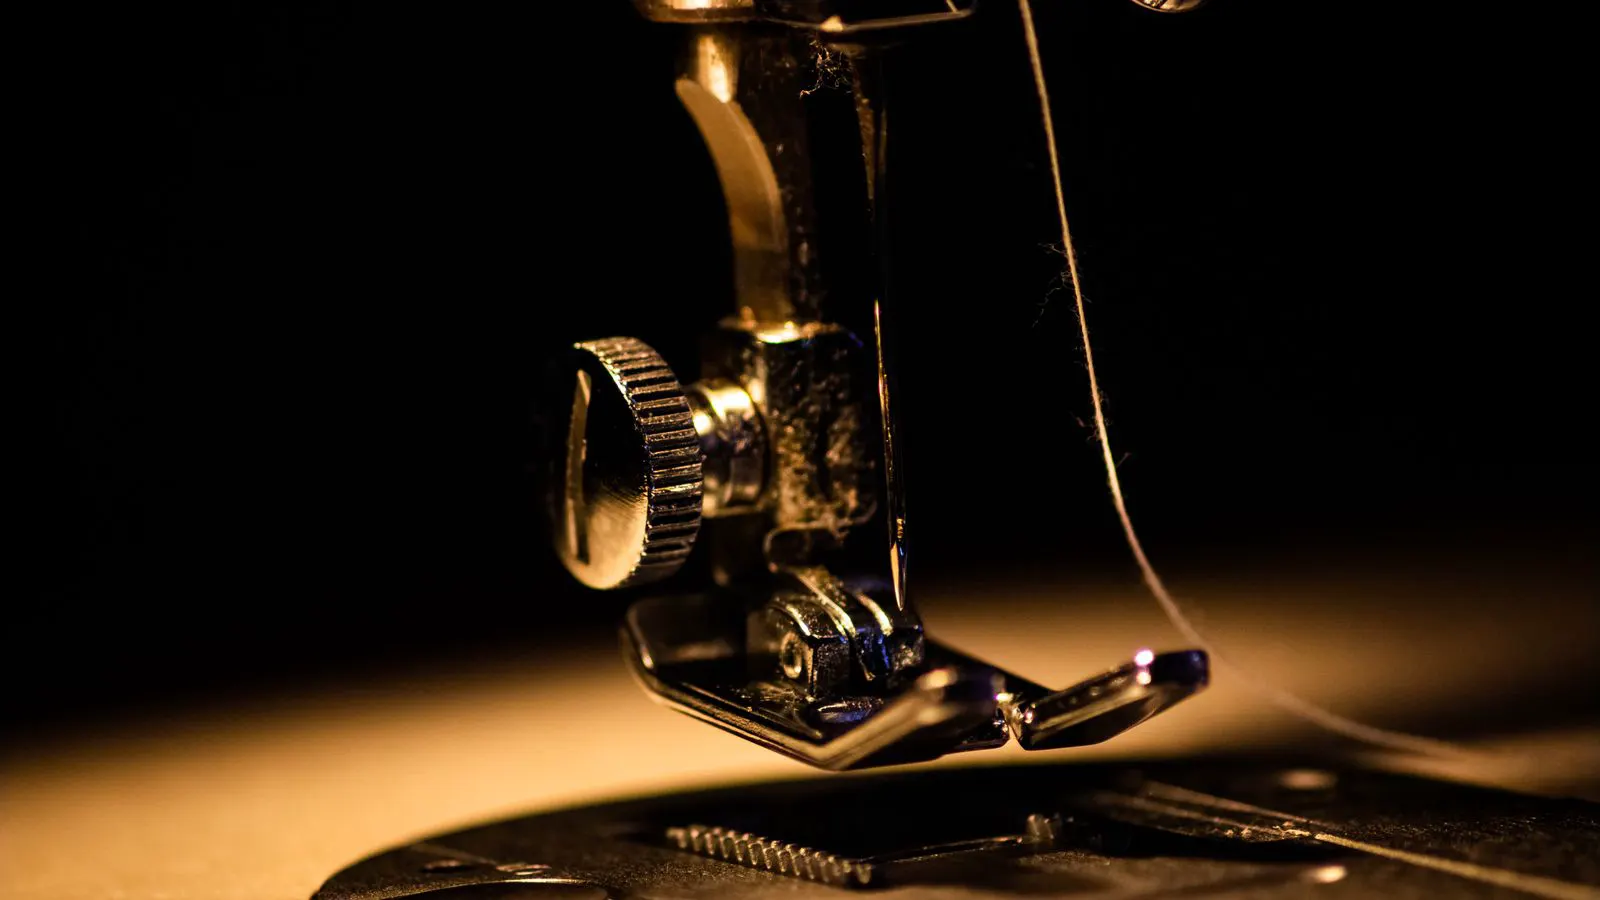
Skipped stitches on high-speed lockstitch machines usually stem from worn needles, incorrect thread path, timing drift, or presser foot issues. This guide lists common symptoms and fixes to help technicians restore clean stitch formation quickly on production floors.
- Check needle condition and thread path before assuming electrical or timing faults.
- Verify hook timing and presser foot pressure at production speed, not just at idle.
- Use the correct needle size and type for the fabric and thread weight.
- Keep a standard cleaning and inspection log for high-speed machines to catch wear early.
Why skipped stitches appear on high-speed lines
Skipped stitches are one of the most visible defects on a production floor. The thread does not form a proper lock inside the fabric, and the stitch loops visibly on the surface or under the fabric. On high-speed machines, this defect appears more often because the needle and hook must work in tighter synchronization.
A skipped stitch is not one single fault. It is a failure in the sequence of needle penetration, hook pickup, tension, and fabric support. Technicians should diagnose the machine in that order.
Symptom, cause, and repair table
The table below covers the most common patterns seen on industrial sewing machines and high-speed lockstitch machines. Use it as a first pass before moving to deeper mechanical checks.
| Symptom | Likely cause | What to do |
|---|---|---|
| Skips appear only at the start or end of a stitch | Needle bent or dull, needle too small for the fabric, or needle not fully seated in the needle bar | Replace the needle, verify needle type and size, and check needle clamp tightness |
| Skips appear at high speed only | Hook timing drift, worn hook race, or thread tension too light for speed | Check timing with a timing tool, inspect hook race for wear, and adjust top tension slightly higher |
| Skips appear on one side of the fabric | Presser foot pressure uneven, needle bent, or fabric not feeding evenly | Adjust presser foot pressure, replace needle, and check feed dog alignment |
| Skips appear after a long run | Needle heat damage, thread fraying, or lint buildup in the hook area | Replace needle, inspect thread for damage, and clean the hook area with compressed air and a soft brush |
| Skips appear after changing thread or needle | Incorrect thread path, needle type mismatch, or thread not seated in the tension discs | Re-thread the machine following the path diagram, verify needle type, and re-seat thread in the tension discs |
Needle and thread checks
Start with the needle. A needle that looks fine to the eye can still produce skipped stitches if the tip is rounded, the shaft is slightly bent, or the point is damaged from a hard thread end. Replace the needle on a regular schedule, not only when a defect is obvious.
The needle type matters as much as the size. A ballpoint needle is suitable for stretch knits because it separates fibers. A sharp point needle is better for woven fabrics. Using the wrong point can cause skipped stitches even if the needle appears new.
Thread condition is often overlooked. A thread with a rough surface, a weak twist, or a damaged end can fail to pass cleanly through the needle eye or into the hook. Inspect the thread at the tension discs, the take-up lever, and the needle. Look for snags, fuzzy areas, or weak sections.
If the machine skips after a thread change, re-thread the entire path. The thread must sit correctly in the tension discs. A loose thread in the discs can cause light tension, and light tension can lead to skipped stitches on high-speed machines.
Hook and timing checks
The hook is the second most common cause after the needle. On a lockstitch machine, the hook must pick up the lower loop at the right moment. If the timing is off, the hook misses the loop and the stitch skips.
Check timing with the machine at the normal stitch length and speed. The needle tip should clear the hook point by a small, consistent gap when the needle is at its lowest position. Do not rely on visual inspection alone. Use a timing gauge if available.
Inspect the hook race for wear. A worn race can change the hook position slightly and cause timing drift. Look for shiny marks, scoring, or material build-up. A worn hook race is a wear item, not a one-time fault.
The hook itself can also be damaged. A nicked hook point can tear thread instead of forming a loop. Replace the hook if the point is worn or damaged.
Presser foot and feed system
Presser foot pressure affects how the fabric holds against the feed dogs. Too little pressure lets the fabric move out of position during the stitch. Too much pressure can distort the fabric or make the needle work harder.
Check the presser foot for wear. A worn foot may not press the fabric evenly. Replace the foot if the surface is rounded or if it does not sit flat.
The feed dogs should move the fabric evenly. If one side of the fabric feeds faster than the other, the needle can enter the fabric at an angle that causes a skipped stitch. Check feed dog alignment and make sure the feed mechanism is clean.
Lint is a common cause of uneven feed. Remove lint from around the feed dogs and the hook area. Use a soft brush and compressed air. Avoid metal tools that can scratch the hook race or feed plate.
Tension and thread path verification
Top tension and hook tension must work together. If the top tension is too light, the thread loop may not be held firmly enough for the hook to pick it up. If the hook tension is too light, the loop can slip out before the lock forms.
Check tension in small steps. Adjust one setting at a time and test on a representative fabric sample. A tension setting that works on cotton may not work on a heavy denim or a stretch knit.
Verify the thread path on the machine. The thread must pass through the correct guides and the take-up lever. A thread that rides on the wrong guide can create friction and break or fray. A frayed thread is a fast route to skipped stitches.
For a new sewing line, verify the thread feed system before putting the machine into production. Check that each thread group is seated correctly and that the tension discs are clean.
Fabric and machine compatibility
Not every machine setup is suitable for every fabric. A high-speed lockstitch machine can skip stitches if the fabric is too thick for the needle and hook spacing, or if the fabric is too thin and the needle penetrates without enough support.
Use a needle that matches the fabric thickness. A heavier fabric usually needs a stronger needle and a slightly larger hole in the presser foot. A lighter fabric needs a finer needle and lighter presser foot pressure.
Test on a scrap of the same fabric before running production. Run the machine at the normal speed and inspect the stitch. If the stitch is clean on the scrap, the machine is ready. If it skips on the scrap, fix the machine before running the full production run.
Prevention tips for production floors
Prevention is cheaper than repeated repairs. Keep a simple maintenance log for each high-speed machine. Record needle changes, hook inspections, and tension checks. A log makes it easier to spot a pattern when skipped stitches start appearing.
Clean the machine regularly. Lint, dust, and thread fragments can build up in the hook area and the feed mechanism. A clean machine runs more consistently.
Use the right needle and thread for the job. Do not substitute a cheaper thread or a wrong needle type just because it is available. The wrong combination can cause defects that look like a machine fault.
Train operators to stop the machine when they see a skipped stitch. A small problem caught early is easier to fix than a pattern that has been running for hours.
Check presser foot pressure at the beginning of a shift. Pressure can shift over time due to vibration and wear. A quick adjustment prevents uneven fabric support.
Review the electrical load on the sewing line if skipped stitches appear after a power event. A voltage drop can affect motor speed and timing. A stable power supply helps the machine run at a consistent speed.
When to call for service
Some skipped stitch problems are beyond routine maintenance. If the hook timing is off after cleaning and inspection, or if the needle bar is bent, the machine may need professional service.
If the defect persists after needle replacement, re-threading, cleaning, and tension adjustment, stop running the machine on production fabric. Continuing to run it can damage the fabric and create a larger defect pile.
A service technician can check internal components that are not visible during routine maintenance. They can also verify that the machine is set up correctly for the specific fabric and thread combination.
Frequently asked questions
What is the most common cause of skipped stitches on an industrial sewing machine?
A worn or bent needle is the most common cause. Check the needle first, then move to thread path, hook timing, and presser foot pressure.
Can thread type cause skipped stitches on a high-speed lockstitch machine?
Yes. A thread with a rough surface, weak twist, or damaged end can fail to form a proper loop. Inspect the thread at the tension discs, take-up lever, and needle before adjusting other settings.
How do I check hook timing on a lockstitch machine?
Use a timing gauge with the needle at its lowest position. The needle tip should clear the hook point by a small, consistent gap. Do not rely on visual inspection alone.
Are skipped stitches always a needle problem?
No. Skipped stitches can also come from thread path, hook timing, presser foot pressure, lint buildup, or fabric compatibility. Work through the checks in order.
How often should I replace the needle on a production machine?
Replace the needle on a regular schedule and immediately after a defect pattern appears. A regular schedule depends on fabric, thread, and running hours, so set a plan for each machine type.