Cost Lead Time: Installing Automated Stitching Stations
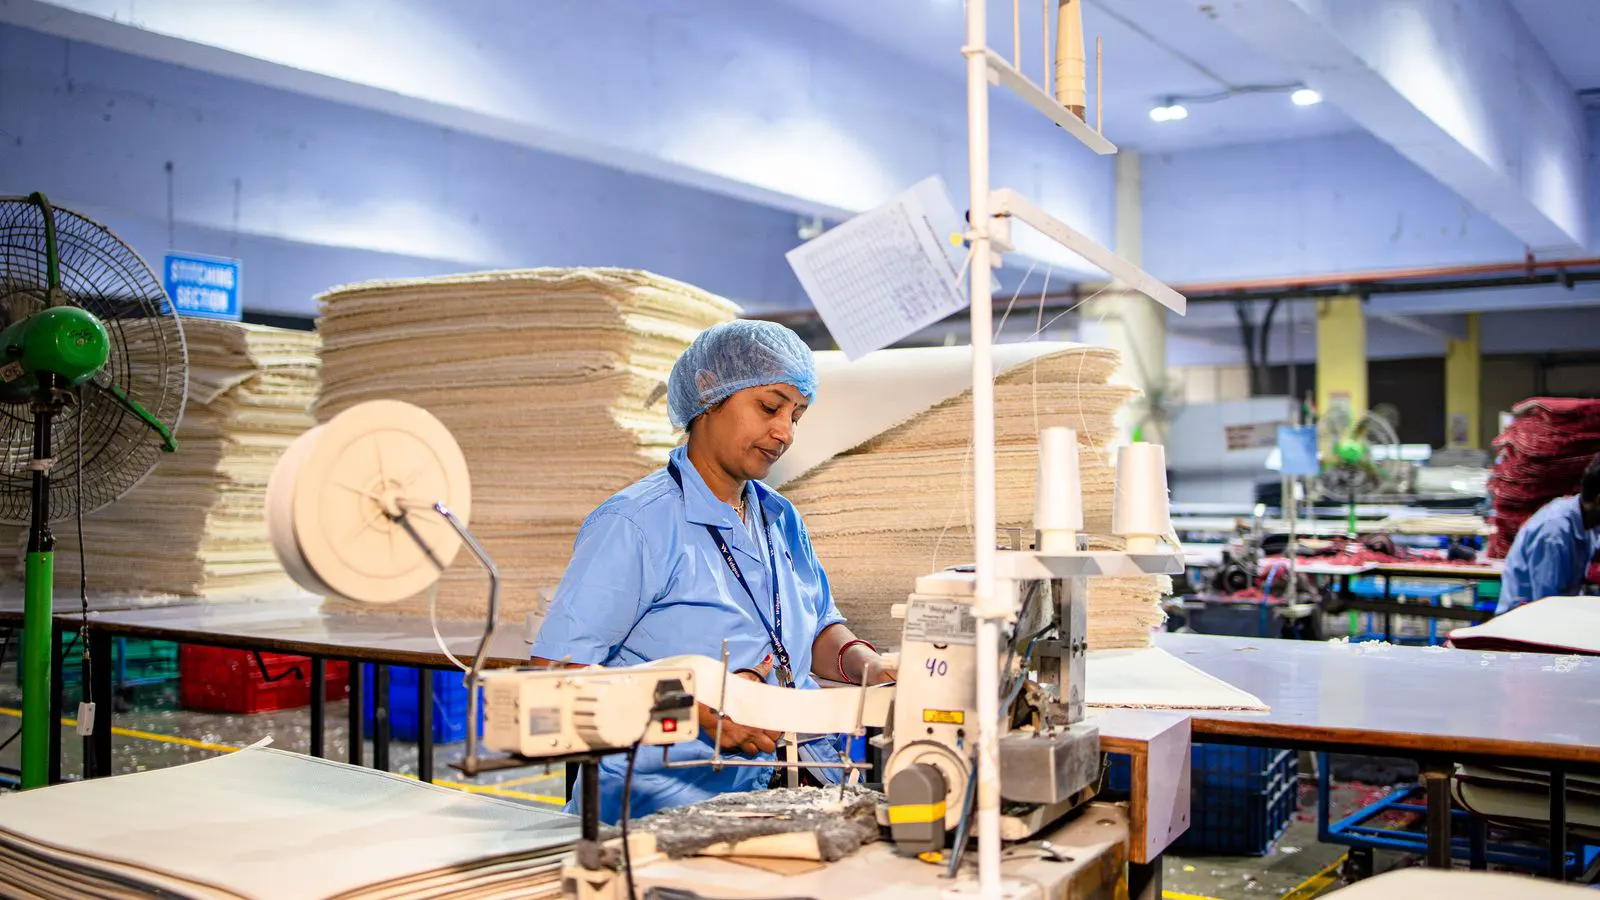
Implementing automated stitching stations requires a detailed sewing line setup plan covering machine cost, integration, and delivery. The total budget depends on the number of stations, automation level, and facility readiness. A clear RFQ helps you compare quotes fairly and manage the timeline from order to first production.
- The total cost of a sewing line setup includes machines, automation, utilities, and installation labor, not just the hardware.
- A detailed RFQ listing fabric types, stitch types, and volume targets prevents expensive quote corrections later.
- Lead time varies based on custom options, freight routes, and whether the facility needs electrical or floor modifications.
- Compare quotes by separating the machine price from the integration and installation costs to see the true difference.
- Plan for a short production ramp-up period after installation to train operators and stabilize thread feed systems.
What drives the total cost of a sewing line setup
The price of automated stitching stations is more than the sticker price on a machine. You must account for the industrial sewing machine, the automation hardware, the installation labor, and the facility changes required to support the line. A factory upgrading from manual stations to a semi-automated layout will see different cost drivers than one building a new facility from the ground up.
The machine itself is the largest single line item. High-speed lockstitch machines, overlock machines, and flatlock machines all have different base prices depending on their function and speed. Automation adds another layer. This includes sensor arrays, conveyor systems, and the software that coordinates the stations. The more complex the automation, the higher the integration cost.
Facility readiness also shifts the budget. If your floor space is already laid out for a sewing line setup, the electrical and air supply are likely in place. If not, you need to budget for new circuit panels, compressed air lines, and possibly floor reinforcement. These infrastructure costs are often underestimated in early planning.
How to structure a clear RFQ for better quotes
A vague request for a quote leads to a vague response. To get accurate numbers, you need to provide specific parameters in your request. Start by listing the garment types you will produce. A line for heavy denim requires different presser feet and motor loads than a line for stretch knit production.
Specify the stitch types required for each garment. Lockstitch for seams, overlock for finishing, and flatlock for hems are common, but not all stations will need all three. Include your target production volume. This helps the vendor size the automation correctly. If you only need a few stations, a full conveyor system may not be cost-effective.
List your facility constraints. Provide the dimensions of the available floor space. Note the voltage and power capacity of the existing electrical service. Mention the available compressed air pressure. These details allow the vendor to design the line to fit your room without requiring major renovations.
How lead time is determined and what delays to expect
Delivery time depends on three main factors: manufacturing, logistics, and installation. The manufacturing phase starts after the vendor confirms your specifications. Custom options, such as specific sensor placements or software integrations, extend this phase. Standard machines may be in stock, but custom configurations take longer.
Logistics add time based on your location. Domestic freight is faster than international shipping, which involves customs clearance and documentation. The routing of the shipment can add several weeks. You should ask for the date the equipment leaves the factory, not just the estimated arrival date.
Installation is the final phase. The team must unbox the machines, level the frames, connect the power and air, and test the thread feed systems. This process requires a trained team and access to the facility. If your floor needs electrical work, that work must be finished before the sewing line setup can begin.
How to compare quotes fairly
Vendors often present a single lump sum for the entire project. This makes it hard to see where the money is going. Ask for a breakdown. You want to see the cost of the machines, the cost of the automation, and the cost of the installation services listed separately.
Pay attention to what is excluded. Some quotes include the machines but not the freight. Others include installation but not the electrical work. If one quote is significantly lower, check if it excludes critical components like the software license or the training sessions.
Look at the warranty terms. A standard warranty covers defects in materials and workmanship. Ask if the warranty covers the automation sensors and the control software. Extended service plans can be a valuable part of the total cost of ownership.
A practical table of cost drivers
Use this table as a checklist when reviewing your quotes. It highlights the main areas where costs vary.
| Cost Driver | What to Look For |
|---|---|
| Machine Hardware | Number of units, type of stitch, speed rating, and brand options. |
| Automation Integration | Sensor types, conveyor length, software licenses, and control systems. |
| Facility Modifications | Electrical panels, compressed air lines, floor reinforcement, and lighting. |
| Logistics and Freight | Shipping method, customs duties, insurance, and delivery scheduling. |
| Installation Services | Labor hours, technician travel, and post-installation training sessions. |
How to manage the timeline from order to production
Once you select a vendor, the project enters a defined timeline. The first step is the design phase. The vendor will send you a layout plan for approval. Review this plan carefully. Check the spacing between stations for operator movement. Verify the placement of thread bobbins and waste collection bins.
The second step is the build and shipping phase. Keep the vendor updated on any changes to your facility. If your electrical work is delayed, the installation team may not be able to arrive on schedule. Maintain a weekly communication channel with the project manager to catch issues early.
The third step is the installation and commissioning phase. The team will install the sewing line setup and run tests. You will observe the machines in operation. Check the stitch quality on your actual fabric. If you see skipped stitches or thread breakage, address it before the team leaves. The final step is operator training. Your staff should be comfortable with the manual controls and the basic troubleshooting steps before they start full production.
Common mistakes to avoid in budgeting
One common error is underestimating the cost of thread management. Automated stations use more thread than manual ones. You need to budget for higher quality thread that can withstand the tension of the automation. Another mistake is ignoring the waste collection. Automated lines generate more fabric offcuts. You need a plan for how to remove this waste from the floor.
Do not skip the utility assessment. If your compressed air system is old, it may not handle the extra load from multiple stations. A pressure drop can cause the needles to skip stitches. Test your utilities before the installation team arrives.
Finally, avoid the mistake of rushing the training. If your operators are not comfortable with the new equipment, the first few days of production will be slow. Budget for extra time to stabilize the process. A well-trained team will catch issues before they become quality problems.
How to verify the quality of the setup
After installation, you need a verification process. Run a sample of your production garments through the line. Inspect the seams for evenness and strength. Check the hems for tightness. If the stitch length varies, adjust the machine settings. If the thread feed is inconsistent, check the thread guides.
Keep a log of any issues during the first week of operation. Note the machine number, the type of fault, and the time it occurred. This data helps you and the vendor identify patterns. If a specific machine has frequent thread breakage, it may need a recalibration. If the problem is with the fabric, you may need to adjust the presser foot pressure.
Regular maintenance is part of the sewing line setup. Clean the needle plates and remove lint from the undercarriage. Lubricate the moving parts according to the manufacturer schedule. A well-maintained line will produce fewer defects and last longer.
Numbered Steps for a Smooth Implementation
- Assess Your Facility: Measure the floor space and check the electrical and air supply.
- Define Your Needs: List the garment types, stitch types, and production volume.
- Write a Detailed RFQ: Include all specifications and constraints in your request.
- Review Quotes Carefully: Break down the costs and check for excluded items.
- Plan the Timeline: Schedule the facility work before the installation team arrives.
- Train Your Team: Ensure operators understand the controls and maintenance tasks.
- Verify the Output: Run production samples and check the quality of the seams.
Implementing automated stitching stations is a significant project, but a clear sewing line setup plan makes it manageable. By defining your needs, structuring a detailed RFQ, and managing the timeline, you can control the budget and avoid delays. Focus on the details. The quality of your setup will determine the long-term success of your garment production equipment.
Frequently asked questions
How long does a typical sewing line setup take?
The timeline depends on the complexity of the automation and the condition of your facility. For a standard setup in a prepared room, the process can take several months from order to first production.
What is the biggest cost factor in an automated stitching station?
The industrial sewing machine is usually the largest cost. However, the automation integration and facility modifications can add a significant portion to the total budget.
Do I need to hire an electrician for the installation?
Yes, you generally need a licensed electrician to handle the power connections. The sewing line setup requires dedicated circuits for the machines and the control system.
Can I install the machines in an existing facility?
Yes, but you must check the floor load capacity and the utility capacity. If the existing infrastructure is not sufficient, you will need to budget for upgrades.
How do I know if the quote is complete?
Ask for a breakdown of costs. Ensure that the machines, automation, freight, installation, and training are all listed. Check if there are any hidden fees for software or maintenance.