Explainer: How Presser Foot Pressure Affects Seam Strength
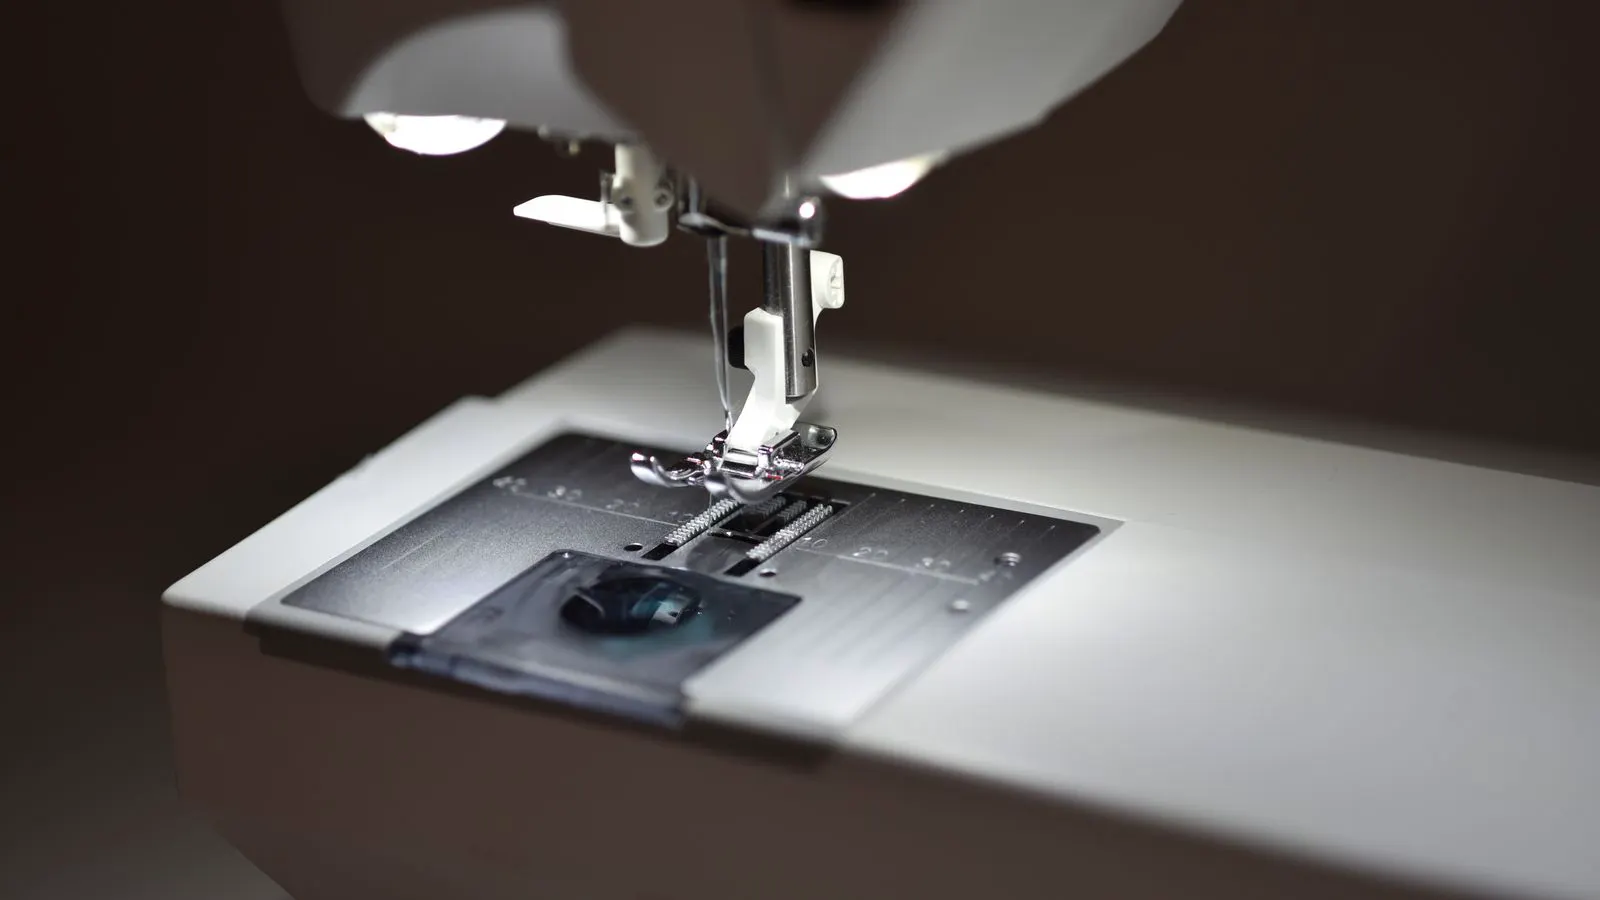
Presser foot pressure determines how firmly the needle penetrates the fabric stack. Correct pressure creates balanced stitches with even tension and strong seam integrity. Incorrect settings cause skipped stitches or pulled seams, requiring rework and increasing costs.
- Presser foot pressure controls the compression of the fabric stack during stitching.
- Too much pressure distorts the material and risks needle breakage.
- Too little pressure prevents clean penetration and creates weak seams.
- Matching pressure to fabric weight is a core part of sewing machine selection.
- Regular checks are needed as fabrics and needle types change.
What presser foot pressure actually does
Presser foot pressure is the downward force applied to the fabric by the presser foot. It is not the same as stitch length or thread tension. These three settings work together to create a stitch. The presser foot holds the material in place as the needle moves up and down.
When the needle penetrates the fabric, the presser foot holds the layers together. This keeps the upper and lower fabric aligned. The needle passes through the material and the hook picks up the loop. The result is a locked stitch.
If the pressure is set incorrectly, the alignment fails. The fabric can shift as the needle moves. This causes skipped stitches, pulled threads, or uneven seam appearance. For a garment assembly line, these small mechanical errors accumulate quickly.
How pressure changes seam strength
Seam strength depends on three factors. The thread tension must be balanced. The needle must penetrate the fabric cleanly. The fabric layers must stay aligned during the stitch.
Presser foot pressure affects all three. High pressure squeezes the fabric stack tightly. This can pull the top layer closer to the needle plate. The fabric distorts. Stretch materials compress and then spring back. This creates a rippled appearance. The stitch may look tight but the fabric is under stress.
Low pressure leaves the fabric loose. The needle may not push through all layers cleanly. The hook may not pick up the loop at the correct position. The stitch appears loose on the underside. The seam holds together but lacks durability.
A balanced presser foot pressure keeps the fabric flat and stable. The needle enters the material cleanly. The thread loops form at the correct size. The seam is strong and flat.
Why this matters for industrial sewing machine selection
When sourcing an industrial sewing machine, the presser foot pressure range is a specification to check. Different machines offer different adjustment ranges. Some machines use a dial. Others use a digital interface. Some use a lever.
The range matters for the fabric types the machine will handle. A machine for light knits needs a lower minimum pressure. A machine for heavy denim needs a higher maximum pressure. A general purpose machine sits in the middle.
If the machine range does not cover the production needs, the operator must work around the limitation. This reduces speed. It increases defects. It raises labor costs.
When evaluating sewing machine selection options, ask about the pressure adjustment range. Ask how the adjustment is made. Ask if the setting is stored in memory. A machine that remembers settings reduces setup time. A machine with a narrow range may not be suitable for mixed production.
Worked example: switching fabric types
An operator sets a machine for a medium weight cotton shirt fabric. The pressure is set to the middle of the dial range. The stitches are clean. The seam strength is good.
The same operator then switches to a heavy corduroy fabric. The corduroy has a raised rib structure. It is thick and stiff. The medium pressure does not hold the fabric flat. The needle pushes through the top layer but the bottom layer shifts. The hook misses the loop. Skipped stitches appear.
The operator increases the pressure. The fabric is now held flat. The needle penetrates cleanly. The stitches lock properly. The seam is strong.
If the operator had set the pressure too high for the corduroy, the rib structure would compress. The fabric would ripple. The seam would look uneven. The operator would need to adjust the pressure back down to find the balance point.
This example shows why pressure is not a one time setting. It changes with every fabric type.
Common mistakes that weaken seams
The most common mistake is not adjusting pressure when changing fabrics. Operators often rely on the last setting. They move from one material to another without checking the foot. This works for similar fabrics. It fails for different materials.
Another mistake is ignoring needle type. A sharp needle for knit fabric is different from a ballpoint needle. A heavy needle for denim is different from a fine needle for silk. The needle diameter changes the hole size in the fabric. The presser foot must hold the fabric around the needle. If the pressure is too low for the needle size, the fabric shifts. If the pressure is too high, the fabric tears.
A third mistake is wearing out the presser foot. The foot surface wears over time. The metal surface becomes uneven. The fabric does not sit flat. The pressure appears correct but the mechanical action fails. Replacing the foot restores proper function.
How to check pressure on the line
Check presser foot pressure before starting a production run. Place a sample fabric under the foot. Run a few stitches. Look at the top and bottom of the seam. The stitch should be even. The thread should not be pulled tight on either side. The fabric should be flat.
If the top stitch looks tight and the bottom stitch looks loose, the upper tension is too high or the pressure is too low. If the bottom stitch looks tight and the top stitch looks loose, the lower tension is too high or the pressure is too high.
Check the fabric surface. Look for ripples or pulls. Look for skipped stitches. If you see defects, adjust the pressure in small increments. Run more stitches. Check the result.
This process takes minutes. It prevents hours of rework. It keeps the line running at speed.
Setting pressure for heavy materials
Heavy materials like denim and leather require a different approach. The fabric stack is thick. The needle must push through multiple layers. The pressure must be high enough to hold the layers together.
The presser foot must be wide enough to cover the fabric width. A narrow foot concentrates pressure on a small area. This distorts the fabric. A wide foot spreads the pressure. The fabric stays flat.
The needle must be heavy enough to penetrate the material. A fine needle bends on denim. It may break. The operator must use the correct needle size. The pressure must match the needle size and the fabric weight.
When sourcing industrial sewing machines for heavy denim fabric, check the maximum pressure rating. Check the presser foot width options. Check the needle plate design. A heavy duty needle plate with a larger hole reduces friction. It helps the needle penetrate the material.
Presser foot pressure and production speed
Speed and pressure are linked. At low speed, the operator can adjust pressure by feel. At high speed, the machine must be set correctly from the start.
If the pressure is wrong at high speed, the defects appear quickly. The operator may not notice until a large batch is finished. This creates a large amount of rework.
At low speed, the operator can stop the machine. Adjust the pressure. Run a few stitches. Check the result. This is a normal part of setup.
At high speed, the setup must be precise. The operator must set the pressure based on the fabric type and the needle type. The machine must be tuned before the first piece is stitched.
This is why sewing machine selection matters for high speed operations. A machine with precise pressure control and quick adjustment options is better for high speed lines. A machine with slow adjustment is better for low speed or mixed production.
Final checks before starting a run
Before starting a production run on an industrial sewing machine, perform these checks. Check the presser foot pressure setting. Check the needle size and type. Check the thread tension. Check the stitch length.
Place a sample fabric under the foot. Run a few stitches. Inspect the seam. Check the top and bottom. Check the fabric surface. Look for ripples, pulls, or skipped stitches.
If the seam looks good, start production. If it does not, adjust the settings. Recheck. Do not start production with a bad setup. The cost of fixing a bad setup before the run is small. The cost of fixing a bad run after it is finished is large.
Presser foot pressure is a small setting. It has a large effect. It affects seam strength. It affects appearance. It affects production speed. It affects labor costs. Getting it right is a basic skill for every operator. It is a core part of every sewing machine selection.
Frequently asked questions
How do I know if my presser foot pressure is too high?
Look for ripples in the fabric or a torn appearance around the needle. The fabric may look distorted and the seam may appear uneven. The needle may also break more often.
How do I know if my presser foot pressure is too low?
Look for skipped stitches or loose loops on the underside of the seam. The fabric may shift as the needle moves. The stitch may look loose and the seam may feel weak.
Does presser foot pressure change with fabric weight?
Yes. Heavy fabrics need more pressure to hold the layers together. Light fabrics need less pressure to avoid distortion. The pressure must be adjusted for each fabric type.
Can I use the same pressure setting for all fabrics?
No. Different fabrics have different weights and structures. A pressure setting that works for a light knit will not work for a heavy denim. The pressure must be matched to the material.
How often should I check presser foot pressure?
Check it before every production run. Check it after changing fabrics. Check it after changing needles. Check it after any maintenance work on the machine.