How-To: Balancing Sewing Machines for Even Workload
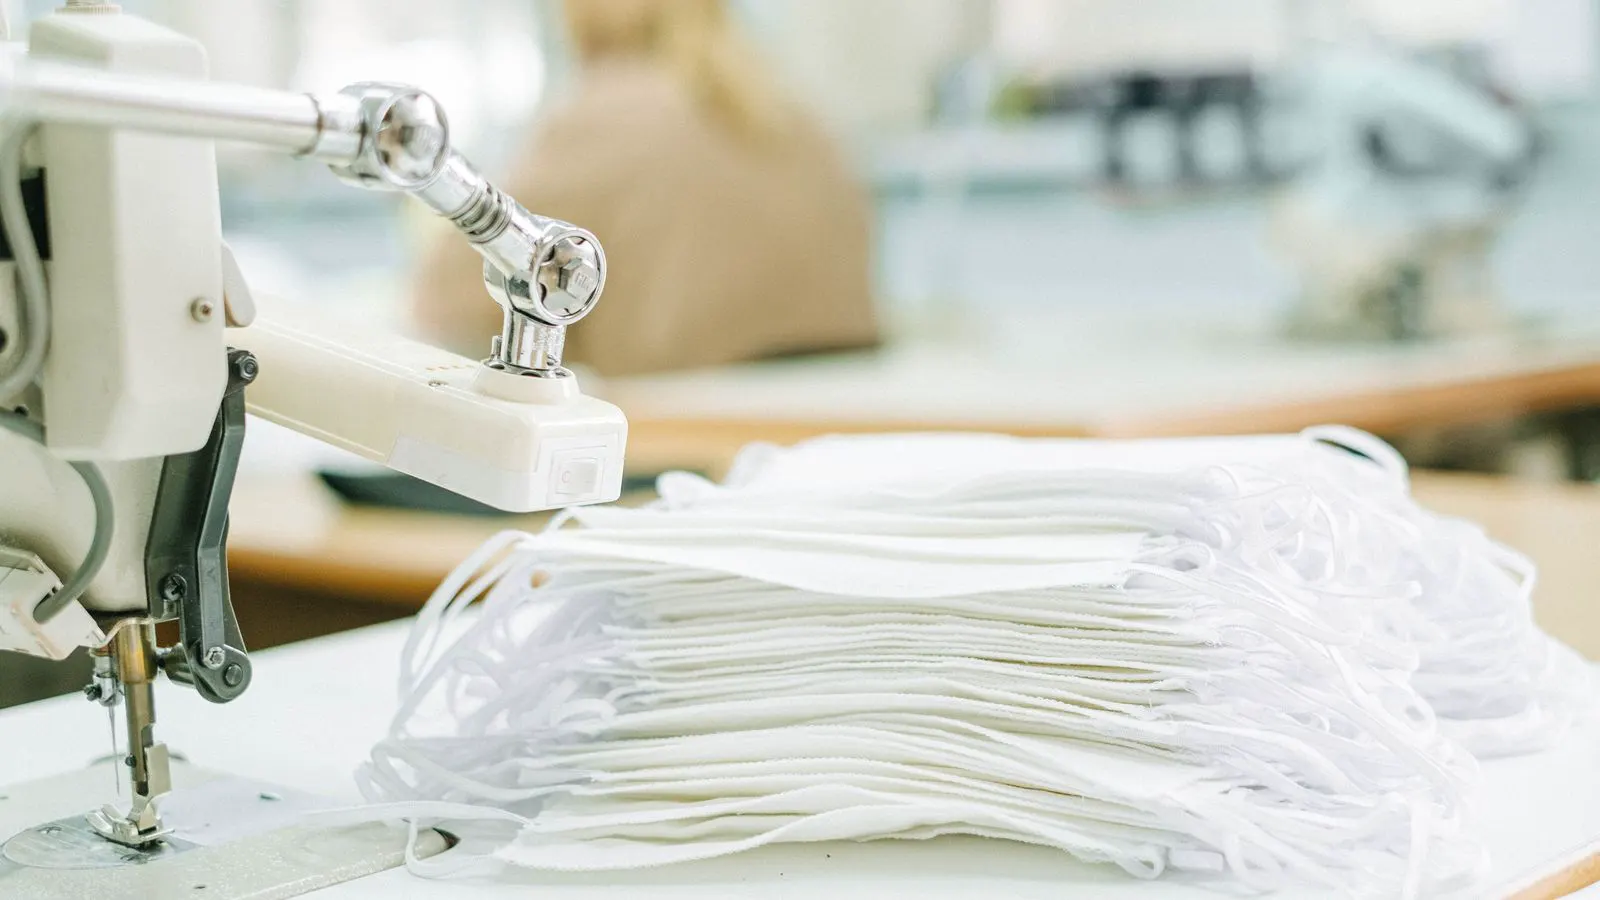
Sewing machine balancing means distributing garment tasks across machines based on operation time and complexity. A well balanced line setup keeps operators at steady pace, reduces wait times, and prevents bottlenecks at the end of the line.
- Calculate standard time for each stitching operation to find the longest task.
- Match machine speed and operator skill to the time required for specific garment zones.
- Rotate operators through different stations when skill levels differ across the line.
- Track completion counts and downtime to catch imbalances before they affect output.
Why uneven workloads hurt a production floor
A sewing machine is only as fast as the task assigned to it. If one operator spends four minutes on a complex collar finish while the next operator finishes a straight hem in two minutes, the line stalls. The second operator waits. The machine sits idle. The bottleneck forms.
Balancing a sewing machine setup requires measuring the actual time of each operation. It is not guesswork. It is arithmetic applied to physical work. When the total time for a garment is spread evenly across machines, the line moves as one unit.
This guide covers how to measure, assign, and verify tasks on a production line.
What you need before starting
Gather the following items and information before you begin the balancing process.
- Standard time sheets. These list every operation on the garment and the seconds required for each. If your plant does not use time sheets, create a simple list of operations with estimated seconds.
- Operator skill records. Note the speed and accuracy of each operator. A skilled operator may finish a complex seam faster than a trainee.
- Machine capability data. Know which machines handle heavy fabric, which are suited for delicate trims, and which have higher stitch per minute capacity.
- Garment specification sheets. These define stitch types, thread colors, and quality requirements for each zone.
Without these inputs, any balancing attempt is an approximation. You need data that reflects reality, not theory.
Step 1: List every operation on the garment
Break the garment into distinct stitching tasks. A pair of trousers, for example, may require stitching the side seams, hemming the legs, attaching a button fly, and finishing the waistband.
Write each task on a separate line. Include the location on the garment and the stitch type. For instance:
- Side seam, straight stitch, double needle
- Hem, zigzag, single needle
- Button fly, chain stitch
This list becomes your baseline. If the garment has multiple variants, such as a long sleeve and a short sleeve version, create separate lists. Do not combine operations that require different thread colors or different needle types.
Step 2: Measure time for each operation
Use a stopwatch to record the time for each task. Have an operator perform the task repeatedly. Record the average of three or five runs.
Do not include time for moving fabric from one station to the next. Measure only the stitching time and the immediate setup for that specific operation. If an operator must change thread color, count that setup time in the operation where the change occurs.
Record the data in a table. A simple format works well:
| Operation | Location | Stitch Type | Avg Time (Sec) |
|---|---|---|---|
| Side seam | Body | Straight, 2-needle | 95 |
| Hem | Leg | Zigzag | 60 |
| Button fly | Front | Chain | 120 |
| Waistband finish | Top | Straight | 80 |
This table is the core of your balancing calculation.
Step 3: Identify the critical operation
Find the operation with the longest average time. In the table above, the button fly at 120 seconds is the longest. This is often called the critical operation.
The critical operation sets the theoretical cycle time for the line. No machine on the line can move faster than this task without creating a queue of work. If you assign this task to a slow machine or an inexperienced operator, the entire line slows down.
Mark this operation clearly. It will receive special attention during assignment.
Step 4: Assign operations to machines
Now distribute the operations across the available machines. The goal is to make the total time per machine as close to the critical operation time as possible.
In the example above, the critical time is 120 seconds. You have four operations: 95, 60, 120, and 80 seconds.
Assign the button fly to Machine A. That machine now has 120 seconds of work.
Assign the side seam (95 seconds) to Machine B. That machine has 95 seconds. It is close to 120, but it has 25 seconds of slack.
Assign the hem (60 seconds) and waistband finish (80 seconds) to Machine C. Total is 140 seconds. This is over the target.
You have an imbalance. Machine C is overloaded. Machine B is underloaded.
Adjust the assignment. Move the hem (60 seconds) to Machine B. Machine B now has 95 + 60 = 155 seconds. This is worse.
Move the waistband finish (80 seconds) to Machine B. Machine B now has 95 + 80 = 175 seconds. This is much worse.
Look at the numbers again. The side seam (95) and hem (60) sum to 155. The waistband (80) alone is 80.
Try assigning the hem (60) and waistband (80) to Machine C. Total 140. Still high.
The problem is that you only have three machines for four operations. You need four machines to balance this effectively, or you must combine operations that can be done on one machine.
If you can combine the hem and waistband on one machine, the total is 140 seconds. The side seam is 95 seconds. The button fly is 120 seconds.
Machine A: Button fly (120).
Machine B: Side seam (95).
Machine C: Hem and waistband (140).
The balance is still uneven. 120, 95, 140. The difference between the longest and shortest is 45 seconds.
To improve this, you need to split the button fly task or find a faster way to do it. If the button fly can be done in two steps, assign one step to Machine A and the other to Machine B.
This is where practical judgment comes in. Sometimes you cannot split a task. In that case, you accept a small imbalance. The goal is to minimize the gap between the busiest and the least busy machine.
Step 5: Match operator skill to task complexity
A skilled operator can work faster on complex tasks. Assign the critical operation, the button fly, to your most experienced operator.
Assign simpler tasks, like the hem, to trainees or less experienced operators. They can handle straight, repetitive work efficiently.
If you assign a complex task to a novice, the time will increase. If you assign a simple task to a master, they may finish too quickly and wait, which is also inefficient.
Skill matching is a form of balancing. It is not just about the machine speed. It is about the human factor.
Step 6: Account for machine differences
Not all sewing machines are identical. Some have higher stitch per minute ratings. Some have better feed mechanisms for thick fabric. Some have automatic thread cutters that save seconds.
Check the capability of each machine. If Machine B has a high-speed motor, it may complete the side seam faster than the standard time suggests.
If Machine C has a manual thread cutter, add five seconds to every operation that requires a cut.
Adjust your time table based on the specific machines you are using. A balanced line setup depends on knowing what each machine can actually do.
Step 7: Run a pilot cycle
Before starting full production, run the garment through the line once. Time each operation. Compare the actual times to your calculated times.
You will find discrepancies. This is normal. Operators learn. Machines heat up. Thread tension settles.
Note where the actual time is higher or lower than expected. Adjust your assignment if necessary.
If the button fly takes 130 seconds instead of 120, your target cycle time is now 130. Recalculate the assignments.
Common mistakes in line setup
- Ignoring setup time. Changing thread color or needle size takes time. If you do not count it, your balance is wrong.
- Assigning by habit, not data. “Operator X has always done the hem.” This may be fine, but it may also be an imbalance. Check the numbers.
- Forgetting material variation. Thick fabric stitches slower than thin fabric. If your garment uses heavy denim, your times will differ from standard light cotton times.
- Not rotating operators. If one operator always does the same task, they may burn out or become bored. Rotation can maintain quality.
- Ignoring wait time. If one machine is always idle, that is a sign of imbalance. Idle time is lost production time.
How to verify your balance
After running the pilot cycle, check the completion counts at the end of the hour.
Count how many garments finished at each station. The number should be very close across all stations.
If Station A finished 50 garments and Station B finished 45, Station B is the bottleneck. The line is limited by Station B.
Check for queues. If fabric is piling up in front of a machine, that machine is slower than the line speed. If a machine is empty, the previous station is too fast.
Record the data. Review it daily. Balancing is not a one-time task. It is an ongoing adjustment.
Final verification step
At the end of the first production day, compare your planned output to your actual output.
Calculate the efficiency. If you planned for 200 garments and produced 190, you have a 5% gap.
Investigate the gap. Was it thread breakage? Was it a machine jam? Was it an imbalance that you did not catch?
Adjust your time table. Reassign tasks if needed.
A balanced sewing machine line is a living system. It changes with new garments, new operators, and new machines. Keep the data current. Keep the assignments flexible. The line will run smoothly.
Frequently asked questions
How often should I rebalance a production line?
Rebalance when you introduce a new garment style or when you change a significant number of operators. If you run the same style for months, a quarterly review is usually enough.
Can I use the same balance for different fabric weights?
No. Heavy fabric slows stitching speed and increases thread tension issues. You need separate time measurements for each fabric weight and type.
What if I have fewer machines than operations?
You must combine operations on the same machine. Choose operations that use the same stitch type and thread color to minimize setup time.
How do I handle a machine that breaks down frequently?
Exclude that machine from your balance calculation until it is repaired. Do not assign critical tasks to unreliable equipment.
Is sewing machine balancing a one-time task?
No. It is an ongoing process. Operator skills change, machines wear out, and new garment designs arrive. Review your balance regularly.