How-To: Balancing Presser Feet for Heavy Denim Fabric
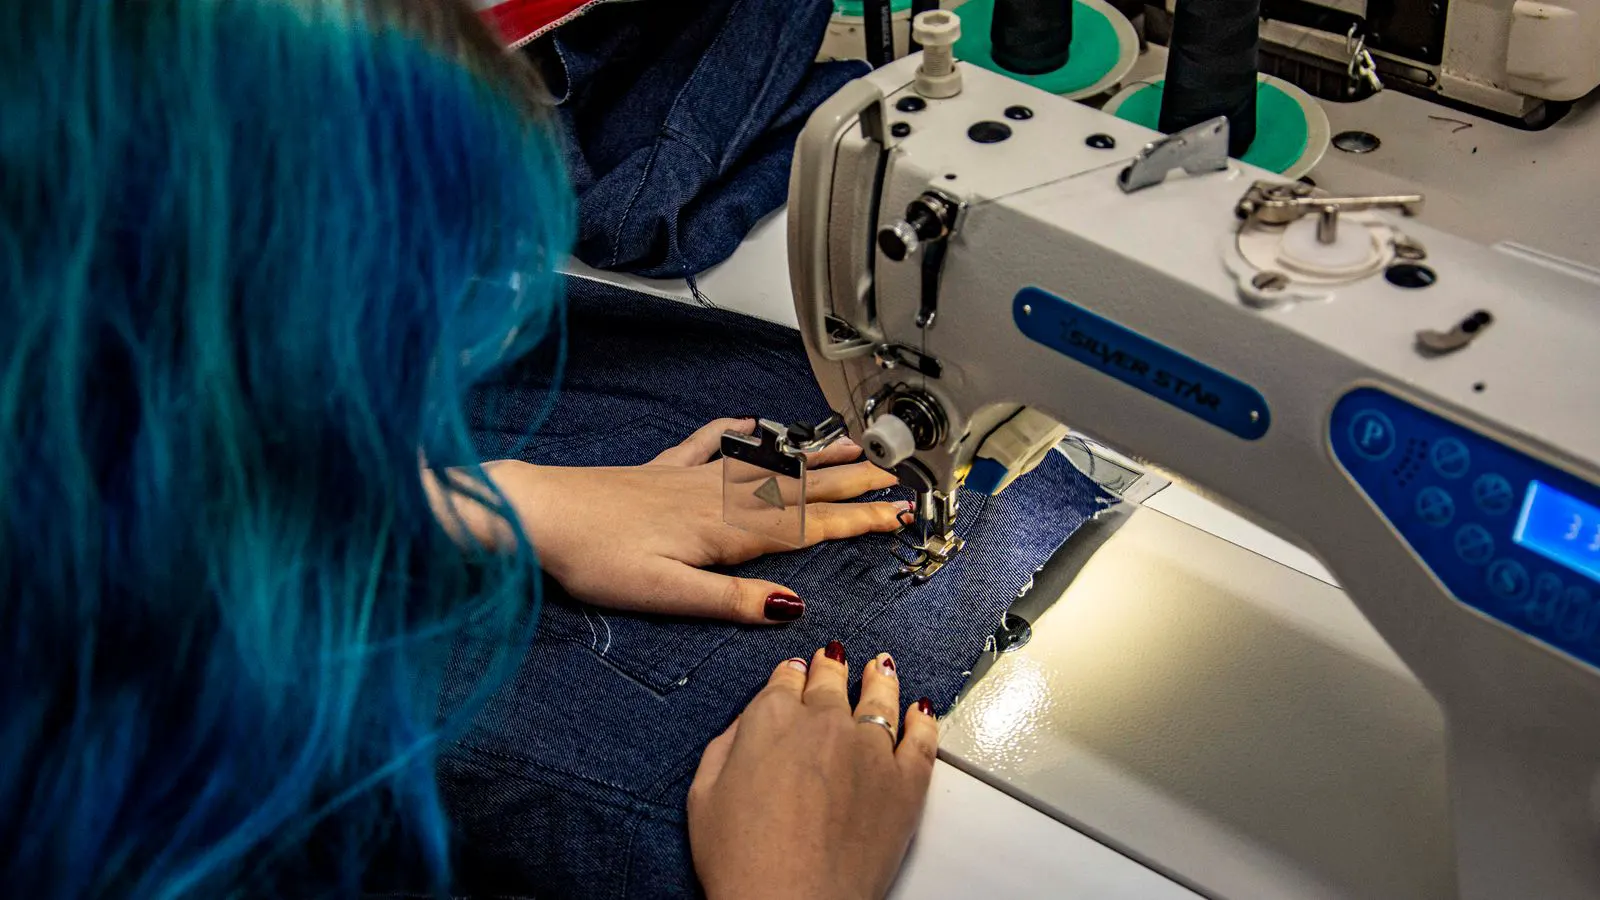
Balancing presser feet for heavy denim requires adjusting pressure, aligning the foot, and verifying needle clearance. Proper industrial sewing machine setup prevents skipped stitches, needle breakage, and uneven seam tension on thick materials.
- Set presser foot pressure based on fabric weight, not default factory settings.
- Check needle clearance and bobbin case height before adjusting the foot.
- Verify stitch quality on multiple seam types before starting production.
- Log pressure settings to maintain consistency across shifts and machines.
- Replace worn feet or damaged clamps that cause uneven pressure distribution.
Why Presser Foot Pressure Matters for Denim
Denim resists feed. The fabric grips the needle, the presser foot, and the feed dogs simultaneously. If the foot pushes too hard, the needle drags, the thread puckers, and the stitch loop sits unevenly. If the pressure is too light, the top layer moves ahead of the bottom, creating skipped stitches and loose seams.
Production teams often discover these problems after a run has already started. The cost of stopping, reworking, and re-threading is higher than spending ten minutes on setup. Balancing presser feet is a core part of industrial sewing machine setup, especially when moving between medium-weight cotton and heavy denim.
This guide walks through the practical adjustments needed for thick materials. It assumes you have access to the machine, a standard presser foot, and a representative denim sample.
Prerequisites
Before touching the pressure control, confirm the machine is ready for heavy fabric.
- The machine is level and the table is stable.
- The needle is new, sharp, and correctly seated in the holder.
- The presser foot is clean and free of lint or wax residue.
- The bobbin case is properly seated and the bobbin thread is wound evenly.
- You have a denim sample that matches the production weight and finish.
- The machine is unplugged while you adjust mechanical parts.
If the needle is dull or the bobbin is not seated, pressure adjustments will only mask the root cause. The goal is to let the fabric feed freely while keeping the layers together.
Step 1: Start at the Factory Default
Locate the presser foot pressure control. On most industrial machines, this is a knob or a screw near the needle bar. Turn it to the position marked as the default or medium setting.
Reason: The factory default is a safe starting point. It prevents over-tightening on the first pass and gives you a baseline to measure against.
Do not jump to maximum pressure. Denim needs firm contact, but excessive force creates drag. A medium start keeps the needle bar and feed mechanism within their intended working range.
Step 2: Verify Needle Clearance
Lower the needle to its lowest position. Measure the gap between the needle tip and the presser foot plate. The needle should not touch the plate at full extension.
Reason: If the needle strikes the plate, the thread loop cannot form correctly. You will see skipped stitches, broken needles, and frayed thread on the underside of the seam.
On heavy fabric, you sometimes need a slightly lower needle position to reach the bottom layer. Adjust only if the machine manual supports it. Never force the needle bar.
Step 3: Set the Bobbin Case Height
Check the bobbin case tension and height. The thread should release smoothly when you pull it lightly. The case should sit level in the hook area.
Reason: Presser foot pressure works in combination with the bobbin tension. If the bobbin case is misaligned, increasing the foot pressure will not fix the loop formation. It will only push more fabric into an already unbalanced system.
A common mistake is adjusting only the top pressure while the bobbin side is out of spec. Both sides must be correct before the stitch looks even.
Step 4: Adjust Pressure for the Denim Sample
Thread the machine and stitch a straight line on your denim sample. Use a stitch length that matches your production setting. Watch the top and bottom of the seam.
If the top thread pulls up, the fabric may be moving too freely. Increase the presser foot pressure in small increments. If the bottom thread pulls up, the fabric is being compressed too much. Decrease the pressure.
Reason: Small adjustments prevent over-correction. Each turn of the knob changes the force enough to alter the feed. You are looking for the point where both threads sit flat in the center of the seam.
Denim often requires more pressure than cotton twill. The exact position depends on the machine and the fabric weight. Do not rely on a single number. Rely on the stitch result.
Step 5: Test Multiple Seam Types
Stitch a straight seam, a backstitch, and a seam with a slight curve. Denim behaves differently at direction changes. The foot must maintain consistent pressure as the fabric bends.
Reason: A foot that works on a straight run may fail on a curved seam or a backstitch. The pressure must be high enough to hold the layers at the start and stop of the stitch, but low enough to allow normal movement during the run.
If the seam puckers only at the backstitch, the foot may be too heavy. If it skips only on curves, the pressure may be too light. Adjust until the stitch stays even across all three tests.
Step 6: Check Feed Dog Engagement
With the foot down, observe the feed dogs as they move. They should grip the fabric evenly without digging in. The fabric should advance smoothly, not jerk or stall.
Reason: Denim is thick. The feed dogs need enough grip to move it, but too much grip creates tension. If the feet are too heavy, they compress the fabric against the dogs, causing the needle to drag and the thread to break.
If the feed dogs are not visible or the fabric is not moving evenly, stop and check the machine alignment. Pressure adjustment cannot fix a mechanical feed problem.
Step 7: Run a Short Production Sample
Sew a small panel using the actual seam type you will produce. Check the top and bottom of the seam. Run your fingers across the stitch. It should feel flat and even.
Reason: A straight line on a sample does not always match a production seam. The actual construction involves multiple layers, interfacing, or finishing steps that change how the fabric feeds.
If the stitch looks good on a single sample but fails on a small panel, the pressure is not yet balanced. Return to step 4 and make another small adjustment.
Step 8: Record the Setting
Mark the pressure knob or write the setting on a small label on the machine. Note the fabric type, needle size, and stitch length used.
Reason: Consistency matters in a production environment. The next shift operator should not have to guess the correct pressure. A clear reference prevents over-adjustment and keeps quality stable.
If you use multiple machines on the same line, record each one. Small differences in machine age and wear can shift the ideal pressure setting.
Common Mistakes
| Mistake | Symptom | Fix |
|---|---|---|
| Setting pressure too high | Puckered top, broken needles | Reduce pressure in small steps |
| Setting pressure too low | Skipped stitches, loose bottom thread | Increase pressure gradually |
| Ignoring needle condition | Uneven stitch, thread fraying | Replace the needle |
| Not checking bobbin case | Top thread pulls up | Re-adjust bobbin tension |
| Testing only on straight seams | Curved seams fail | Test curves and backstitches |
A frequent error is blaming the fabric when the foot is worn. A dented or worn foot does not sit flat on the plate. The pressure becomes uneven, and one side of the seam feeds differently from the other. Inspect the foot before assuming the fabric is the problem.
Another mistake is adjusting while the machine is hot. Heat can slightly change the fit of the pressure mechanism. Let the machine cool for a few minutes before making final adjustments.
Final Verification
Before starting a full run, perform a final check. Sew a straight line, a curved line, and a backstitch. Inspect the seam on both sides. Run your fingers over the stitch. It should feel flat, with no raised loops or puckers.
Check the needle tip for nicks. Replace it if you see any damage. Confirm the presser foot is clean and seated evenly on the shank.
If the stitch holds up on the verification sample, start the run. Monitor the first few inches of production. If the fabric starts to drag or the thread begins to pull, stop and re-check the pressure.
Balancing presser feet for heavy denim is a routine part of industrial sewing machine setup. It does not require special tools, but it does require attention to detail. The goal is not maximum pressure. The goal is consistent, even feed. When the foot, needle, and bobbin work together, the denim moves smoothly and the seam stays clean.
Related Setup Checks
Presser foot pressure is one part of a larger setup. If the thread feed system is out of spec, the stitch will not stay even no matter how well you balance the foot. A stitch length that is too short for the fabric weight can also create tension problems. When you see persistent issues, walk through the full setup before blaming a single adjustment.
Frequently asked questions
What is the best presser foot pressure for heavy denim?
There is no single number. The correct pressure is the setting that produces an even stitch on your specific machine and fabric. Start at the factory default and adjust in small steps until the top and bottom threads sit flat.
Can I use the same pressure for denim and cotton?
No. Denim is thicker and resists feed more than cotton. It usually requires higher pressure. Always test on the fabric you are actually producing.
What if the needle breaks even at low pressure?
Check the needle type, size, and condition. A dull or bent needle will break regardless of pressure. Also verify that the needle is not too close to the presser foot plate.
How do I know if the bobbin case is out of adjustment?
Pull the bobbin thread gently. It should release smoothly without much resistance. If the top thread pulls up consistently, the bobbin tension or case height may need adjustment.
Should I change the presser foot for denim?
A standard straight foot works for most denim seams. For very thick seams or specific stitch types, a heavier or wider foot can help, but pressure adjustment is the first step to try.