Checklist: Verifying Thread Feed Systems on New Sewing Lines
Engineers need a systematic audit to verify thread feed systems before line commissioning. This checklist covers thread path, tension, guides, and lubrication to identify defects early and ensure consistent stitch quality across garment production equipment.
- Verify thread path consistency before commissioning to prevent stitch defects and thread breakage.
- Check tension balance between upper and lower threads to ensure even stitch formation.
- Inspect thread guides and take-up lever for wear, sharp edges, or misalignment.
- Confirm lubrication points are clean and properly oiled to reduce friction.
- Record verification results for each machine to support troubleshooting during production.
Why Verification Matters Before Commissioning
A new sewing line delivers only as much output as its thread feed systems allow. Inconsistent thread path, uneven tension, or worn guides create stitch defects that surface during production. These defects waste material, slow operators, and complicate quality control. Engineers need a structured verification process before handing the line over.
This checklist uses a numbered format grouped by theme. Each item includes a short explanation and red flags to watch for. The goal is to identify issues early, while repairs are simple and cheap.
1. Thread Path Consistency
Thread path determines how thread enters the needle eye and forms the stitch. A consistent path reduces variation between machines on the same line.
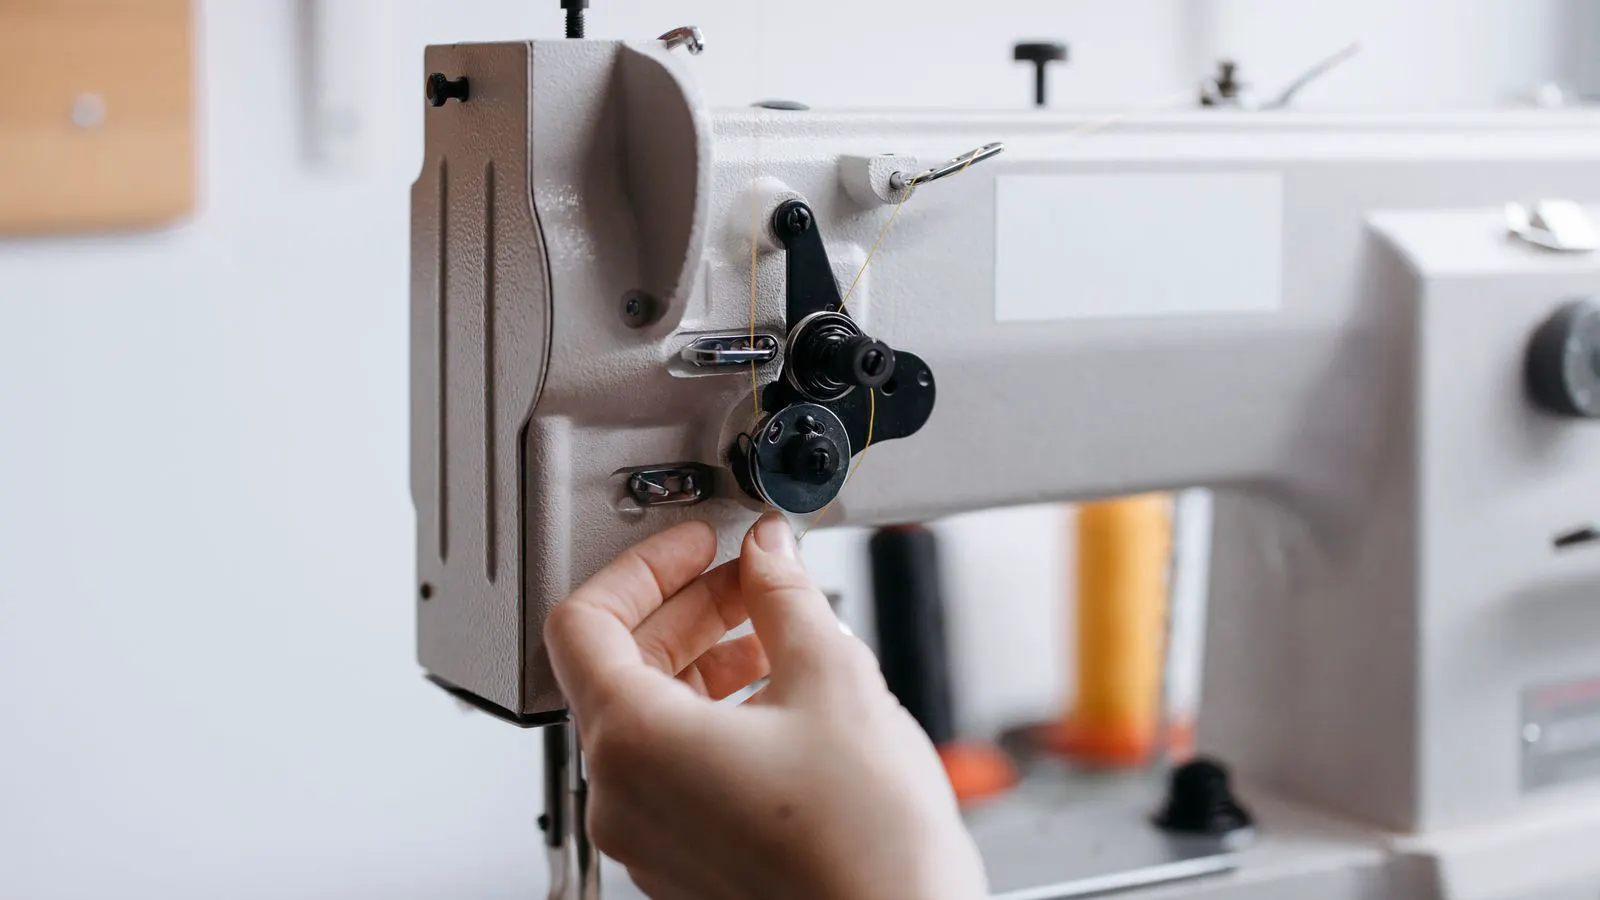
- Trace the thread from the spool to the needle. Follow the full route: spool, tension discs, guide plates, take-up lever, needle bar, and needle. Confirm the thread follows the manufacturer’s intended route.
- Check thread entry into tension discs. The thread should sit in the groove between the discs. If the thread rides on the edge or slips out during operation, tension becomes unstable.
- Verify take-up lever position. The take-up lever should reach the highest point at needle bottom position. If the lever stops early or binds, upper thread tension varies with each stitch.
- Confirm thread guide alignment. Each guide should hold the thread in a straight line. Bent guides or guides mounted at an angle create friction points and uneven wear.
Red flags:
- Thread snaps at the same point every time.
- Stitch length varies between machines on the line.
- Thread leaves the tension discs during high-speed operation.
2. Tension Balance
Tension balance controls how the upper and lower threads lock in the fabric. Poor balance causes skipped stitches, thread pulls, or loose stitches.
- Test upper thread tension with a thread tension gauge. Set the gauge to the recommended value for the fabric type. Adjust the tension dial and measure the pull force.
- Check lower thread tension. The bobbin tension must match the upper thread. Use a bobbin tension tester or a standard pull test to verify balance.
- Run a balance test on sample fabric. Stitch a small piece of the target fabric. Pull the stitch loop gently. The threads should lock evenly in the fabric with no visible upper or lower thread loops on either side.
- Verify tension disc condition. Worn or dirty discs reduce grip. Clean discs and replace them if the surface is scored, rusted, or flattened.
Red flags:
- Upper thread pulls through to the backside.
- Lower thread sits on the top side of the fabric.
- Tension settings require frequent adjustment during production.
3. Thread Guides and Take-Up Components
Thread guides and take-up components handle high-speed thread movement. Wear or damage creates friction, thread damage, and inconsistent tension.
- Inspect all thread guides for wear. Look for burrs, sharp edges, or grooves worn into the guide surface. Run a fingertip along each guide to feel for roughness.
- Check take-up lever thread slot. The slot should be smooth and rounded. A worn or chipped slot damages the thread and causes tension spikes.
- Verify needle bar thread guide. The guide near the needle bar must be correctly positioned. If it contacts the thread too early, the thread bends sharply and breaks.
- Confirm take-up lever spring tension. The spring should return the lever smoothly. A weak or broken spring causes the lever to lag, creating loose stitches.
Red flags:
- Thread frays at the same point during operation.
- Take-up lever makes clicking or grinding noises.
- Thread guide surfaces show visible scuffing or discoloration.
4. Needle and Needle Plate
The needle and needle plate form the lower part of the stitch. A worn or misaligned needle plate creates skipped stitches and thread damage.
- Check needle plate for burrs. Run a fingernail across the needle plate holes. Burrs catch the needle and thread, causing skipped stitches and thread breakage.
- Verify needle type and size. Confirm the needle matches the fabric weight and thread weight. A needle that is too small for the thread creates friction and heat. A needle that is too large leaves a visible hole.
- Check needle plate alignment. The plate should sit flat against the needle bar. A tilted plate changes the needle angle and causes uneven stitching.
- Inspect needle bar guide. The guide must hold the needle bar without binding. Excessive play causes needle vibration and poor stitch formation.
Red flags:
- Skipped stitches appear randomly.
- Needle plate holes show metal wear or rust.
- Needle vibrates during high-speed operation.
5. Lubrication and Cleanliness
Lubrication reduces friction in thread feed systems. Dust and lint create friction, heat, and thread damage.
- Identify all lubrication points. Check the machine manual for required points: take-up lever pivot, needle bar guide, tension disc area, and thread guide pivots.
- Apply the correct oil. Use the oil specified by the manufacturer. Heavy oil attracts lint. Light machine oil reduces friction without creating a mess.
- Check oil distribution. Run the machine at low speed and observe whether oil reaches each point. A dry point indicates a clogged oil line or worn wick.
- Clean thread path. Remove lint and dust from thread guides, tension discs, and the needle plate. Lint trapped in tension discs reduces grip and causes uneven tension.
Red flags:
- Oil stains on thread or fabric.
- Dry points visible during operation.
- Lint accumulation in tension disc area.
6. Thread Spool and Supply
The spool feeds thread into the system. A poorly seated spool or a faulty spool pin creates variation before the thread reaches tension discs.
- Check spool pin alignment. The spool should rotate freely around the pin. A bent or worn pin causes spool wobble and uneven thread release.
- Verify spool tension. If the machine has a spool tension device, set it to the recommended value. Too much tension causes thread breakage. Too little tension causes thread loops.
- Inspect thread quality. Confirm the thread is the correct type and weight. Damaged or low-quality thread creates friction and breakage that mask machine issues.
- Check thread guide at spool. The guide should hold the thread in a straight line from the spool to the tension discs. A missing or bent guide causes thread to ride at an angle.
Red flags:
- Thread loops on the spool.
- Spool wobbles during operation.
- Thread breaks at the spool guide.
Quick Reference: Thread Feed Verification
Use this table to record verification results for each machine on the line. A single page per machine supports troubleshooting and handover.
| Check Item | Pass Criteria | Result |
|---|---|---|
| Thread path | Follows manufacturer route, no sharp bends | Yes / No |
| Tension discs | Thread seated in groove, clean, no wear | Yes / No |
| Take-up lever | Reaches highest point, smooth return | Yes / No |
| Thread guides | No burrs, no sharp edges, aligned | Yes / No |
| Needle plate | No burrs, flat alignment, clean holes | Yes / No |
| Lubrication | All points oiled, no dry spots | Yes / No |
| Spool pin | Free rotation, no wobble | Yes / No |
Documentation and Handover
Record all verification results before commissioning. A signed checklist for each machine creates a baseline. If defects appear during production, the baseline helps isolate whether the machine changed or the process changed.
- Print or copy the checklist for each machine. Number the machines on the line. Record the date and the engineer’s name.
- Note any exceptions. If a machine requires a different tension setting or a modified thread path, document the reason.
- Store the checklist with the machine records. Keep a digital copy in the line’s maintenance folder.
- Review the checklist during the first production run. Compare early stitch samples against the verification results. Adjust settings if needed.
A verified thread feed system runs predictably. A line with unverified systems runs on hope. The checklist above takes time, but it saves far more time during production.
Frequently asked questions
How often should thread feed systems be checked on a running line?
Check thread path and tension at the start of each shift or when changing thread or fabric. A full verification should be repeated when the line is reconfigured or after major repairs.
What causes thread to break at the same point every time?
A worn thread guide, a sharp edge on the take-up lever slot, or a bent needle plate guide. Inspect the exact break point and trace the thread path back to the nearest guide.
Can I adjust upper thread tension without checking the lower thread?
No. Adjusting only one side of the tension creates an unbalanced stitch. Test balance on sample fabric after changing either the upper or lower tension.
How do I know if a thread guide is worn?
Look for visible scuffing, a grooved surface, or a sharp edge. Run a fingertip along the guide. Any roughness or catch indicates wear.
Does thread quality affect thread feed verification?
Yes. Poor quality thread with uneven twist or weak yarn creates friction and breakage that mimic machine faults. Use the thread specified for the fabric before verifying machine settings.