How To Set Up a New Dyeing Line Efficiently
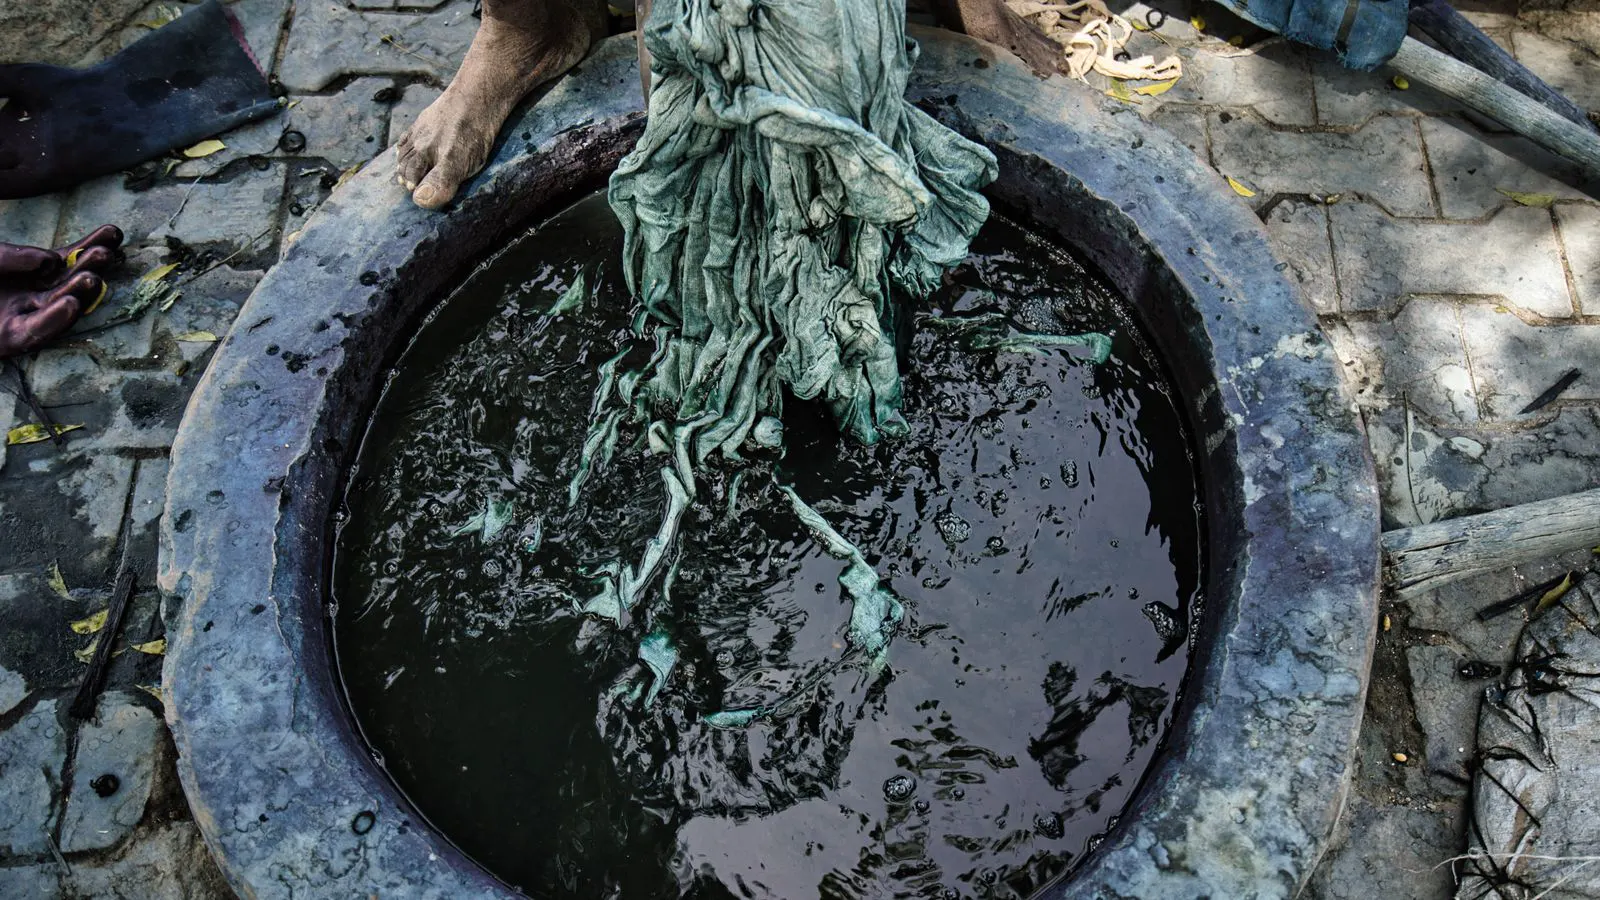
Efficient dyeing line setup requires strict pre-installation checks, precise equipment alignment, and controlled trial runs. This guide outlines the prerequisites, numbered steps, and critical verification checks needed to commission a new dyeing line with minimal production delays and consistent quality.
- Verify utility capacity and drainage flow rates before the first crate is opened.
- Align every tank and conveyor to the machine's specific tolerance limits.
- Run a full sequence with a sacrificial dye lot to check for leaks and evenness.
- Document every calibration value and operator action during the first week.
- Treat the first 48 hours as a controlled trial, not a production run.
A new dyeing line does not start with a switch flip. It starts with the site. If the floor, power, and water infrastructure are wrong, the machine will be out of alignment before it ever touches a bolt. Operations managers who treat the commissioning phase as a separate event from the installation phase usually end up with two weeks of lost production time. The goal here is to move from untested equipment to stable, repeatable dyeing batches with as little friction as possible.
What Must Be Ready Before the First Component Arrives
The installation process begins long before the machinery is on site. The site must be treated as a finished product that the machine will fit into.
First, confirm the power supply. Dyeing machines run on heavy loads, and the control cabinets draw significant current. The electrical panel must be sized for the combined load of the dye tanks, the exhaust fans, and the central control room. A phase imbalance at this stage will cause motors to overheat and trip breakers during the first heat-up.
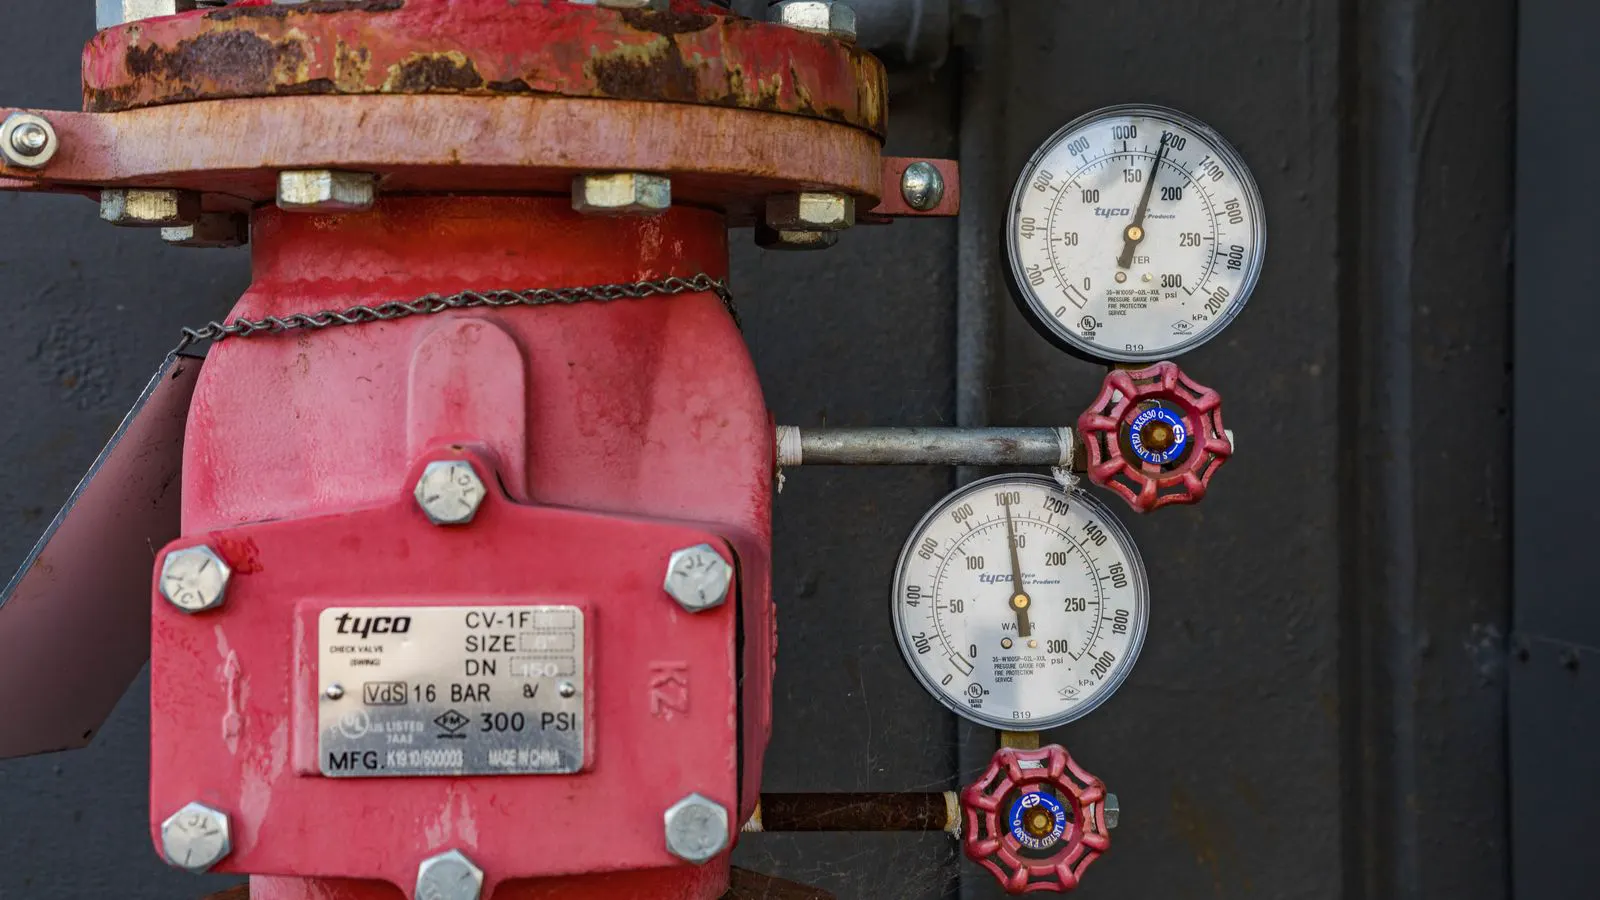
Check the water supply next. You need a steady flow rate that matches the machine’s maximum intake. A common mistake is relying on a general plant valve. Dyeing requires a dedicated inlet with a filter. The filter removes particulate matter that will otherwise clog the metering valves. Without this, the dye concentration will drift, and the colorfastness will suffer.
The drainage is just as critical. The effluent from a dyeing tank is under pressure and contains high-temperature liquid. The floor drain must be capable of handling that flow without backing up into the machine base. If the drain is undersized, you will face a flood risk the moment the first tank fills.
Finally, prepare the floor. The concrete must be cured and level. Dyeing tanks are heavy and often have uneven weight distribution. If the floor is not level, the tank will sit at an angle. This changes the water level inside the tank and creates a gradient that leads to uneven dyeing.
How to Stage the Components for a Smooth Installation
Once the site is ready, the staging area becomes the bottleneck. A disorganized staging area leads to dropped parts, delayed work, and safety hazards.
- Map the footprint. Lay out the exact dimensions of each tank and conveyor on the floor using tape. This prevents the forklift from trying to fit a tank into a space that is too narrow.
- Separate wet and dry components. Keep the electrical cabinets and control panels in a dry, temperature-controlled area. Keep the tanks and piping in the installation zone.
- Group by function. Do not mix the dyeing tanks with the finishing equipment. Each group needs its own dedicated space for the specific plumbing and wiring it requires.
- Protect the floor. Use hardwood or plastic sheets under the forklift wheels. A heavy tank on a concrete floor can crack the slab if the impact is too sharp.
- Stage the fasteners. Keep the bolts and anchors for each tank in a labeled bucket. This saves the installer from searching for the right hardware while working.
This staging approach reduces the number of times a worker has to stop and go back to the warehouse. It keeps the installation team moving in a linear path.
The Step-by-Step Installation and Alignment Process
The physical installation is a sequence of actions, not a single event. Each step builds on the last. Skipping a check now creates a problem later.
- Set the tank base. Place the tank on the prepared base plates. Do not tighten the anchor bolts yet. The tank should be free to move slightly. This allows you to adjust the position before the final lock.
- Level the tank. Use a bubble level on the tank rim. Adjust the shims under the base plates until the level is centered. A tank that is not level will have a water line that is not horizontal. This is the single most common cause of uneven dyeing in a new line.
- Connect the plumbing. Attach the inlet and outlet pipes. Use thread sealant on the fittings. Do not use tape on metal-to-metal threads unless the manufacturer specifies it. The dye is corrosive, and the seal must be chemical-resistant.
- Install the heating elements. These are the most vulnerable components. Handle them with care. A cracked element will leak hot dye water into the tank. If you see a crack, replace it immediately.
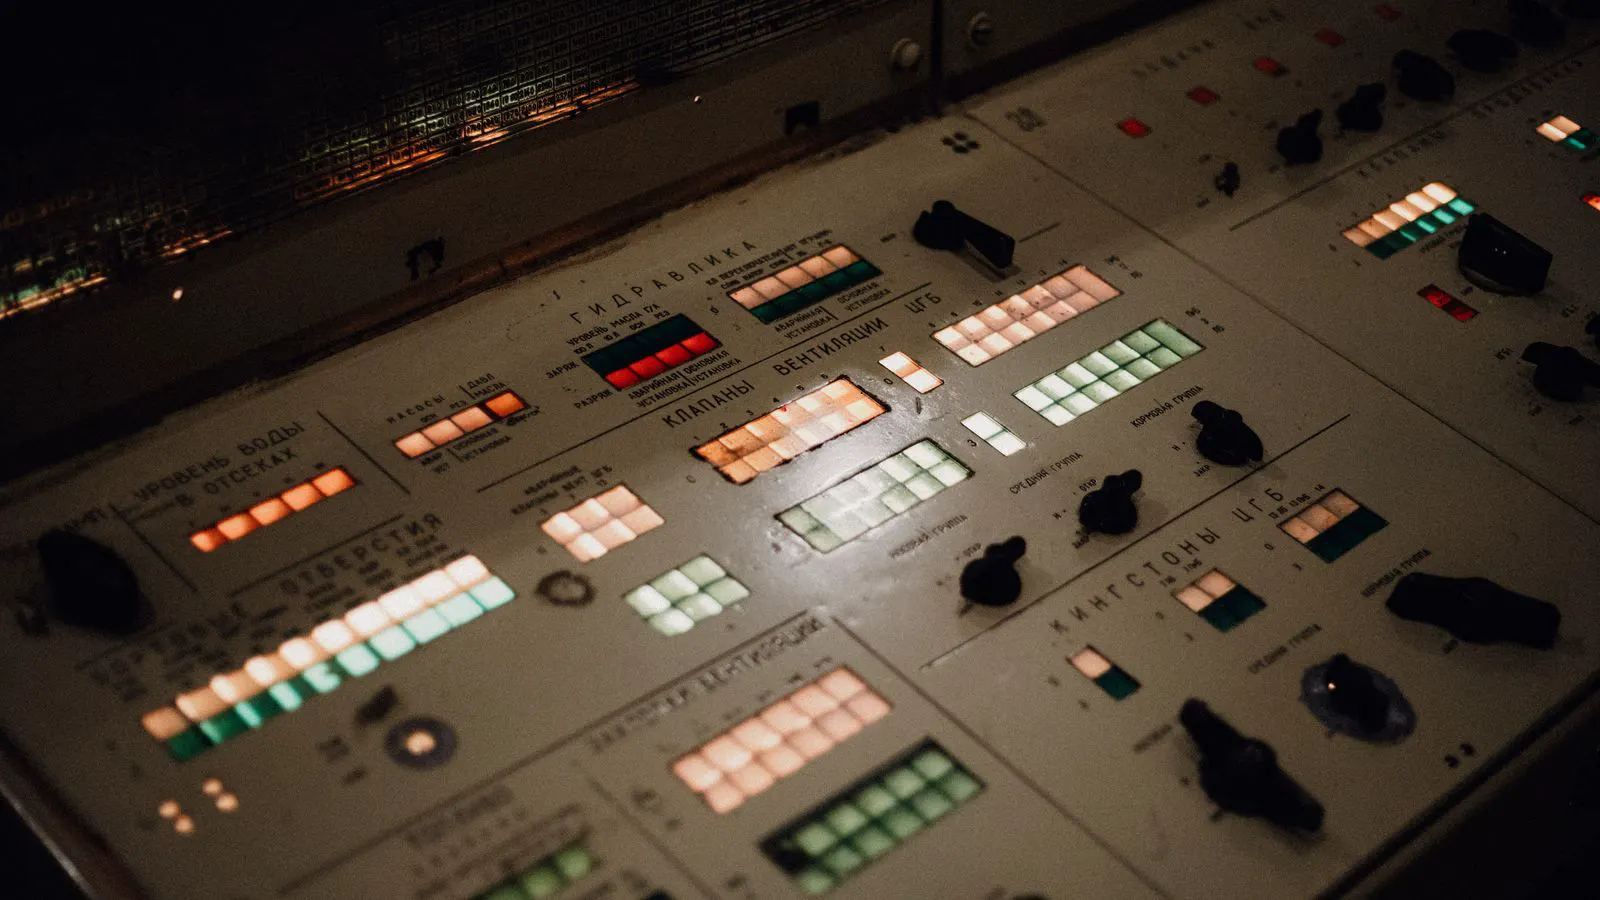
- Wire the controls. Connect the power supply to the main cabinet. Connect the sensor cables to the temperature, pH, and conductivity probes. Label every wire. Future technicians will need these labels when they troubleshoot.
- Assemble the conveyor. If the line includes a conveyor, align it with the tank’s loading point. The fabric must feed into the tank without catching on the edge. A misaligned conveyor will tear the fabric and damage the tank’s interior.
- Mount the exhaust system. The exhaust fan must be connected to the tank’s steam vent. The fan removes the hot, humid air that builds up in the room. Without a proper exhaust, the humidity will corrode the electrical cabinets.
How to Integrate the Process into the Mill’s Workflow
The installation is not complete when the machine is bolted down. The machine must fit into the mill’s existing workflow. This is where process integration happens.
The first step is to define the dyeing recipe. The machine’s software needs the parameters for the first lot. This includes the temperature ramp, the dye concentration, and the time at each stage. Enter these values into the control panel. Do not rely on the operator’s memory. The software must have the data.
Next, connect the water metering system. The metering valves must be calibrated. Run water through the valves and check the flow rate against the setting. If the valve is off by even a small amount, the dye concentration will be wrong. This leads to a color shift.
Then, integrate the dyeing process with the upstream and downstream operations. The fabric must arrive at the dyeing line pre-washed and ready. If the fabric is not clean, the dye will not take evenly. The finished fabric must be able to move to the finishing line without drying out. A wet fabric that sits in the air for too long will develop a ring.
Finally, set up the data logging. The machine should record the temperature, pH, and time for every batch. This data is essential for troubleshooting. If a batch is off, you need to know exactly what happened during the process.
Common Mistakes That Delay Commissioning
Most delays in a new dyeing line setup come from small errors that were ignored during the installation phase.
Ignoring the water filter. The filter is a cheap part. If you skip it, the metering valves will clog. You will spend a day cleaning them.
Skipping the level check. A tank that is not level will never dye evenly. You will spend weeks trying to fix the color.
Not testing the exhaust. The exhaust fan must be running before the first heat-up. If you ignore it, the humidity will build up in the room. The electrical cabinets will corrode.
Forgetting the drain check. The drain must be clear before the first fill. If the drain is blocked, the tank will overflow.
How to Verify the Line Before Full Production
The final step is a controlled trial. Do not run a commercial lot. Use a sacrificial lot of fabric that you do not care about.
Run the machine through a full cycle. Fill the tank, heat the water, add the dye, and run the conveyor. Watch the machine for leaks. Check the temperature sensors. Read the pH meter.
After the cycle, inspect the fabric. Look for color variation. Check the edges. If the color is uneven, the tank is not level or the water flow is wrong.
Run a second cycle. Adjust the parameters if needed. Run a third cycle. Once you have three consistent batches, the line is ready for production.
This verification step is not optional. It is the difference between a stable line and a problem.
Final Verification and Handover
The handover is a formal event. The installer and the operations team need to review the documentation together.
Check the operation manual. Check the maintenance schedule. Check the parts list. Make sure the team knows how to change the filters and clean the tanks.
Sign off on the installation. The machine is now yours. The commissioning phase is complete.
Frequently asked questions
How long does a typical dyeing line installation take?
A standard installation takes 2 to 4 weeks. The exact time depends on the size of the line and the complexity of the site.
Do I need a dedicated water filter for the dyeing line?
Yes. A dedicated filter is required to protect the metering valves and maintain dye concentration.
What is the most common cause of uneven dyeing in a new line?
An uneven tank level is the most common cause. A level tank ensures a horizontal water line.
Can I run a production lot during the trial phase?
No. The trial phase must use a sacrificial lot. This protects the commercial fabric from potential errors.
What should I do if the exhaust fan is not running?
Do not start the heat-up. The exhaust fan must be running to remove humidity and protect the electrical cabinets.