Checklist: Inspecting Dyeing Machine Pumps and Valves
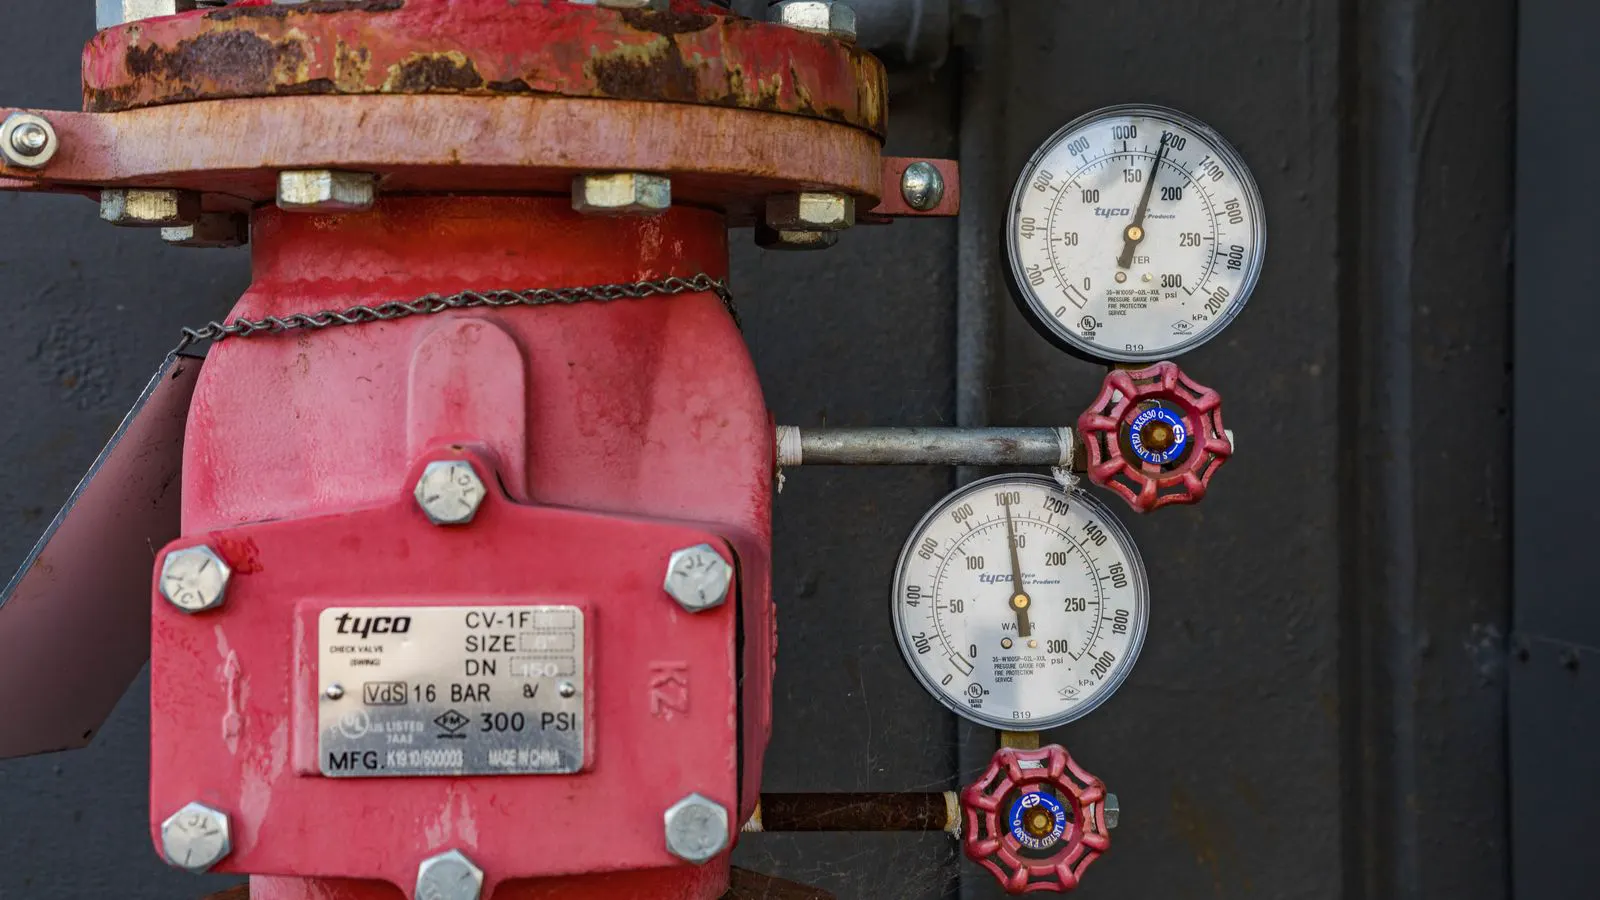
This guide provides a structured checklist for inspecting dyeing machine pumps and valves. It covers fluid circulation, valve sealing, hydraulic pressure, and wear indicators. Use this audit to prevent process failures and protect equipment life.
- Inspect pump seals and impellers for wear before each major dye lot.
- Check valve stems for corrosion and ensure smooth operation.
- Monitor hydraulic pressure to detect early pump degradation.
- Keep records of every inspection to track maintenance trends.
- Replace seals and gaskets proactively to avoid dye contamination.
Why Pumps and Valves Matter in Dyeing
Dyeing machines rely on precise fluid movement to maintain even color distribution. The pump system circulates dye liquor through the machine, while valves control flow rates and direction. When these components fail, the consequences appear quickly in the fabric. Uneven color, streaks, and batch inconsistencies become standard outcomes.
A weak pump cannot generate the pressure needed to move heavy dye solutions. Worn valves leak slowly or fail to close completely. Both issues reduce process control and increase water usage. They also create opportunities for cross-contamination between different dye lots.
The goal of this inspection is to verify mechanical condition before problems become visible in the finished fabric. A regular audit catches small defects early. It prevents downtime during production runs and protects the integrity of the dyeing process.
Fluid Circulation Checks
Start with the pump’s ability to maintain consistent flow. Observe the machine during a standard circulation phase. Watch the flow meters or pressure gauges for steady readings. A healthy pump maintains a consistent rate without fluctuations.
Check the suction side first. Ensure the inlet filter is clean and free of debris. A clogged filter restricts flow and strains the pump. Inspect the suction pipe for kinks or blockages. Look for air leaks at connections. Air in the system causes cavitation, which damages the impeller over time.
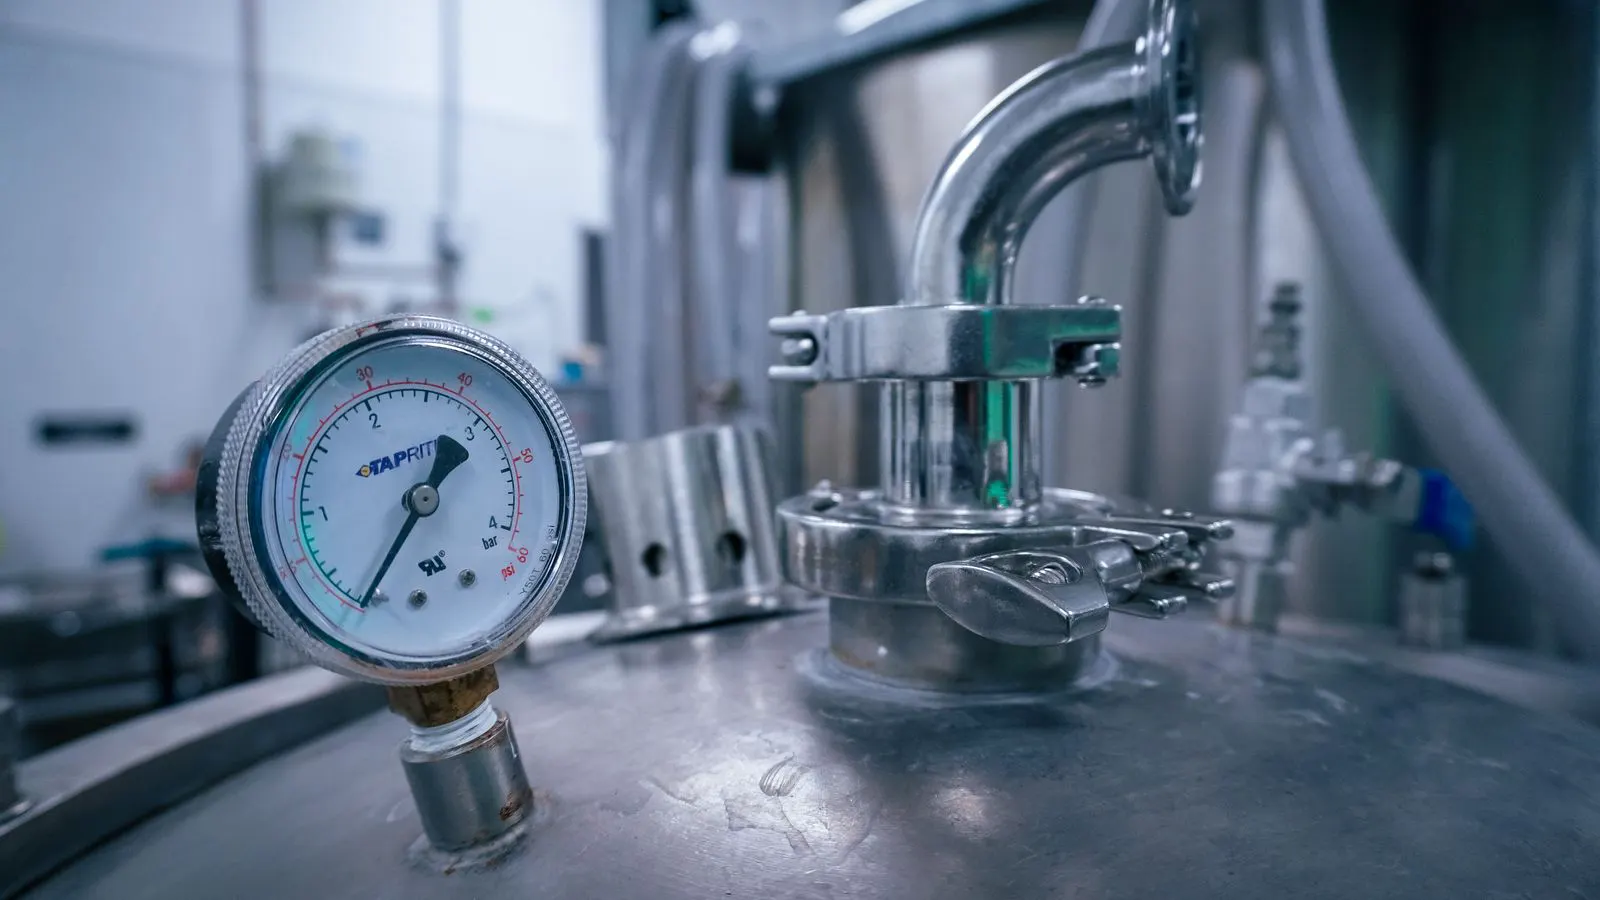
Now examine the discharge side. Verify that the pressure gauge reads within the expected range for your machine. If the pressure drops without an external cause, the pump is losing efficiency. Check the discharge valve for proper opening and closing. A valve that sticks open reduces pressure. A valve that sticks closed creates dangerous pressure spikes.
Listen to the pump during operation. A healthy pump runs smoothly. Grinding noises indicate bearing wear. Hissing sounds suggest air leaks. A sudden change in sound often precedes a mechanical failure.
Valve Stem and Sealing Inspection
Valves are the control points of the dyeing system. They direct flow to different zones of the machine. They also manage the movement of water and dye between processes. A single stuck valve can ruin a batch.
Remove the valve handles and inspect the stems. Look for corrosion, mineral buildup, or dye stains. Stems should move freely. If a stem sticks, clean it or replace the packing. Do not force a stuck stem. Forcing it can damage the valve seat.
Check the valve seats for wear. Remove the valve cover if possible. Inspect the seat surface. A smooth seat allows a tight seal. A pitted or grooved seat causes leaks. Even a small leak can change the liquor composition in the dye bath. It can also introduce air into the system.
Test the valve’s closing action. Open and close each valve several times. The movement should be smooth and consistent. A valve that requires excessive force to operate is likely damaged. A valve that does not close fully will continue to leak dye. Replace the stem seal in these cases.
Inspect the packing glands. These are the seals around the stem. They must be tight enough to prevent leaks but not so tight that they bind the stem. A weeping gland is a warning sign. A dry, cracked gland will fail suddenly.
Hydraulic System Pressure Checks
Many dyeing machines use hydraulic systems for pressure control. The hydraulic pump and reservoir must be maintained to prevent flow irregularities. A failing hydraulic system can cause erratic liquor distribution.
Check the hydraulic fluid level in the reservoir. The level should be within the marked range. Low fluid causes the pump to draw air. This leads to noise and poor performance. High fluid can overflow during expansion.
Inspect the hydraulic fluid for contamination. Look for water, dirt, or discoloration. Water in the fluid causes corrosion. Dirt wears the pump’s internal components. Discolored fluid indicates oxidation or overheating. Replace the fluid if it appears dirty or milky.
Verify the pressure relief valve. This valve protects the system from overpressure. It should activate at the set point and return to normal when pressure drops. If the relief valve sticks open, the system cannot build pressure. If it sticks closed, the system can rupture.
Check the hydraulic lines for leaks. Look at every connection and fitting. A small drip is a leak. A large leak is an emergency. Trace any leak to its source. Replace the gasket, O-ring, or fitting as needed.
Pump Impeller and Bearing Inspection
The impeller is the heart of the pump. It converts rotational energy into fluid pressure. Wear on the impeller reduces efficiency. Bearing wear causes vibration and noise.
Remove the pump casing to inspect the impeller. Look for nicks, cracks, or erosion. The impeller should have a smooth surface. A rough surface creates turbulence and reduces flow. Replace the impeller if it is damaged.
Check the impeller clearance. The gap between the impeller and the casing must be within specification. If the gap is too large, the pump loses efficiency. If the gap is too small, the impeller rubs against the casing. Both conditions cause wear.
Inspect the bearings. They should spin freely without noise or roughness. A bearing that feels gritty needs replacement. A bearing that is loose causes vibration. Vibration transmits through the pump housing and into the pipes.
Lubricate the bearings as required by the manufacturer. Over-lubrication can cause heat. Under-lubrication causes wear. Follow the recommended interval. Use the correct type of grease or oil.
Filter and Screen Inspection
Filters and screens protect the pump and valves from debris. They also prevent fiber contamination in the dye liquor. A clogged filter reduces flow and stresses the pump.
Remove the filter elements. Inspect them for blockage. Rinse them if they are reusable. Replace them if they are disposable. A filter that clogs quickly indicates a problem upstream. Check the inlet screen and any pre-filters.
Inspect the filter housing. Look for cracks or worn gaskets. A cracked housing can let dye out or let air in. Replace the housing if it is damaged.
Check the bypass valve, if your system has one. It should remain closed during normal operation. If it stays open, dirty liquor bypasses the filter. This leads to pump wear and fabric defects.
Record Keeping and Maintenance Trends
Inspection is only useful if you track it. Keep a log of every check. Note the date, the condition found, and the action taken. A log reveals patterns. It shows which components wear fastest.
Record the pressure readings. A gradual drop in pressure over time indicates pump wear. A sudden drop indicates a leak or valve failure. Keep the records with the machine’s maintenance folder.
Track the number of valve cycles. Valves wear with use. A valve that has operated many times needs closer attention. Replace stems and seals before they fail. Proactive replacement is cheaper than emergency repair.
Use the inspection log to plan parts orders. Keep a small stock of common seals, gaskets, and impellers. Having spare parts on hand reduces downtime. It also allows for quick repairs.
Common Failure Patterns
Most pump and valve failures follow predictable patterns. A pump that runs hot indicates bearing wear or friction. A pump that makes noise indicates air in the system or impeller damage. A valve that leaks indicates a worn seat or stem seal.
Cross-contamination is a serious failure mode. A valve that does not close fully can mix dye colors. This ruins the current lot and contaminates the next one. It can also damage the dye bath.
Air ingestion is another common problem. It causes cavitation in the pump. Cavitation damages the impeller and reduces flow. It also creates a vacuum that can pull air into the system.
Leakage at fittings is a frequent issue. Gaskets degrade with heat and dye exposure. O-rings harden and crack. Check every connection during the inspection. Replace any seal that shows signs of wear.
Summary of Inspection Actions
The inspection checklist covers the main areas of concern. It includes fluid circulation, valve sealing, hydraulic pressure, impeller condition, and filter health. It also includes record keeping.
Perform this inspection regularly. A monthly check is a good baseline. Increase the frequency if the machine is used heavily. If any red flag is found, stop and repair before continuing.
The goal is to keep the pump and valves in good mechanical condition. This prevents dyeing process failures. It protects the quality of the fabric. It also extends the life of the machinery.
Frequently asked questions
How often should I inspect dyeing machine pumps and valves?
A monthly inspection is a good baseline. Increase the frequency if the machine is used heavily. Inspect before each major dye lot if the machine has not been checked recently.
What are the signs of a failing pump impeller?
A failing impeller causes reduced flow, unusual noise, and pressure drops. The impeller may also show visible wear, nicks, or cracks.
How do I know if a valve is leaking?
A leaking valve may show dye stains, a weeping gland, or a drop in pressure. It may also cause uneven dye distribution in the fabric.
What should I do if the hydraulic fluid is contaminated?
Replace the fluid and filter. Inspect the hydraulic lines for leaks. Check the pump for wear. The contamination may have caused internal damage.
Can a stuck valve ruin a dye lot?
Yes. A stuck valve can cause uneven dye distribution or cross-contamination. It can also create pressure spikes that damage the machine.