Fixing Low Dyeing Machine Water Inlet Pressure
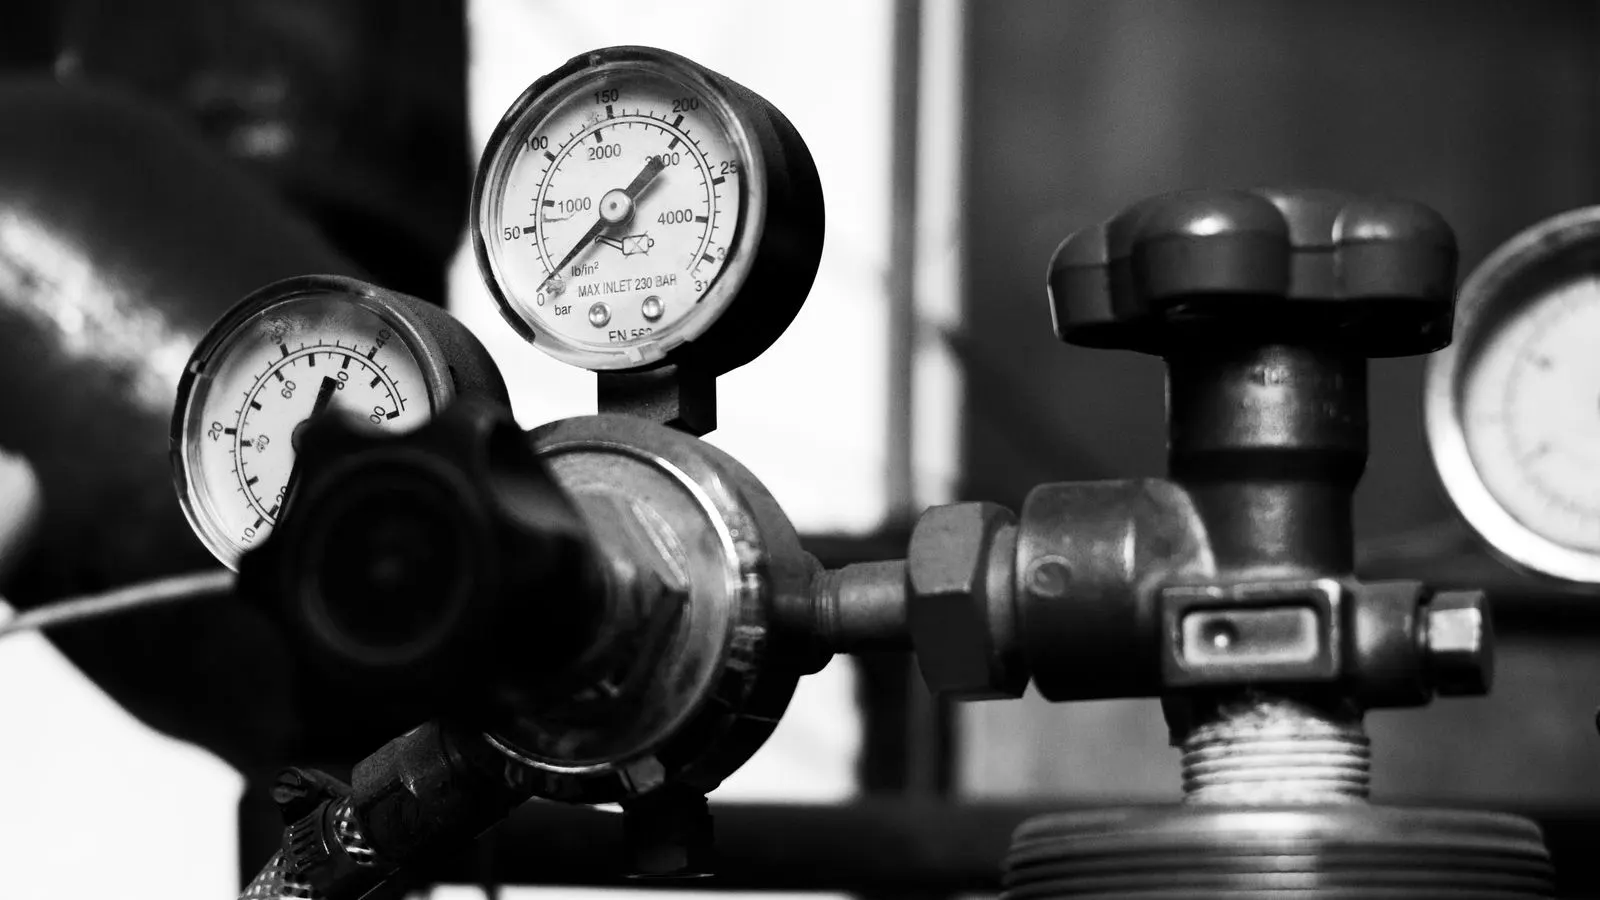
Low water inlet pressure in a dyeing machine usually traces to clogged filters, weak pumps, or closed valves. This guide lists common symptoms, probable causes, and practical fixes to restore stable flow and protect dye bath quality.
- Check the inlet strainer and filter screen first, as blockages are the most common cause of low pressure.
- Verify pump performance and verify that the main supply valve is fully open before suspecting internal machine faults.
- Log pressure readings during each cycle to detect gradual decline caused by scale or wear.
- Replace worn gaskets and O-rings during scheduled maintenance to prevent hidden leaks and pressure loss.
- Keep records of water treatment chemicals, as hard water and suspended solids accelerate blockages.
Low dyeing machine water pressure shows up as uneven dyeing, poor heat transfer, and extended cycle times. Operators often blame the machine first, but the fault usually sits upstream in the supply line or at the inlet fitting. A short diagnostic pass can separate a simple blockage from a pump problem.
How to Identify the Exact Symptom
Before opening panels or calling a technician, record what you are seeing on the floor. The symptom tells you where to start.
- Slow fill rate: The bath fills in more time than the standard cycle.
- Pressure drop: The gauge reads below the normal operating range after a few minutes.
- Uneven flow: Water shoots from one side of the inlet manifold, while the other side sputters.
- Air in the line: The pump cavitates, and the gauge needle jumps.
- Intermittent low pressure: Pressure normalizes when you shake the inlet or run the pump for a minute.
Write these down. A technician can diagnose faster with specific observations than with a vague report.
Common Causes and Fixes
Most low pressure events have a mechanical cause. The table below maps typical symptoms to likely causes and corrective actions.
| Symptom | Likely cause | What to do |
|---|---|---|
| Slow fill, normal gauge | Partially closed main supply valve | Open the isolation valve fully and check the flow meter. |
| Low gauge, slow fill | Clogged inlet strainer or filter | Remove the strainer, clean it, and inspect for fiber or scale buildup. |
| Pressure drops over time | Pump impeller wear or seal failure | Check pump amp draw and vibration, then test or replace the impeller. |
| Air in the line | Leak in the suction side | Inspect suction pipes and flanges for dry joints or cracked fittings. |
| Uneven flow across manifold | Blocked distribution tubes | Isolate the manifold and flush each tube individually. |
Start with the simplest item. A closed valve takes ten seconds to check. A clogged strainer takes ten minutes. Only move to pump diagnosis if the upstream checks pass.
Inspecting the Inlet and Filter Assembly
The inlet is the first place water meets the machine. Debris from the building supply, scale from hard water, or fiber from the fabric load can block the screen.
- Shut down the machine and lock out the power.
- Close the supply isolation valve.
- Relieve pressure by opening the drain valve on the inlet section.
- Remove the strainer assembly or filter housing.
- Inspect the mesh for lint, rust, or mineral deposits.
- Clean the mesh with water and a soft brush, or use a dilute acid wash if scale is present.
- Check the gasket for nicks or flattening. Replace it if it looks compressed.
- Reassemble and run the pump without fabric to verify flow.
If the pressure recovers, your problem is solved. If it remains low, move to the supply line.
Checking the Supply Line and Pumps
When the inlet is clean, the issue often sits in the building supply or the booster pump.
Look at the main isolation valve. Operators sometimes leave it partially closed during cleaning or maintenance. Fully open it and confirm the handle is aligned with the pipe.
Next, check the booster pump. A weak pump pulls more amperage but delivers less pressure. Listen for a grinding noise. Watch the discharge gauge while the pump runs. If the gauge does not reach the rated pressure, the impeller may be worn or the seal may be failing.
Do not just replace the pump. Check the suction side. A small leak on the suction side pulls air into the system. The pump then recirculates air instead of water. The gauge will swing, and the flow will feel weak. Inspect every flange, coupling, and threaded joint on the suction pipe.
Verifying Internal Valves and Manifold
If the supply and pump are healthy, check the internal distribution. Some dyeing machines use a header manifold that splits water to multiple heat exchangers or injection points.
Look for:
- A partially closed check valve that restricts flow.
- A dirty flow control orifice that chokes the stream.
- A cracked manifold section that leaks internally into the drain.
Isolate the manifold if possible. Open the end caps and inspect the tubes. Flush them with clean water. If one tube is blocked by scale, you may need to remove it and run an acid bath through the tube.
Preventing Future Pressure Loss
Low pressure is rarely a one-off event. It is usually a slow decline from maintenance neglect. A simple routine prevents most breakdowns.
- Clean the inlet strainer after every batch.
- Inspect the supply isolation valve weekly.
- Check pump vibration and noise during startup.
- Test the discharge gauge monthly against a calibrated reference.
- Replace O-rings and gaskets during annual overhauls.
- Monitor water hardness. If your supply is hard, install or service a water softener upstream.
Keep a log. Note the pressure reading at the start and end of each cycle. If the start pressure drops over a month, you have a warning. Fix it before it causes a dyeing defect.
When to Call a Technician
Some issues are not for the line technician. Call a qualified service provider if:
- The pump runs but produces no pressure after cleaning.
- You find cracked manifold tubes or corroded internal fittings.
- The motor draws high current but the pump does not build pressure.
- The gauge reads high but the flow is weak, suggesting a broken orifice.
- You cannot isolate the fault after checking the supply, strainer, and pump.
Do not force a blocked valve open. Do not run the pump dry for more than a few seconds. A dry run can damage the seal and impeller.
Final Checks Before Restarting
After you fix the issue, run a dry cycle with clean water.
- Open the supply valve slowly to avoid water hammer.
- Watch the pressure gauge for one minute.
- Check all visible joints for leaks.
- Run the pump at full speed for five minutes.
- Confirm the flow rate matches your machine specifications.
- Only then load fabric and start the dyeing cycle.
Low water pressure is a fixable problem. Most cases trace to a clogged strainer, a closed valve, or a weak pump. A systematic check of these three areas solves the majority of faults. Keep the inlet clean, verify the supply, and monitor the pump. The machine will perform better, and your dye lots will be more consistent.
Frequently asked questions
How often should I clean the inlet strainer?
Clean it after every dyeing batch. If you run multiple shifts, inspect it at least once per shift.
Can a closed valve cause uneven dyeing?
Yes. Low pressure means the water and dye do not circulate evenly. The fabric near the inlet gets more flow than the far end.
What does a jumping gauge needle mean?
It usually means air is in the line. Check the suction side for leaks and ensure the pump is not running dry.
Is it safe to run the pump without water?
No. Run it for a few seconds to test, but do not run it dry for extended periods. You will damage the seal and impeller.
How do I know if the pump is failing?
Listen for grinding. Watch the amperage draw. If the gauge does not reach rated pressure after cleaning the strainer, the impeller or seal is likely worn.