How to Reduce Warp Breaks on High-Speed Power Looms
Reduce warp breaks by verifying warp tension, checking warp beams for burrs, and inspecting reed and heddle conditions. Proper thread management and consistent machine calibration directly improve power loom efficiency and uptime.
- Warp tension must be checked before first run and after any beam change.
- Warp beam burrs and reed damage cause friction that snaps threads.
- Consistent thread management reduces snags during high-speed weaving.
- Regular inspection of heddle cords and selvedge zones prevents sudden breakage.
- A final verification step confirms that all adjustments hold under operating speed.
Warp breaks on high-speed power looms trace back to a small number of mechanical and management failures. Most breakage happens where tension spikes or friction increases, such as at the warp beam, reed, and heddle zones. This guide gives engineers a practical sequence to reduce warp breaks and protect power loom efficiency.
Prerequisites: What Must Be Ready Before Starting
Before adjusting anything, confirm the warp is properly sized and the loom is at rest. The warp must be wound with even tension so that individual threads do not carry uneven load. The warping machine logs and tension readings should be available for reference. If the warp beam has been changed, verify that the beam flange is clean and the warping head is aligned.
You also need access to the tension controller, reed frame, and heddle frame. The operator should have the ability to stop the loom safely and inspect the warp path without moving the shuttle. Keep a clean cloth, fine abrasive pad, and a tension gauge available. If the loom uses an electronic tension controller, ensure the controller firmware matches the current machine model and that the sensors are calibrated.
Do not begin speed adjustments until the static warp is verified. Running at full speed with an unknown warp condition only compounds the damage.
1. Verify Warp Tension Before First Run
Start at the warp beam and measure tension across the full width of the warp. Use a tension gauge on at least three threads in the center, left, and right zones. The tension should match the specification for the yarn type and the intended fabric density. If the tension is below spec, the warp will slip in the reed and cause fraying. If it is above spec, the threads stretch unevenly and snap under peak load.
The reason for this step is that tension is the primary driver of breakage. A warp that is too loose creates friction against the reed teeth. A warp that is too tight overloads the heddle cords and the warp beam. Adjust the warping tension controller or the warp beam drive to bring every zone into range. Do not compensate with loom settings. Fix the source.
2. Inspect and Clean the Warp Beam
The warp beam is where most hidden damage starts. Run your hand slowly along the beam flange and the bearing race. Look for burrs, nicks, or accumulated fiber dust. Even a small raised spot catches a thread and creates a point load that exceeds the yarn strength.
The reason for this step is that the warp beam rotates continuously during warping and weaving. Any surface imperfection multiplies friction thousands of times per hour. Clean the flange with a soft cloth and a light abrasive pad. Remove dust with compressed air, but keep the air pressure low so it does not push debris into bearings. If a burr is visible, remove it with a fine file and recheck with your fingertip.
3. Check the Reed for Damage and Correct Spacing
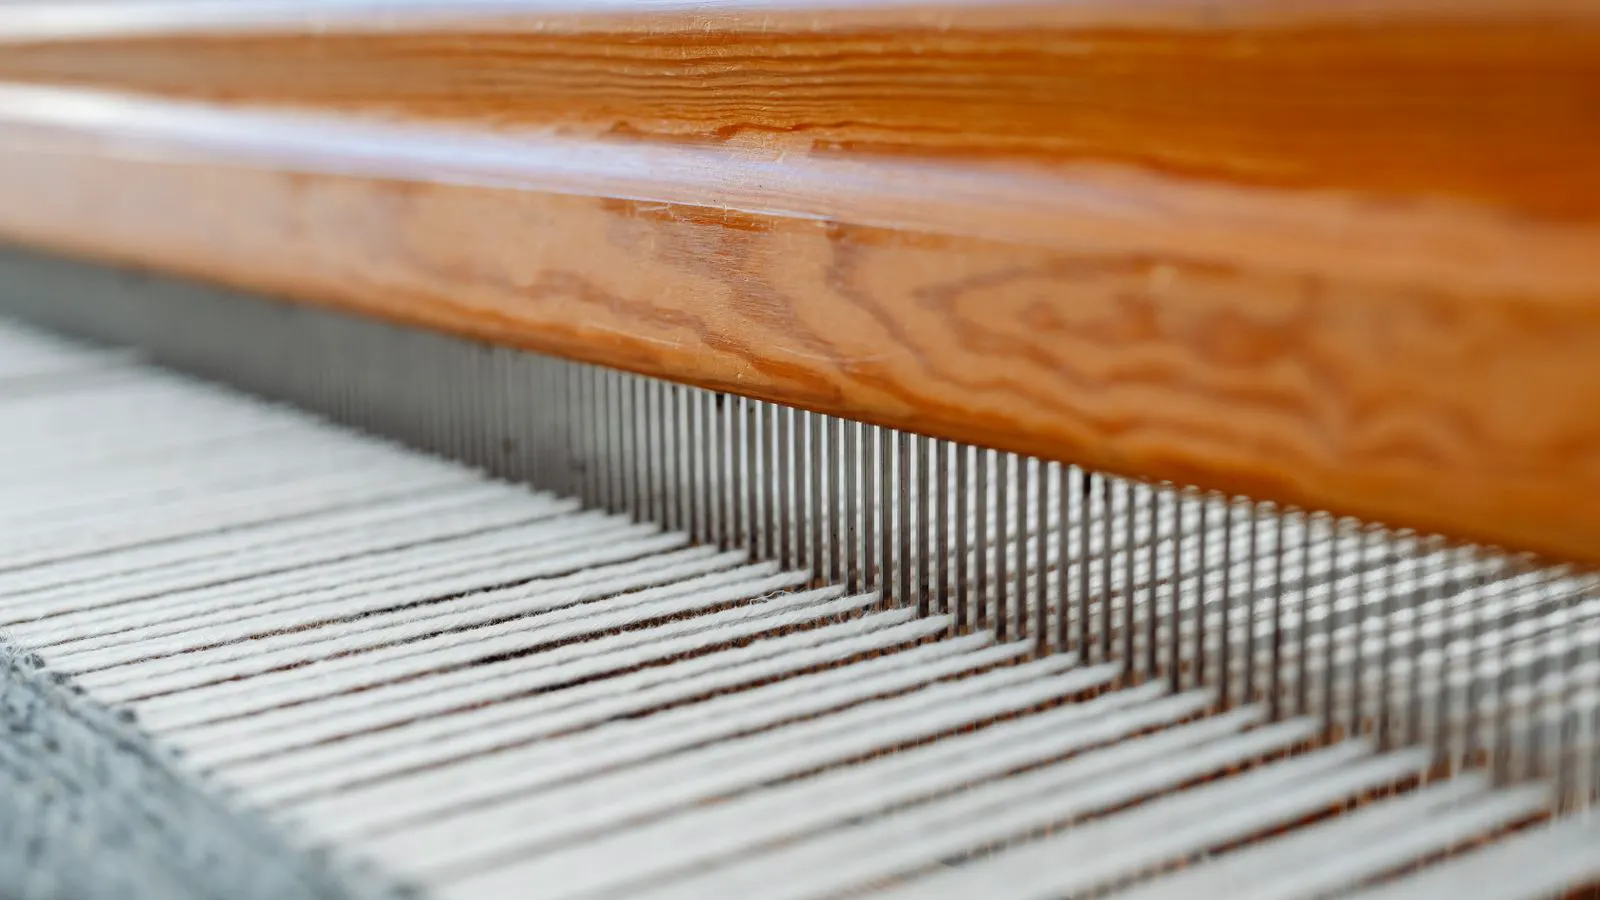
Pull the reed out and inspect the teeth. Look for broken tips, bent teeth, or debris trapped in the reed frame. Run a fingertip along the reed face. A rough spot that catches the fabric or the warp threads will create localized friction. The reason for this step is that the reed is where the warp threads cross the shed. Any snag here happens at high speed and often breaks multiple threads at once.
Replace bent or broken teeth. If the reed frame is warped, correct it at the factory or replace it. Do not try to bend a reed back into shape in the field. The reed must sit flat against the fabric to distribute tension evenly. A loose reed frame also causes the warp to shift, which changes tension across the width.
4. Inspect Heddle Cords and Heddle Frame Alignment
Pull a sample of heddles and check the cord for fraying, knots, or stiffness. The heddle cord must flex smoothly. If the cord is brittle, it will break under repeated flexing. If it is too loose, the shed will not close cleanly and the warp threads will rub against each other.
The reason for this step is that heddles raise and lower thousands of times per minute. A single weak heddle cord can snap and take adjacent threads with it. Replace any frayed cords. Check that all heddles hang at the same length. Uneven heddle height creates a slanted shed that pulls threads at an angle. Adjust the heddle frame bolts to level the frame.
5. Review the Selvedge Zone and Edge Tension
The selvedge is the most vulnerable part of the warp. The edge threads sit under higher tension and are exposed to more friction at the selvedge guide. Check that the selvedge guide is clean and correctly positioned. If the guide is too tight, the edge threads rub against it and wear through. If it is too loose, the selvedge waves and catches on the reed.
The reason for this step is that selvedge breaks are the most common cause of warp breakage on power looms. The edge threads do not have the support of neighboring threads, so they carry the full load. Adjust the selvedge guide so the thread passes with light contact. Add a thin felt pad if the guide is metal and the yarn is fine.
6. Calibrate the Loom Tension Controller
Modern power looms use electronic tension controllers that adjust the warp beam drive in real time. Verify that the controller is reading the correct tension and that the feedback loop is stable. Set the controller to the yarn specification and let it run for a short period at low speed. Watch the display for sudden spikes. If the controller is compensating for a mechanical problem, you will see constant correction.
The reason for this step is that the controller is only as good as the sensors and the mechanical system it controls. If the warp beam is dirty or the reed is damaged, the controller will overcorrect and stress the threads. Clean the mechanical parts first, then calibrate the controller. Set the response time to match the yarn type. A fast response helps with fine yarns. A slower response is better for coarse yarns that need more stability.
7. Manage Thread Path and Avoid Snags
Thread management is the second major factor in reducing warp breaks. Check that all guides, pulleys, and tensioners are free of sharp edges. The warp path from the beam to the reed must be smooth and free of kinks. A single kink in the warp creates a point where the yarn bends at a sharp angle. At high speed, that angle exceeds the bend strength of the thread.
The reason for this step is that weaving thread management is often overlooked. Operators focus on speed and tension, but the path of the thread matters just as much. Replace any worn guides. Keep the warp path clear of dust and lint. A clean path reduces friction and prevents snags that start as small breaks and grow into full warp failures.
8. Run a Controlled Speed Ramp
After all checks, run the loom at 50 percent of target speed for ten minutes. Monitor the tension display and listen for abnormal sounds. A slight creak at the warp beam indicates friction. A thud at the reed indicates a loose frame or a damaged tooth. Stop the loom immediately if the tension display spikes.
The reason for this step is that a gradual ramp reveals problems that appear only under load. Running at full speed from the start hides small issues until they become major breaks. At 50 percent speed, the threads have time to settle into the weave. If the tension stays stable and no breaks occur, increase the speed in 10 percent increments. At each step, watch the tension and the break count.
Common Mistakes That Cause Warp Breaks
The table below lists the most common mistakes and their direct effects on the warp.
| Mistake | Effect on Warp |
|---|---|
| Skipping warp tension check before first run | Threads break under peak load |
| Leaving burrs on the warp beam flange | Friction points snap individual threads |
| Running the loom at full speed without a ramp | Heddle cords and reed teeth fail suddenly |
| Ignoring selvedge guide wear | Edge threads wear through at the guide |
| Over-tightening the electronic tension controller | Controller overcorrects and stresses the warp |
Final Verification Step
After the speed ramp, run the loom at target speed for a full production cycle. Check the break count at the end of the cycle. A zero break count is the goal, but a low count that stays stable is acceptable. If the break count rises, stop and review the steps above. The most common cause of a rising break count is a tension drift. Recheck the warp beam tension and the controller settings.
The final verification step confirms that the adjustments hold under real operating conditions. A warp that passes static checks but breaks under dynamic load has a hidden mechanical issue. Revisit the reed, the heddles, and the selvedge guide. A stable break count over a full cycle means the warp is ready for production.
Frequently asked questions
How often should warp tension be checked?
Check tension before every first run and after any warp beam change. Recheck it if the break count rises during a production shift.
Can a dirty warp beam cause warp breaks?
Yes. Dust and burrs on the beam flange create friction points that wear through the warp threads over time.
What is the best way to reduce selvedge breaks?
Keep the selvedge guide clean and set it for light contact. Replace worn guides and add felt pads where needed.
Should I run the loom at full speed after adjusting tension?
No. Ramp the speed from 50 percent in 10 percent steps. This reveals issues that only appear under load.
What should I do if the tension controller shows constant correction?
Check the mechanical parts first. A dirty beam, damaged reed, or loose heddle frame forces the controller to overcorrect.