How-To: Calibrating Warp Feeding on Power Looms
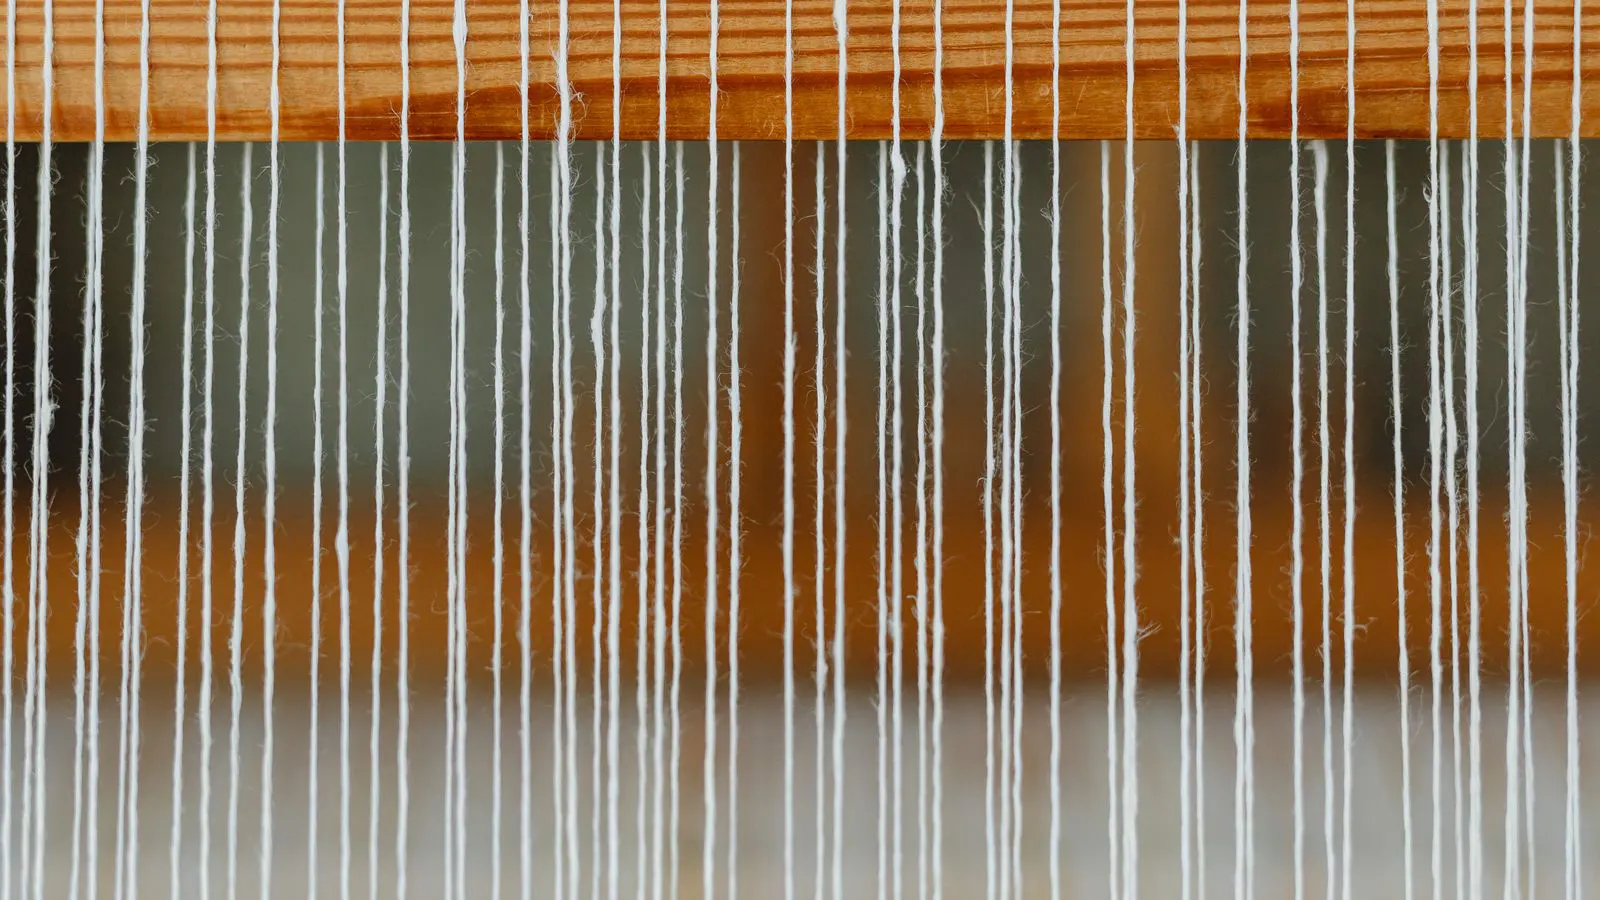
Proper warp feeding on power looms requires accurate loom tension setup and warp tension calibration. Follow these practical steps to verify take-up, check reed clearance, and balance tension across the warp to reduce breaks and improve fabric quality.
- Calibrate warp tension before running production to prevent breaks and uneven fabric.
- Check reed clearance and take-up settings to match the specific yarn type and width.
- Use a tension meter or calibrated hand feel to verify evenness across the warp.
- Inspect beater clearance and reed slots regularly to catch wear early.
- Document settings for each fabric style to speed up changeovers.
Why Warp Feeding Matters
Warp feeding determines how the loom draws the yarn through the shed. If the take-up is off, the fabric will either be too tight or too loose, and the yarns will not move uniformly through the reed. This causes breaks, uneven tension, and defects that show up in the finished cloth.
A clean calibration of warp feeding power looms keeps the machine running steady. It also protects the yarn from damage during high-speed weaving. When the feed rate lags behind the beater, the weft picks pile up and the fabric becomes dense. When the feed rate runs ahead of the beat, the cloth stretches and the pick length shrinks. Both conditions create a visible difference in the fabric hand. A tight pick length feels stiff and may crack at the fold. A loose pick length feels weak and may stretch out of shape during washing.
The warp is the backbone of the cloth. It runs lengthwise and carries the load of the fabric. If the warp tension is not even, the fabric will not lie flat. One side may curl while the other stays straight. This is common with cotton warps that have higher twist than the weft. The higher twist pulls the yarn tighter, creating a differential tension that drags one edge of the fabric.
What You Need Before You Start
Before touching the loom, gather the tools and information you need.
- A tension meter or calibrated hand-feel test kit.
- The yarn specification sheet, including twist, count, and construction.
- The fabric style guide, with warp density and take-up values.
- A soft cloth or brush to clear lint from the reed slots.
- A small screwdriver set for adjusting take-up screws and beater clearance.
Check that the warp is correctly threaded and that the selvedges are aligned. Do not begin calibration if the warp is loose or uneven at the beam. A loose warp beam will absorb tension changes and make it impossible to hold a steady setting. An uneven beam will pull the warp to one side, causing a permanent tension bias.
Bring a notebook or a printed calibration sheet. You will need to record the initial readings. Without these numbers, you cannot judge if a later adjustment improved the machine or made it worse.
Step 1: Reset the Take-Up to Neutral
Start by setting the take-up to a known neutral position. On most power looms, this is the center of the adjustment range. Turn the take-up screws or servo setting to the middle.
Why this step matters: A neutral baseline makes it easy to measure changes. If you start from an unknown position, you cannot tell whether a later adjustment is correct.
Find the zero mark on the take-up housing. Some looms have a digital display that shows the take-up percentage. Others have a mechanical scale with a pointer. Set the pointer to the center line. If the loom has a manual take-up lever, pull it to the neutral position.
Do not skip this step. If the previous operator left the take-up at a high setting, you will start with a tight fabric. You will then make adjustments based on a false reading. This can lead to over-tightening the warp and breaking yarns.
Step 2: Measure the Initial Warp Tension
With the loom off and the warp at rest, measure the tension at three points: the center of the warp, the left selvedge, and the right selvedge. Use a tension meter or a consistent hand-feel method.
Why this step matters: The warp should be even across the width. If the center reads higher than the selvedges, the warp is likely twisted or the beam is not level.
Place the tension meter at the center of the warp beam. Press the sensor against the yarn. Record the reading. Move to the left selvedge and repeat. Then move to the right selvedge. Compare the three numbers.
If the center reading is 10 percent higher than the selvedge readings, the warp is twisted. This usually happens when the warp beam is not level. The top of the beam sits higher than the bottom. The yarns at the top are stretched tighter than the yarns at the bottom.
Check the level of the warp beam. Use a spirit level. If the beam is not level, adjust the supports. If the beam is level but the tension is still uneven, the warp may have been wound unevenly on the beam. In this case, you may need to re-wind the warp.
Step 3: Adjust the Beater Clearance
Check the beater clearance, which is the space between the beater and the reed when the shed is closed. For standard cotton weaves, this is usually a few millimeters. For finer yarns, it may be smaller.
Why this step matters: Too much clearance causes the beater to miss the yarns, leading to slubs and loose fabric. Too little causes the beater to drag the yarns, increasing breakage.
Open the loom guard. Look at the beater bar. Measure the gap between the beater and the reed with a ruler. The gap should be even across the width. If the gap is wider on one side, the beater is tilted.
Adjust the beater position. Use the adjustment screws on the beater frame. Turn the screws to reduce the gap. Re-measure until the gap is even and within the correct range.
If the beater is too close, it will hit the yarns. This creates small breaks and slubs. If the beater is too far, it will not beat the weft into the fabric. The fabric will be loose and weak.
Step 4: Set the Reed Clearance
Next, check the reed clearance. This is the gap between the reed and the back beam or the warp beam. It must be tight enough to guide the warp, but loose enough to let the yarn pass without friction.
Why this step matters: If the reed is too tight, the yarns rub and wear. If it is too loose, the warp shifts during weaving, causing uneven tension.
Feel the reed with your hand. There should be a slight give, but no play that allows the reed to shift sideways.
Check the reed tension. The reed should be held firmly by the reed frame. If the reed is loose, it will move during the beat. This creates a gap in the fabric at that point. The fabric will have a visible line where the reed shifted.
Tighten the reed screws if the reed is loose. Do not over-tighten. If you over-tighten, the reed will warp. A warped reed creates uneven tension. The yarns on the tight side will break more often.
Step 5: Run the Loom at Low Speed
Start the loom at a low speed, around 20 to 30 picks per minute. Watch the warp as it feeds through the shed. Look for:
- Yarns that lag behind the others.
- Selvedges that are tighter than the center.
- Unusual noise from the take-up mechanism.
Why this step matters: Low-speed running reveals small problems that hide at high speed. If the warp feeds unevenly, you will see it immediately.
Watch the selvedges. The selvedges are the edges of the fabric. They are usually tighter than the center. This is normal. But if the selvedges are much tighter, the fabric will shrink unevenly.
Listen to the take-up mechanism. A smooth take-up mechanism makes a soft, even sound. A noisy take-up mechanism may have a worn gear or a loose chain.
Stop the loom if you notice any irregularity. Do not increase the speed until the issue is resolved. A problem that is small at low speed will become large at high speed.
Step 6: Adjust the Warp Tension Calibration
Now make the final tension adjustments. If the center is too tight, reduce the take-up slightly. If the selvedges are too loose, increase the tension at the edges.
Why this step matters: Warp tension calibration must match the yarn and fabric type. A heavier yarn needs more tension to prevent slubs. A finer yarn needs less to avoid breakage.
Make small changes, one at a time. Re-measure after each adjustment.
If the center is too tight, turn the take-up screw counterclockwise. If the selvedges are too loose, turn the take-up screw clockwise. Do not make large changes. A small change of one or two degrees can have a big effect on the fabric.
Check the tension again after each adjustment. The goal is to get the tension as even as possible. The center and selvedges should be within a few percent of each other.
Step 7: Verify at Production Speed
Run the loom at its normal production speed. After a short run, stop and re-measure the tension. Compare the new readings to your initial records.
Why this step matters: Tension can change as the yarn warms up or as the take-up mechanism settles. A check at production speed confirms that the calibration holds under load.
If the readings have shifted, make a final correction and re-run for a few minutes.
The yarn may stretch slightly as it warms up. The take-up mechanism may settle into a new position. These changes can shift the tension by a few percent.
If the tension shifts, adjust the take-up to compensate. Do not ignore small shifts. A small shift can become a large problem over time.
Common Mistakes to Avoid
- Adjusting the beater before the reed. The reed guides the yarn, so it must be set first.
- Ignoring the selvedges. If the edges are tight, the fabric will shrink unevenly.
- Skipping the low-speed run. Problems at low speed become harder to fix at high speed.
- Forgetting to clean the reed slots. Lint in the slots changes the friction and throws off the tension.
- Using the same settings for all yarns. A polyamide warp and a cotton warp need different tension values.
Final Verification
After calibration, run a short sample of the fabric. Check for:
- Even pick density.
- No slubs or loose threads.
- Smooth selvedges without ruffling.
- Consistent tension across the width.
If the sample looks clean and the tension readings are even, the warp feeding is set. Document the final settings in the machine log. This makes the next changeover faster and reduces the chance of errors.
Quick Reference Table
| Setting | What to Check | Typical Adjustment |
|---|---|---|
| Take-up | Tension at center and selvedges | Increase if loose, decrease if tight |
| Beater clearance | Gap between beater and reed | Reduce if slubs appear, increase if breaks rise |
| Reed clearance | Gap between reed and warp beam | Tighten if warp shifts, loosen if friction is high |
| Warp tension | Hand-feel or meter reading at three points | Adjust to match yarn spec |
| Speed | Noise and yarn movement at low speed | Stop and re-check if irregular |
When to Call for Service
If the tension meter shows a constant drift, or if the take-up screws do not hold their position, the issue may be mechanical. Check for worn gears, loose bearings, or a damaged take-up chain. If the problem is not obvious, contact your loom service team. Do not force the adjustment, as this can damage the yarn and the machine.
A constant drift means the tension is changing over time. This is not normal. The take-up should hold a steady position. If it does not, there is a mechanical problem.
Check the take-up chain. If the chain is loose, it will slip. If the chain is worn, it will not hold the tension. Replace the chain if it is damaged.
Check the gears. If the gears are worn, they will slip. Replace the gears if they are damaged.
Check the bearings. If the bearings are loose, they will create play. Replace the bearings if they are damaged.
Final Thoughts
A well-calibrated warp feeding system on power looms is the foundation of stable weaving. It takes time, but the payoff is fewer breaks, better fabric quality, and less downtime. Use the steps above to set the loom tension setup and warp tension calibration correctly. When in doubt, measure, adjust, and verify.
Frequently asked questions
How often should I recalibrate the warp feeding?
Recalibrate after every major changeover, if the yarn type changes, or if you notice tension drift during production. A quick check at the start of each shift is also a good habit.
What if the tension meter readings differ from hand-feel?
Trust the meter if it is calibrated. Hand-feel can vary between operators. Use the meter for objective numbers and hand-feel as a secondary check.
Can I use the same take-up setting for all fabrics?
No. The take-up setting depends on the yarn count, twist, and fabric width. A heavier yarn needs more tension than a finer one. Always follow the fabric style guide.
What should I do if the selvedges are always tighter than the center?
Check the warp beam for levelness and the selvedge guides for wear. If the guides are worn, replace them. If the beam is not level, adjust the mounting.
How do I know if the reed is worn?
Feel the reed slots. If the yarn catches or drags, the slots may be worn. Replace the reed if the wear is visible or if the tension readings are inconsistent.