Explainer: How Stitch Length Affects Garment Durability
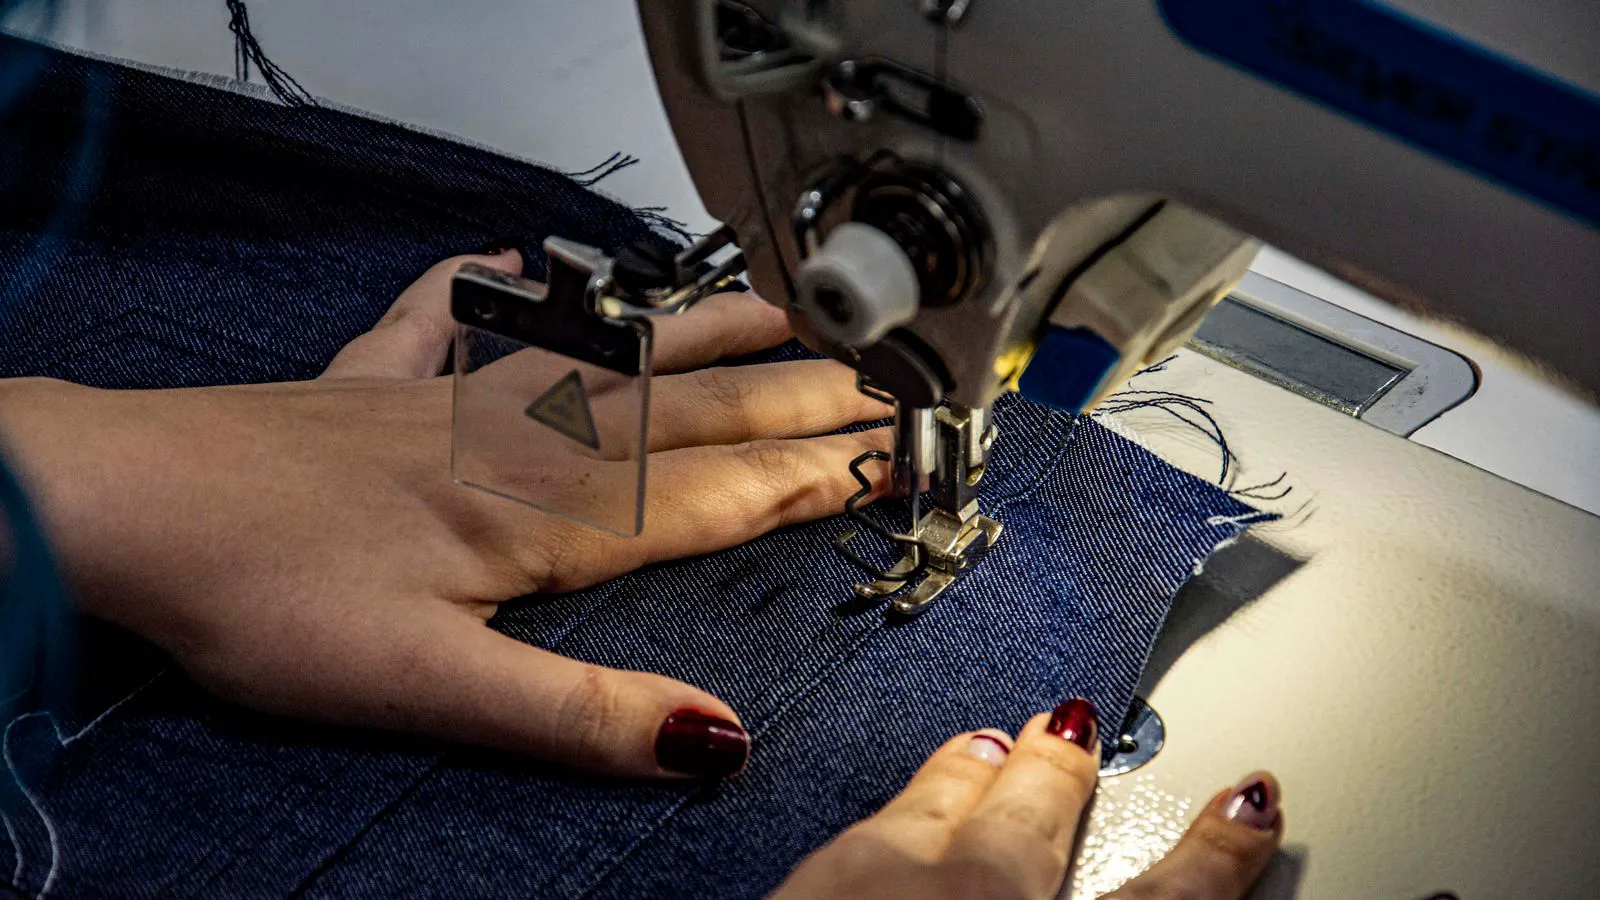
Stitch length changes thread density, stress distribution, and fabric movement. Longer stitches reduce thread density, while shorter stitches increase it. Selection depends on fabric weight, seam type, and expected wear patterns.
- Stitch length is a machine setting that changes thread density and stress distribution in a seam.
- Longer stitches allow more fabric movement but reduce thread density and can increase bulk.
- Shorter stitches hold fabric tighter but may cause puckering and reduce movement.
- Selection depends on fabric type, seam location, and expected wear.
- Consistent settings across the production line are required for uniform quality.
What stitch length means in a seam
Stitch length is the distance between two consecutive stitches in a lockstitch seam. It is set on the machine and changes how many threads per inch or per centimetre enter the fabric. A longer stitch length places fewer threads along the seam. A shorter stitch length places more threads along the same distance.
The setting appears in the machine control panel or on the stitch length dial. It is measured in millimetres or inches. The operator sets it before production, then locks the value for the run. The setting affects thread consumption, needle loading, presser foot pressure, and the final hand feel of the seam.
In a lockstitch seam, the top thread and bobbin thread interlock inside the fabric. The stitch length determines how far the needle travels between each lock. It also determines how much fabric the presser foot moves between stitches. This movement matters because it changes how the seam grips the fabric.
How stitch length changes thread density
Thread density is the number of stitches per unit length. It is the most direct effect of stitch length. A shorter stitch length increases density. A longer stitch length decreases density.
Higher density gives more thread-to-fabric contact. This helps hold layers together, especially when the fabric is light or the seam must resist pulling. Lower density gives less thread-to-fabric contact. This can reduce bulk, but it also reduces the number of threads that share the load.
Density affects seam strength in two ways. First, it changes how much thread is available to carry tension. Second, it changes how the thread bites into the fabric. More stitches mean more points where the thread can grip. Fewer stitches mean fewer grip points.
The effect is visible on the finished garment. A dense seam may look tight and uniform. A loose seam may look open, with small gaps between stitches. Both can be acceptable if the garment passes its quality checks. The choice is a balance between appearance, movement, and durability.
How stitch length affects fabric movement
Every seam restricts movement to some degree. The fabric on both sides of the seam must stretch when the garment is worn. The stitch length controls how much the fabric can move before the thread pulls taut.
A longer stitch length gives the fabric more room to move. The thread between stitches can slide slightly. This helps with stretch and comfort. It also reduces the chance of the seam breaking when the fabric is pulled.
A shorter stitch length holds the fabric tighter. The thread has less room to move. The seam may feel firmer. This can be useful where the seam must not stretch, such as a waistband or a seam that must stay flat.
The trade-off is clear. A seam that moves too little can crack when the fabric is pulled. A seam that moves too much can allow the layers to shift. The operator must match the setting to the fabric and the seam function.
How stitch length interacts with thread tension
Stitch length and thread tension work together. If the top tension is too tight and the stitch length is short, the thread may pull the fabric and cause puckering. If the top tension is too loose and the stitch length is long, the bobbin thread may show on the top surface.
The operator sets tension after the stitch length. The two settings must work as a pair. A change in stitch length often requires a small adjustment in tension. The change may be small, but it affects the final seam.
Thread type also matters. A heavier thread holds more tension than a light thread. A cotton thread behaves differently from a polyester thread. The operator must check the seam after changing the stitch length. The goal is a balanced lock where the threads meet in the middle of the fabric.
How stitch length affects different fabrics
The same stitch length does not work on every fabric. Heavy denim needs different settings than light jersey. The fabric weight, weave, and finish all change the best setting.
Heavy fabrics need a stitch length that can carry the load without tearing the fabric. The needle must penetrate the fabric with enough force. The thread must be strong enough to hold the layers. A longer stitch can help, but the tension must be high enough.
Light fabrics need a shorter stitch length to prevent the layers from shifting. The fabric may be thin enough that a long stitch leaves gaps. The needle must penetrate cleanly without pulling the fabric. The thread must be light enough to avoid adding bulk.
The fabric finish matters too. A fabric with a rough surface may grip the thread better. A smooth fabric may let the thread slide. The operator must adjust the presser foot pressure and the needle type to match the surface.
How stitch length affects seam locations
Different seam locations on a garment have different stress patterns. A shoulder seam may carry weight. A side seam may stretch with movement. A hem may rub against the floor. The stitch length must match the stress.
Shoulder seams and armholes often need a setting that allows movement. The fabric must stretch when the wearer raises an arm. A long stitch length can help. The thread must not crack when the seam is pulled.
Side seams must hold the garment shape. They also must allow movement. A medium stitch length often works well. The thread must be strong enough to hold the layers, but the seam must not restrict movement too much.
Hems and cuffs need a setting that allows the fabric to move but keeps the edge flat. A shorter stitch length can help hold the edge. The thread must not show on the outside. The operator must check the seam from both sides.
How to select stitch length for a new style
Selection starts with the fabric and the seam type. The buyer and the operator review the style sheet and the fabric specification. They agree on the seam location and the expected wear. The operator then sets a trial stitch length.
The trial run is small. The operator sews a short sample and checks the seam. They look for puckering, thread breakage, and fabric distortion. They pull the seam gently to check strength. They stretch the fabric to check movement.
The operator records the setting. They note the stitch length, the thread tension, and the needle type. They compare the sample to the quality standard. If the sample passes, they lock the setting for the production run.
The setting must stay the same across the line. Different operators may use slightly different values. The result is a variation in seam strength. A standard setting prevents this. The operator must be trained on the specific value for the style.
Worked example
A quality manager reviews a lightweight cotton shirt. The side seam must hold the garment shape but allow movement. The fabric is thin and has a smooth surface.
The operator sets a medium stitch length. The thread density is high enough to hold the layers. The seam does not pucker. The fabric moves when the operator stretches the sample. The thread does not show on the top surface.
The operator checks the hem. The hem needs to stay flat. The operator uses a slightly shorter stitch length for the hem. The thread density is higher. The hem holds its shape when the garment is laid flat. The seam does not distort.
The manager compares the two samples. The side seam allows movement. The hem stays flat. Both pass the quality check. The settings are recorded in the style file. The production line uses the same values.
| Seam Location | Typical Stitch Length | Main Risk if Too Short | Main Risk if Too Long |
|---|---|---|---|
| Shoulder | Medium | Puckering and thread breakage | Seam may stretch and lose shape |
| Side Seam | Medium | Fabric distortion and reduced movement | Layers may shift and bulk may form |
| Hem | Shorter | Edge may pucker and look uneven | Hem may move and lose shape |
| Cuff | Shorter | Fabric may pull and crack | Cuff may open and lose tightness |
| Placket | Medium | Buttonholes may distort | Seam may gap and show on top |
Common mistakes that reduce durability
The first mistake is using the same stitch length for every seam. The fabric and the seam location change the best setting. A single setting may work for one part of the garment but fail for another.
The second mistake is changing the stitch length without adjusting tension. The two settings work together. A change in one requires a check of the other. The operator must re-check the sample after the change.
The third mistake is not recording the setting. The style file must show the stitch length, the tension, and the needle type. If the setting is not recorded, the next operator may guess. The result is a variation in seam quality.
The fourth mistake is ignoring fabric movement. The operator must stretch the sample and pull the seam. A seam that looks fine when the fabric is flat may fail when the fabric is pulled. The operator must test the seam under load.
How to verify the setting on the floor
The operator checks the stitch length on the machine before the run. The setting is visible on the dial or the screen. The operator confirms the value matches the style file. The operator then sews a short sample and checks the seam.
The operator looks at the top and bottom of the seam. The threads should meet in the middle of the fabric. The top surface should be even. The bottom surface should show no long loops. The operator pulls the seam and stretches the fabric. The seam should hold.
The operator records the result. If the sample passes, the operator starts the run. If the sample fails, the operator adjusts the setting and re-checks. The operator does not start production until the sample passes the quality check.
The quality manager reviews the sample at the start of the run. The manager checks the seam against the standard. The manager signs off on the sample. The production line continues.
How stitch length affects sourcing decisions
When buying a machine or selecting a supplier, the buyer must consider the range of stitch lengths the machine can provide. The machine must handle the fabrics and styles in the order. If the machine cannot set the correct stitch length, the seam may fail.
The buyer also considers the control system. A digital control system allows precise settings. A mechanical dial may be less precise. The buyer must match the machine to the style requirements.
The buyer must also consider the operator training. The operator must know how to set and check the stitch length. The training must cover the specific styles in the order. The operator must be able to read the style file and set the machine correctly.
The buyer should include the stitch length range in the machine specification. The specification should show the minimum and maximum stitch length. The buyer should also include the thread tension range and the needle size range. The specification helps the buyer compare machines and select the right one.
How to document the setting in the style file
The style file is the source of truth for the machine settings. It must show the stitch length for each seam. It must show the thread tension and the needle type. It must show the fabric type and the seam location.
The file must be clear. The operator must be able to read it quickly. The file must be in a format that the operator can access on the floor. It must be updated when the style changes.
The file must be reviewed by the quality manager. The manager checks that the setting matches the quality standard. The manager signs off on the file. The operator uses the file during the run.
The file must be stored with the style documentation. The buyer and the supplier can refer to it during production. It helps the supplier match the machine settings to the style requirements.
Frequently asked questions
What is the typical stitch length for a side seam?
A medium stitch length usually works well for a side seam. The exact value depends on the fabric weight and the seam function.
Does stitch length affect thread consumption?
Yes. A shorter stitch length uses more thread per unit length. A longer stitch length uses less thread per unit length.
Can I use the same stitch length for all seams on a garment?
No. Different seams have different stress patterns. The setting must match the fabric and the seam location.
What should I check after changing the stitch length?
Check the thread tension, the seam appearance, and the fabric movement. Sew a short sample and test it against the quality standard.
How does stitch length affect seam strength?
Stitch length changes thread density and stress distribution. A shorter stitch length increases thread density and may hold the fabric tighter.