How to Set Knit Fabric Tension on Circular Looms
To set circular knitting tension, calibrate the machine, select appropriate needles, and adjust tension guides. Consistent tension ensures uniform knit fabric quality. This guide details machine settings to reduce defects and improve output.
- Consistent tension is the foundation of uniform knit fabric quality across the entire production run.
- Always verify needle size and condition before adjusting tension to prevent mechanical damage.
- Use a tension meter or standardized swatch to verify settings before running a full production lot.
- Small adjustments to tension guides and guide needles yield the most noticeable improvement in fabric consistency.
- Document all machine settings for every fabric style to ensure repeatability across operators and shifts.
Why Tension Control Matters in Circular Knitting
Circular knitting tension refers to the amount of force applied to the yarn as it is drawn through the machine by the needles. When tension is set correctly, every stitch has the same loop size, which produces a flat, even, and stable fabric. If tension is too loose, the fabric may look puffy and stretch unevenly. If it is too tight, the yarn can break during high-speed production.
For professional buyers and engineers, understanding how to set circular knitting tension is essential for reducing waste and maintaining knit fabric quality. This guide provides a practical, step-by-step approach to adjusting tension on circular knitting machines.
Prerequisites: What You Need Before Adjusting
Before you touch the tension guides, ensure the machine is ready for calibration.
- Clean the machine. Lint and fiber dust on the needles and tension guides change how the yarn moves. Wipe all contact points.
- Check needle condition. Bent, worn, or damaged needles alter the stitch formation. Replace any needles that show visible wear.
- Verify needle size. Use the correct needle size for your yarn and fabric style. A mismatched needle size can cause immediate tension problems.
- Select the right yarn. Use a test yarn that matches the production yarn in fiber type, count, and finish.
- Prepare a tension meter or swatch kit. You will need one of these to verify your settings objectively.
Step 1: Set the Base Machine Speed
Start with a low, stable machine speed, such as 600 to 800 revolutions per minute, depending on your machine type. Running at high speed before calibration hides small tension issues and makes it harder to identify the correct setting. Once the fabric looks even at low speed, you can gradually increase speed.
Step 2: Adjust the Needle Guide Position
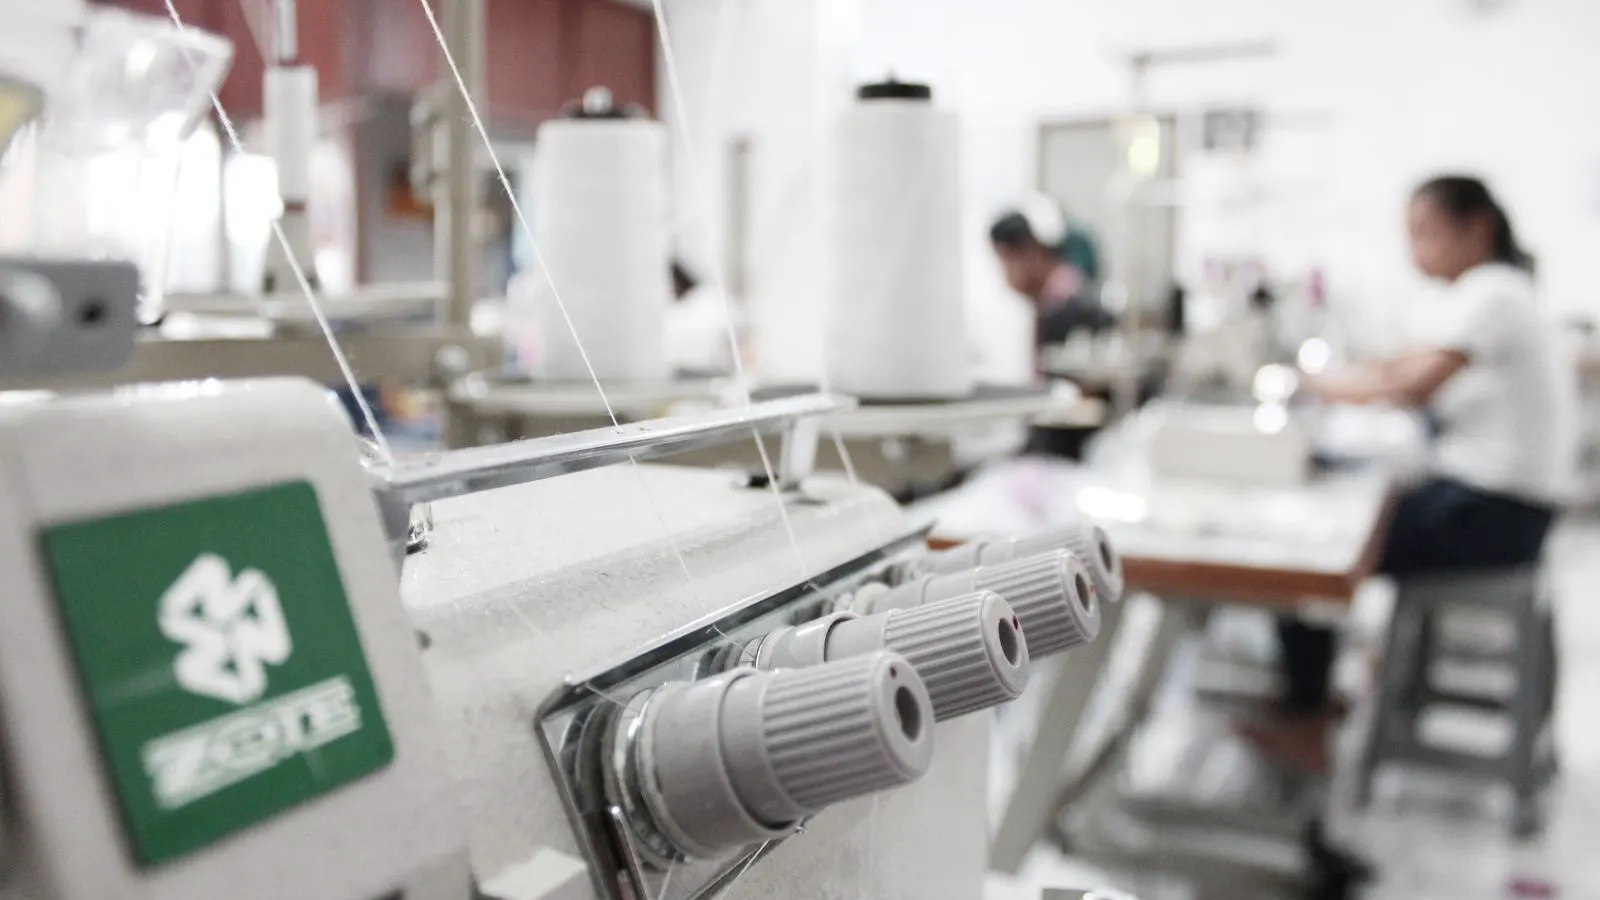
The needle guide, also called the guide needle or tension wire, controls how the yarn is pulled off the cone or feed tube. Move the guide slightly until the yarn leaves the cone at a smooth, consistent angle. If the guide is too close to the needle, the yarn may snap. If it is too far, the yarn can slip and cause loose stitches.
Step 3: Set the Yarn Tension Guide
Most circular knitting machines have one or two tension guides that the yarn passes through before reaching the needle. Adjust the first tension guide so the yarn is pulled smoothly without excessive drag. The second guide, if present, should provide a small amount of additional control. Make small adjustments, run a short swatch, and re-evaluate.
Step 4: Check the Fabric Loop Size
Run a small length of fabric and examine the loop size at the front of the fabric. All loops should be the same width and height. If some loops are larger than others, the tension is uneven. Look for a pattern: if the loose loops appear at the same location every rotation, the problem is likely a specific needle or guide.
Step 5: Adjust Individual Needle Tension
Not all needles create the same stitch. Some needles may be slightly shorter or stiffer than others. You can adjust individual needle tension by slightly bending the needle or adjusting the tension guide near that needle. Do not force the needle; a small change is usually enough.
Step 6: Run a Verification Swatch
After making adjustments, knit a swatch of at least 20 to 30 rows. Lay the swatch flat and measure it. Check the stitch count per inch or centimeter. A consistent stitch count indicates that the circular knitting tension is stable. If the count changes from row to row, re-check your guide positions.
Step 7: Increase Speed Gradually
Once the fabric looks even at low speed, increase the machine speed in small increments. At higher speeds, the yarn has less time to settle into the stitch, so tension can feel tighter. If the fabric starts to look uneven, reduce the speed and re-check the tension guides.
Common Mistakes to Avoid
| Mistake | Effect on Fabric | How to Fix It |
|---|---|---|
| Using the wrong needle size | Uneven loops and yarn breakage | Match needle size to yarn count |
| Ignoring lint buildup | Inconsistent tension | Clean needles and guides before calibration |
| Adjusting all guides at once | Unpredictable fabric changes | Change one guide at a time and test |
| Skipping the verification swatch | Hidden defects in production | Always knit a test swatch |
| Over-tightening the tension | Yarn breakage and broken stitches | Ease the tension guide slightly |
Final Verification Step
Before starting a production run, knit a final swatch using the exact production yarn. Check the fabric for:
- Uniform loop size across the entire width
- No loose or tight stitches in any specific area
- Stable stitch count over 30 rows
- No yarn breakage over a 10-minute run
If the fabric passes these checks, record the machine settings, including guide positions, needle size, and machine speed. This documentation helps maintain knit fabric quality across shifts and different operators.
Conclusion
Setting circular knitting tension is a combination of machine knowledge and careful observation. By following a structured calibration process, you can reduce defects, lower yarn waste, and produce a consistent fabric that meets buyer expectations. Remember that small adjustments and frequent verification are more effective than large, sudden changes. Treat every tension setting as a baseline that should be re-checked after yarn changes, needle replacements, or machine maintenance.
Frequently asked questions
How often should I check circular knitting tension?
Check tension after every yarn change, needle replacement, or major maintenance. During a production run, spot-check the fabric every hour to catch drift early.
What is the best way to measure tension?
Use a digital tension meter or measure the stitch count on a standard swatch. A consistent stitch count is the most practical indicator of stable tension.
Can I adjust tension without stopping the machine?
You can make minor adjustments to guide positions while the machine is running, but it is safer to stop the machine when replacing needles or making significant changes.
Does yarn type affect tension settings?
Yes. Different fiber types, counts, and finishes require different tension settings. Always recalibrate when switching yarns, even if they look similar.
What should I do if the fabric looks uneven after calibration?
Slow down the machine, clean the needles and guides, and check for bent needles. If the unevenness remains, re-run the full calibration process from the base speed.