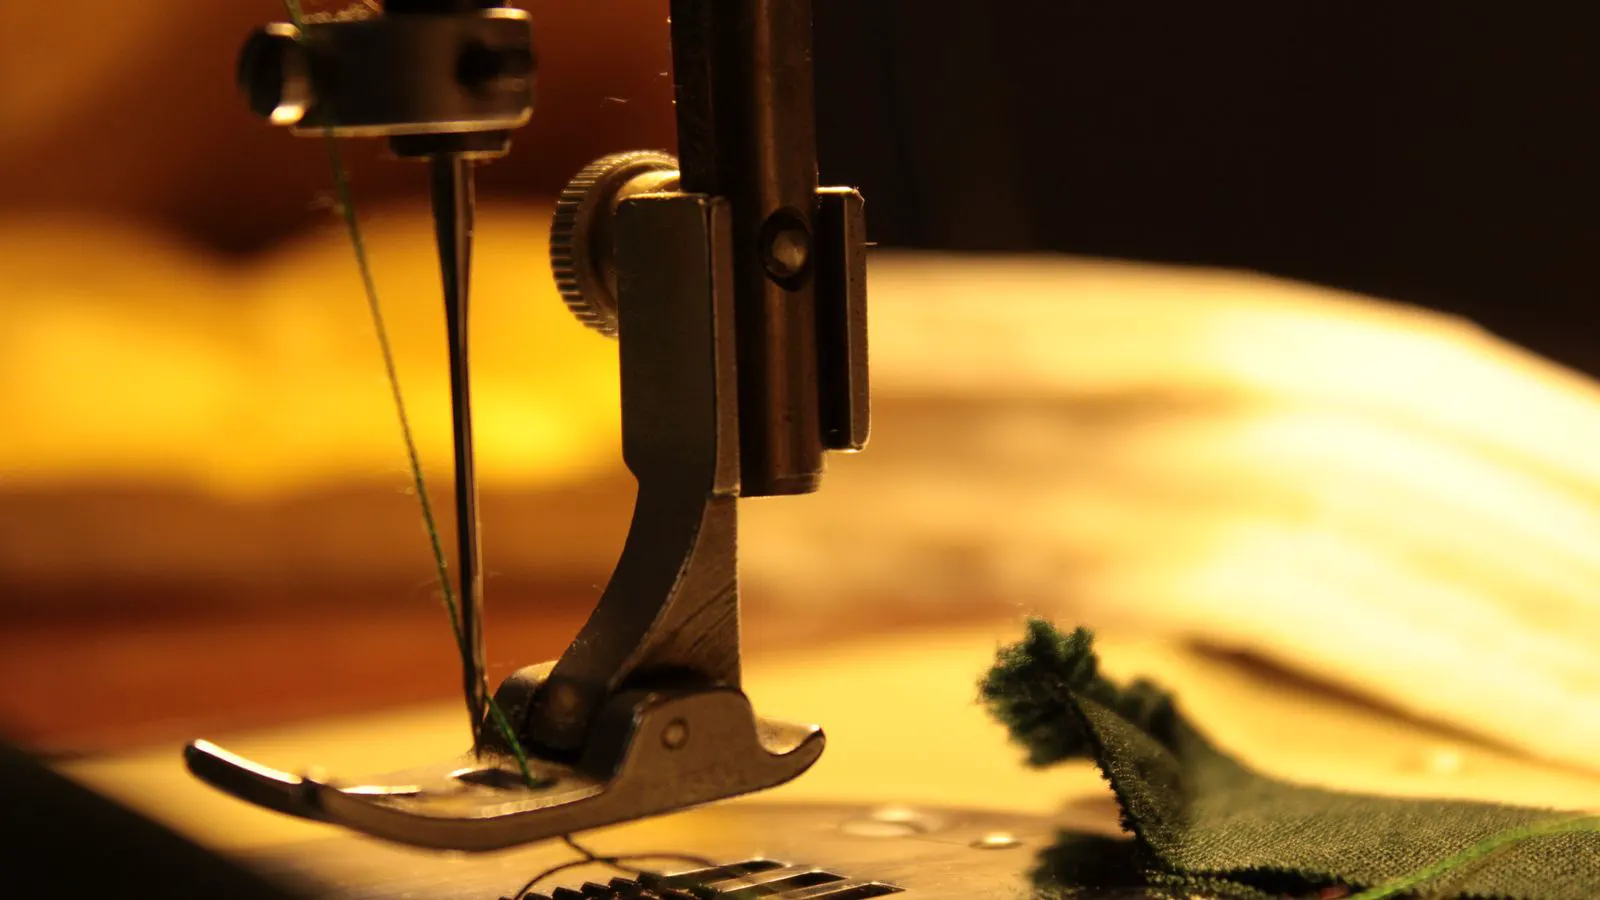
Checklist: Pre-Production Knitting Machine Setup
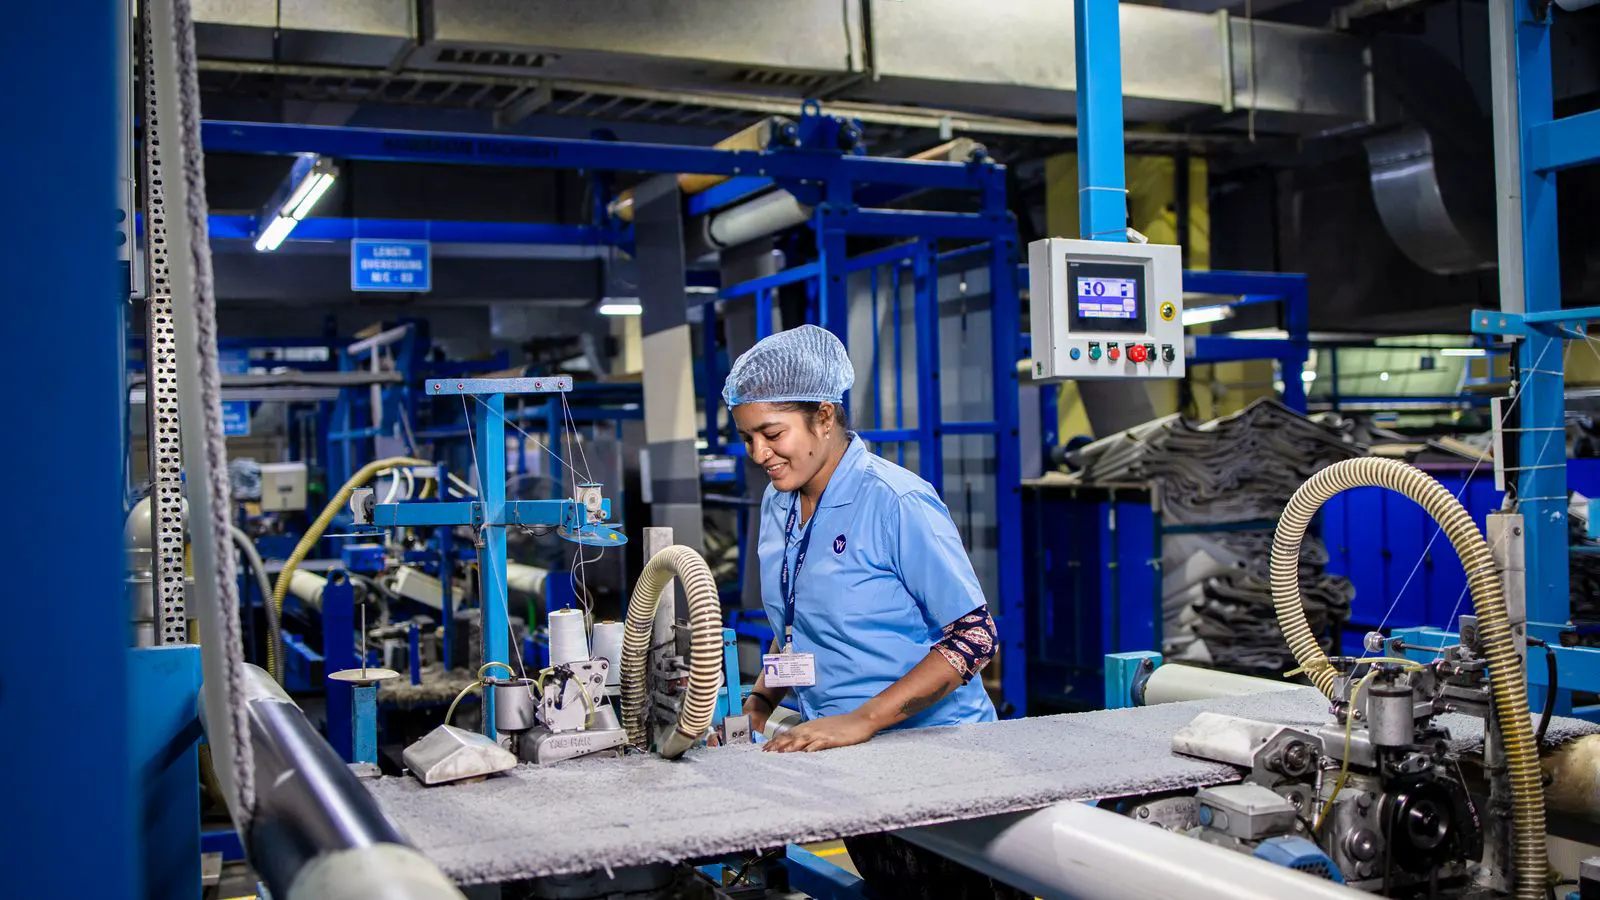
This checklist provides a systematic production readiness audit for knitting machines. It covers mechanical, electrical, and yarn handling checks. It helps operators identify setup errors before running bulk yarn.
- Verify mechanical alignment and needle integrity before introducing yarn to the machine.
- Confirm electrical safety and tension settings match the production order specification.
- Use a consistent pre-start routine to reduce stoppages and fabric defects during the first hours of production.
- Maintain a standardized checklist to ensure every shift start follows the same quality and safety protocol.
- Document setup values and anomalies to create a traceable record for troubleshooting and process control.
Why a Standardized Setup Routine Matters
A consistent start-up routine separates a reliable production floor from a reactive one. When machines are brought online without a structured check, operators often miss subtle misalignments. These small errors compound quickly during high-speed knitting. The result is increased waste, frequent stops, and fabric that fails downstream inspection.
A standardized knitting machine setup process gives operators a clear path to verify machine readiness. It turns a series of intuitive actions into a repeatable audit. This approach reduces the risk of human error and ensures that every shift begins with the same level of confidence.
The checklist below is designed for professional buyers and engineers. It groups checks by theme to make the routine easy to follow. Each item includes a red flag to watch for. These warnings help operators distinguish between normal variation and a condition that requires immediate correction.
Section 1: Mechanical Integrity and Needle Bed
The needle bed is the heart of any circular knitting machine. It must be free from damage before yarn is introduced. A single bent needle or a misaligned needle holder can cause a snarl or a drop. It can also damage the yarn feed system.
Start by rotating the needle bed manually. Feel for any sticking, grinding, or uneven resistance. The rotation should be smooth and silent. Listen for any clacking or scraping sounds that indicate a foreign object in the bed.
Check the individual needles against the production specification. Verify that the gauge and number of needles match the order. Inspect the tips for burrs, cracks, or excessive wear. A damaged tip creates a weak point in the fabric. It also increases the risk of a yarn break.
Red Flags in the Needle Bed
- A needle that does not return to the correct resting height.
- Visible dirt or lint packed into the needle slots.
- Inconsistent spacing between adjacent needles.
- A needle that sticks or lags during manual rotation.
If any of these conditions are present, stop the setup process. Correct the mechanical issue before proceeding. Do not attempt to compensate with a different yarn or tension setting. The mechanical fault will persist and cause further damage.
Section 2: Electrical Systems and Safety Devices
Electrical faults can cause sudden stops or, in severe cases, damage to the machine. Before connecting the power supply, perform a visual inspection of the wiring. Look for exposed conductors, frayed insulation, or loose connectors.
Verify that the emergency stop function works correctly. Pull the emergency stop lever and confirm that the machine shuts down immediately. Test the reset procedure to ensure the system returns to a safe state. This check is a critical part of the production checklist.
Check the machine controller for error codes. Clear any stored fault codes from previous shifts. Ensure that the parameter settings for speed and tension are loaded from the correct recipe. A mismatched recipe is a common source of setup errors.
Red Flags in Electrical Systems
- Flickering indicator lights or unstable display readings.
- Unusual heat from the control panel or motor housing.
- Error codes that persist after a power cycle.
- Loose or corroded terminal connections.
If the machine shows any electrical instability, do not proceed with production. Call a qualified technician. Continuing to run the machine under these conditions risks data loss and hardware failure.
Section 3: Yarn Handling and Feed Path
The yarn feed path must be clean and unobstructed. Any friction point in this path can cause uneven tension. It can also cause abrasion on the yarn, leading to weak spots in the final fabric.
Trace the yarn from the cone to the feed rollers. Check that the path is straight and that the yarn is not rubbing against any sharp edges. Inspect the feed rollers for wear. Worn rollers lose grip and can cause slippage. Slippage changes the tension and disrupts the knit structure.
Set the tension devices according to the production order. Use the tension gauge to measure the force. Record the value in the setup log. Compare the measured value with the target specification. Adjust until the reading is stable and within the allowed range.
Red Flags in Yarn Handling
- Visible fraying or fuzzing on the yarn at the feed entry.
- Inconsistent tension reading when the feed is cycled.
- Yarn touching the machine frame or other moving parts.
- Debris or lint caught in the feed rollers.
A stable tension reading is a key indicator of machine readiness. If the tension fluctuates, check the feed rollers and the yarn cone. Ensure the cone is seated correctly and that the yarn is unwinding freely.
Section 4: Fabric Tension and Loop Formation
Loop formation is where the yarn becomes fabric. The tension at this stage determines the final density and hand feel of the knit. It is one of the most critical parameters in the setup.
Run the machine at low speed with a sample yarn. Observe the loop formation in the needle bed. The loops should form evenly across the entire circumference. Look for any loops that are too tight or too loose.
Check the fabric tension using a tension meter or a calibrated scale. Measure the force required to pull a sample of the fabric off the machine. Compare this reading with the target value. Adjust the tension devices if the reading is outside the acceptable range.
Red Flags in Loop Formation
- Loops that vary in size from one side of the circle to the other.
- A fabric that feels uneven or “springy” when pulled.
- Tension readings that drift during the first few minutes of running.
- Visible gaps or tight spots in the initial fabric strip.
If the loop formation is inconsistent, do not increase the speed. Correct the tension and re-check the needle alignment. A stable loop formation is the foundation of a good fabric.
Section 5: Machine Speed and Production Parameters
The machine speed is a major factor in production efficiency. However, running too fast can cause defects. Running too slow wastes capacity. The speed must match the machine condition and the yarn quality.
Start the machine at a low speed. Run it for a set period, such as five minutes. Inspect the fabric for any irregularities. If the fabric is good, increase the speed in small increments. Monitor the tension and loop formation at each step.
Record the final speed in the production log. This value becomes a reference point for future runs. If the speed is reduced during a shift, note the reason. This information is valuable for troubleshooting and process improvement.
Red Flags in Machine Speed
- A sudden drop in speed without an operator intervention.
- Increased noise or vibration at higher speeds.
- Fabric defects that appear only at high speeds.
- Frequent stops due to yarn breaks or snags.
If the machine cannot maintain speed, check for mechanical issues. It may be that the needle bed is out of balance. It may be that the yarn is too fine for the current setup. Address the root cause rather than simply slowing the machine.
Section 6: Documentation and Traceability
A complete setup routine includes proper documentation. The production checklist must be filled out at every shift start. The operator records the machine ID, the yarn lot number, the tension values, and the speed.
This documentation creates a traceable record. If a quality issue arises later, the production team can look back at the setup log. They can see what parameters were used and who performed the setup. This information speeds up troubleshooting and quality control.
Keep the checklist in a standard format. Use a digital system if possible. A digital system allows for easy retrieval and analysis. It also reduces the risk of lost or illegible paper records.
Red Flags in Documentation
- Missing or incomplete entries in the setup log.
- Inconsistent notation or unclear units.
- No record of adjustments made during the setup.
- Log entries that do not match the physical machine settings.
Accurate documentation is a sign of a well-managed production floor. It demonstrates that the setup process is controlled and consistent. It also supports continuous improvement by providing data for analysis.
Section 7: Final Verification and Handover
The final step is a handover check. Before the machine is released for production, the operator and the supervisor should review the setup together. They verify that all checklist items are complete. They confirm that the machine is ready for the production order.
This handover is a quality control point. It catches any last-minute issues that may have been missed. It also ensures that both parties have the same understanding of the machine condition.
Sign the checklist to complete the setup. Store the document with the production records. The machine is now ready for bulk production.
Red Flags in Handover
- The operator is unsure about any of the setup steps.
- The supervisor finds a discrepancy between the log and the machine.
- The machine is released without a complete checklist.
- The production order details do not match the machine settings.
If any red flags are present, do not release the machine. Return to the relevant section and correct the issue. A thorough handover is the last line of defense against setup errors.
Summary of the Knitting Machine Setup Process
The knitting machine setup process is a systematic audit of the machine before production. It covers mechanical, electrical, yarn handling, and documentation aspects. By following this checklist, operators ensure machine readiness and reduce the risk of defects.
The process is designed to be repeatable. It can be used for any type of circular or flat knitting machine. It adapts to different yarns and production requirements. The key is consistency. Every shift must follow the same routine.
A well-executed setup routine is a cornerstone of efficient textile production. It saves time, reduces waste, and improves fabric quality. It also supports a culture of quality and continuous improvement on the factory floor.
Frequently asked questions
How often should the knitting machine setup checklist be performed?
The checklist should be performed at the start of every shift. It should also be performed after any major maintenance or repair.
What is the primary purpose of the electrical safety check?
The primary purpose is to ensure that the machine is safe to operate. It checks for electrical faults that could cause injury or damage to the equipment.
How do I verify that the yarn tension is correct?
Use a tension gauge to measure the force on the yarn. Compare the reading with the target value specified in the production order.
What should I do if a red flag is identified during the setup?
Stop the setup process immediately. Correct the issue before proceeding. Do not attempt to compensate with other settings.
Is the setup checklist the same for all types of knitting machines?
The core principles are the same, but the specific checks may vary. Circular and flat machines have different mechanical configurations. Adjust the checklist to match the machine type.