How To Set Up a New Finishing Line
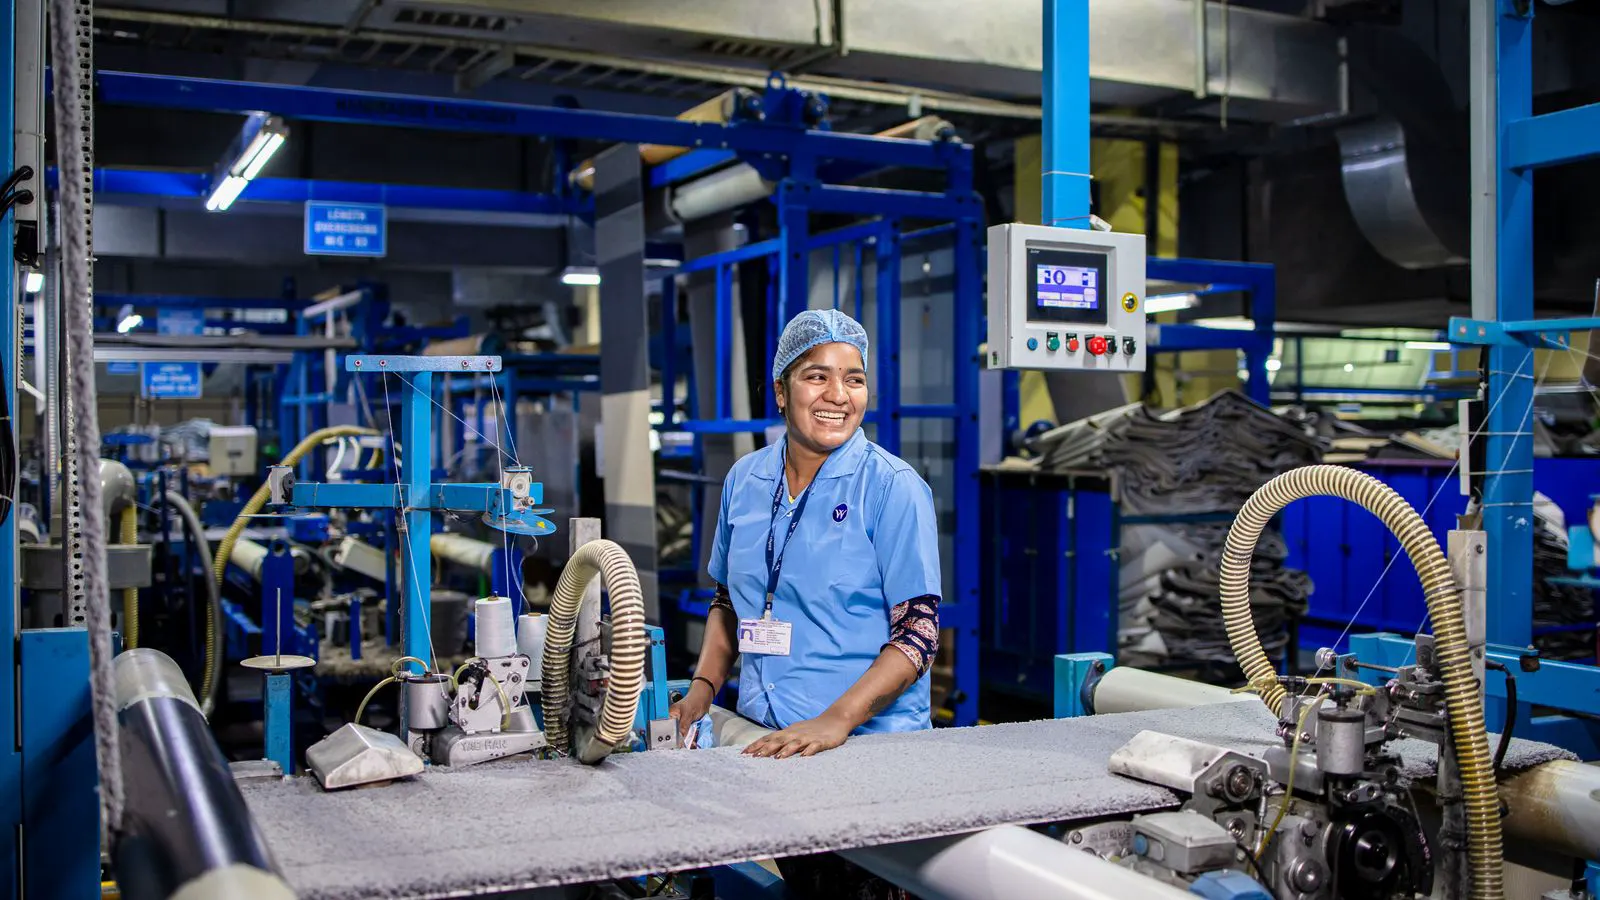
A new finishing line setup requires site preparation, utility alignment, and strict process control. This guide walks through the physical installation and initial production run, ensuring stable output and reducing early defects in the textile finishing installation phase.
- Verify all utility capacities and drainage before the first machine arrives on site
- Align process parameters with the specific fabric type and intended end use
- Run a controlled trial batch before committing to full production volume
- Document every setting during commissioning to create a reliable baseline for future batches
Prerequisites and Site Assessment
Before any steel enters the building, the floor needs to be ready for the weight and vibration of the equipment. A finishing line setup begins with a structural review of the production floor. You must confirm that the concrete slab can support the load of the sizing, washing, and drying units. These machines are dense assemblies of steel frames, water tanks, and motor housings. A typical sizing machine can weigh several tons, and the vibrating action of the washers adds dynamic loads that static weight alone does not capture. If the building is older, the load bearing capacity may be lower than modern specifications, requiring reinforcement. In many cases, engineers will need to pour a new reinforced concrete pad or install steel beams to distribute the load across the building structure. You should also check the floor flatness. A sloping floor, even by a few millimeters across a meter, will cause machines to sit at an angle. This misalignment forces the fabric path to fight the gravity of the machine frame, leading to uneven tension and wear on the guide rollers.
Utility connections are the second major hurdle. Check the electrical supply for the correct voltage and phase count. Many large drying ovens and chemical dosing systems require dedicated three phase power. The main drive motors on the calendering units and the heating elements in the ovens draw high amperage. You need to verify that the main switchboard has the capacity to handle these loads without voltage drop. Voltage drop can cause the motors to stall or overheat, leading to erratic fabric speed. Verify the water supply pressure and flow rate against the machine data sheets. Washing machines require a steady, high-volume supply to maintain the water level in the tanks and to flush the chemical lines between batches. If the pressure fluctuates, the chemical dosing pumps may lose prime, resulting in inconsistent concentrations. You also need to check the steam lines if you are using steam for drying or pressing. Steam lines require insulation and a trap system to manage condensate. Poor condensate management causes water hammer, which can crack pipe joints and damage the equipment.
The drainage system is often the most overlooked part of the site assessment. Finishing processes use large volumes of water and carry away dissolved chemicals, dyes, and residues. The floor drains must have the correct slope and size to handle the flow rate without backing up into the machine bases. If the existing drainage is insufficient, the line will stall during production, causing downtime and potential damage to the machinery. Water pooling under the machine bases can corrode the steel frames and damage the electrical connections. You should also consider the environmental discharge requirements. Depending on your local regulations, the wastewater may need to be treated in a separate effluent plant before release. Ensure that the line from the finishing area to the treatment plant is sized correctly and that the pumps have the suction lift required for the layout.
Machine Unpacking and Physical Installation
Once the site is ready, the physical installation of the textile finishing installation equipment follows a strict sequence. Start with the wet end machines, such as the washing and sizing units, and move toward the dry end, which includes the ovens and calendering units. The order matters because the wet end machines are usually more sensitive to water damage during handling. These units often have open tanks and complex plumbing. If they are left exposed to rain or dust while waiting for the next stage, the internal components can be contaminated. Unpack the machines in the order they will be connected. Keep the chemical tanks sealed until the piping is complete to prevent dust and debris from entering the dosing chambers.
Position each unit according to the floor plan approved during the design phase. Use the manufacturer’s anchor points to secure the machines to the floor. This prevents movement during operation, which is critical for maintaining the alignment of the fabric path. Misalignment at this stage leads to uneven tension, wrinkles, and inconsistent drying later in the line. When anchoring, do not overtighten the bolts. Over-tightening can warp the machine frame, especially if the concrete slab is not perfectly flat. Check the level of each machine using a precision level. The fabric path should be perfectly parallel to the floor. A slight tilt can cause the fabric to drift to one side, leading to edge defects.
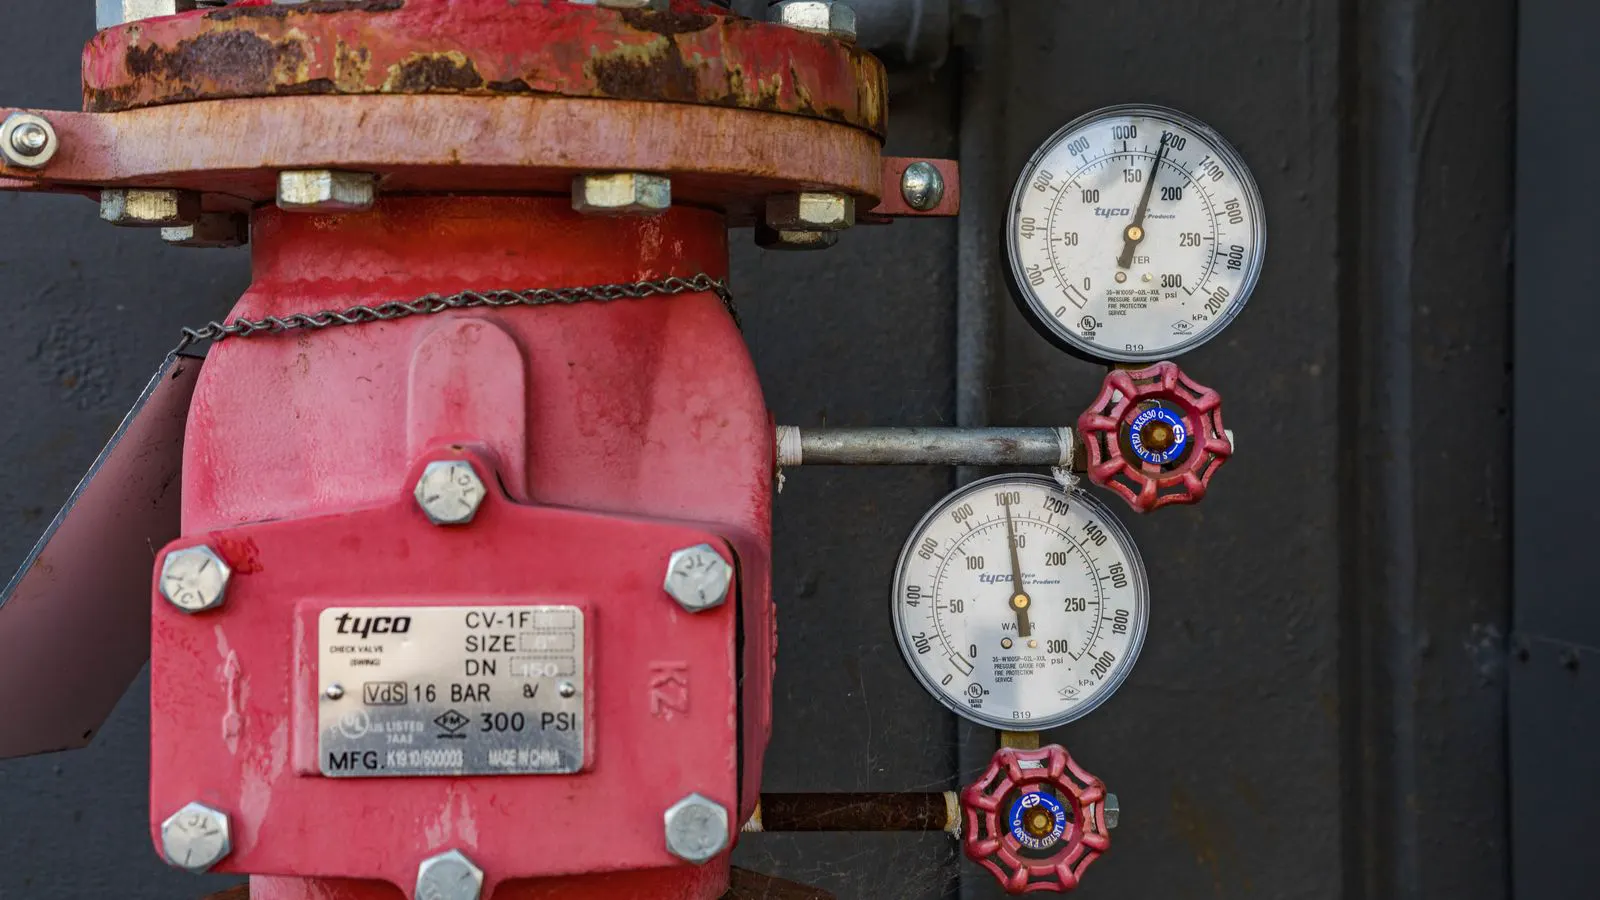
Connect the piping and electrical feeds now. Use clean water lines for the chemical dosing systems to avoid contamination. If the water lines have been used for other purposes, such as fire suppression or cooling, they must be flushed thoroughly before connecting the chemical pumps. Residual chlorine or particulate matter can clog the dosing nozzles or react with the chemicals. Check all cable trays for proper support and clearance. Cables should not hang freely or touch the machine frames where they can be pinched. Ensure that the steam and condensate lines are insulated and correctly routed to prevent scalding risks. A careful visual inspection of all connections at this stage saves hours of troubleshooting later. Look for loose fittings, missing gaskets, and unsecured clamps. Tighten every connection and re-check after the first pressurization test.
Process Control and Parameter Setup
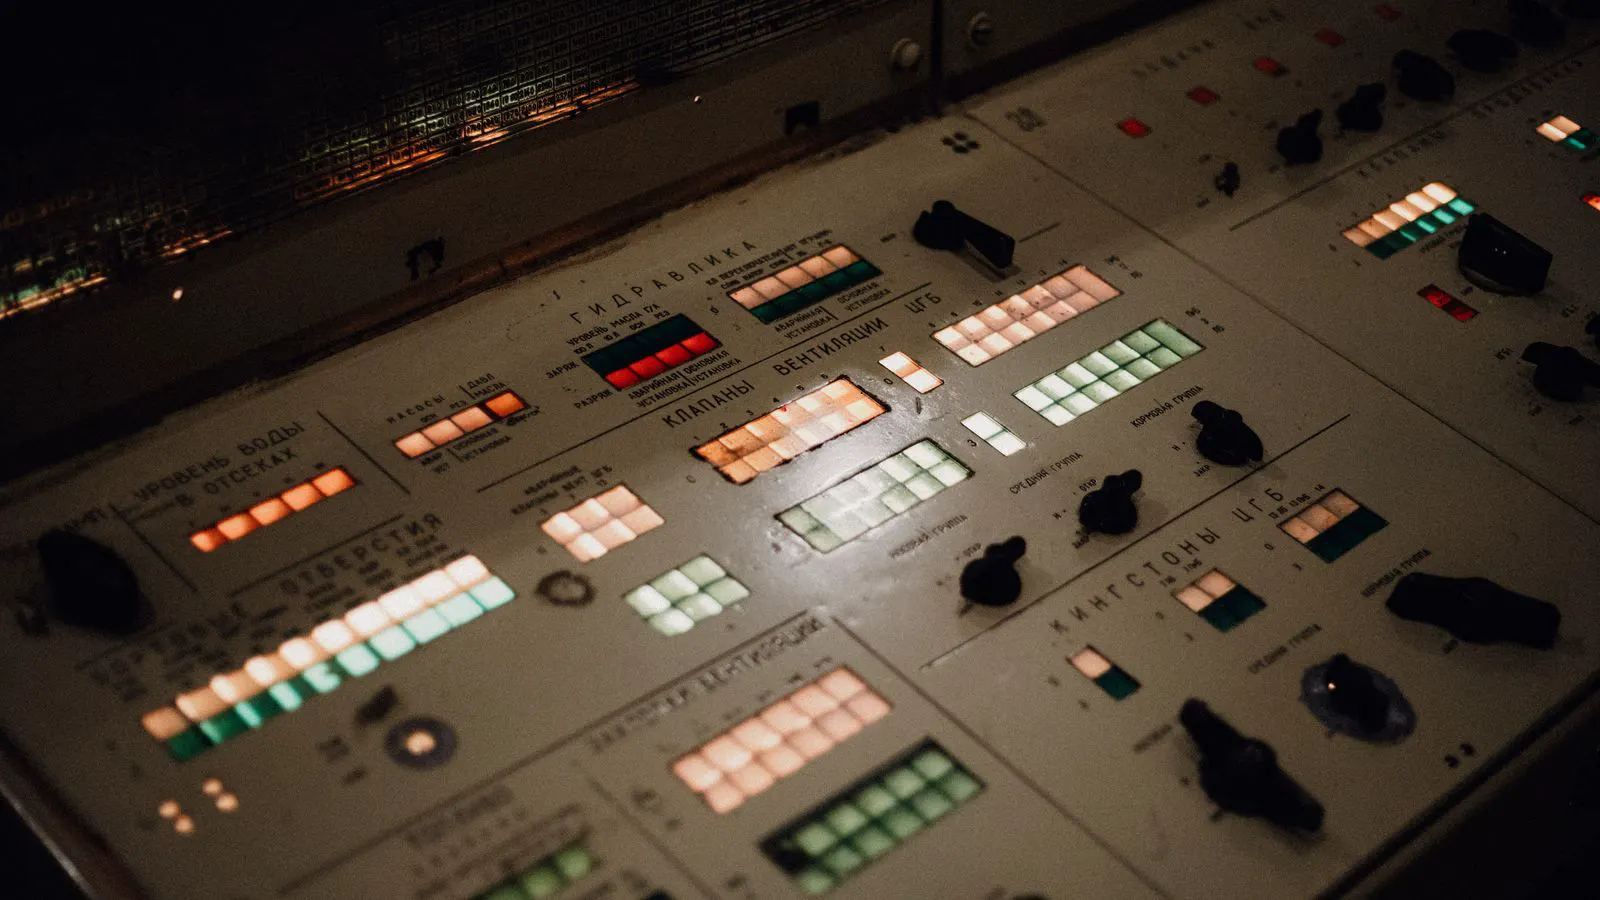
With the physical installation complete, the focus shifts to finishing process control. The goal here is to program the machines for the specific fabric type you intend to produce. Every machine has a control panel where you set temperature, speed, and chemical concentrations. These panels often feature touch screens or programmable logic controllers that allow you to store different recipes for different fabrics. You need to define the parameters for each stage of the process before the first run.
Start with the washing unit. Set the inlet temperature and the wash cycle duration based on the fabric weight. For heavier fabrics, a longer wash cycle removes more impurities. The wash temperature should be high enough to dissolve dirt and oils but not so high that it damages the fibers or sets stains. For cotton fabrics, a hot wash followed by a cool rinse is common. For synthetic blends, you may need to adjust the temperature to prevent shrinkage or distortion. Adjust the rinse water temperature and flow rate to ensure no soap or salt residue remains. Residue can cause spots or uneven color in later stages. The rinse water should be clear. If it is cloudy, the fabric is not clean enough to proceed to the drying stage. You may need to add an extra rinse cycle to ensure complete removal of the washing agent.
Next, configure the chemical dosing system. If you are applying starch, size, or softeners, set the concentration based on the fabric weight per square meter. A common mistake is using a fixed chemical dose regardless of fabric weight. This leads to over sizing on light fabrics and under sizing on heavy ones. Program the dosing pumps to calculate the chemical volume based on the fabric speed and width. The dosing pumps should be equipped with flow meters that provide accurate feedback to the control system. If the flow meters are not calibrated, the chemical concentration will be off, leading to inconsistent fabric hand and durability. Check the chemical tank levels and ensure the dosing nozzles are free of clogs. A clogged nozzle can cause a sudden loss of chemical, which is difficult to detect and can ruin a large batch of fabric.
Commissioning the Drying Section
The drying section is where the fabric transforms from a wet, heavy state to a dry, finished product. Commissioning the drying ovens requires careful attention to temperature and airflow. Start with the first oven at a lower temperature and gradually increase it as you monitor the fabric exit temperature. The first oven should not be too hot, as it can cause the fabric to stick to the oven walls or the rollers. Stickiness is a common problem during the initial run. It is usually caused by the fabric being too wet when it enters the oven. If the fabric is dripping, the water evaporates too quickly, leaving the starch or chemical on the fabric surface and causing it to bond to the metal parts. Adjust the dryer speed or the inlet temperature to resolve the issue. If the fabric is sticking, reduce the temperature or increase the speed to allow more time for the fabric to dry before it reaches the next stage.
Set the fan speeds to ensure even airflow across the fabric width. Uneven airflow causes one edge of the fabric to dry faster than the center, leading to edge shrinkage and uneven hand feel. Check the heat recovery system if your line uses one. Efficient heat recovery lowers energy costs and helps maintain stable oven temperatures. The heat recovery unit captures the hot air from the exhaust and uses it to preheat the incoming air. This reduces the energy required to heat the ovens. If the heat recovery system is not working correctly, the oven temperatures will fluctuate, leading to inconsistent drying. Check the filters in the heat recovery unit. Dirty filters reduce airflow and can cause the fans to overwork. Clean the filters regularly to maintain efficiency.
Run a test fabric through the entire drying line. Observe the fabric as it enters the first oven and exits the last. Look for any sticking, wrinkling, or edge curling. If the fabric sticks to the oven walls, the temperature is too high or the fabric is too wet. Adjust the inlet temperature or the dryer speed to resolve the issue. If the fabric wrinkles, check the tension in the dryer. The fabric should be under sufficient tension to keep it straight, but not so tight that it stretches. Wrinkles can become permanent creases if they are not smoothed out by the calendering units. If the fabric curls at the edges, check the airflow balance. One side of the fabric may be drying faster than the other. Adjust the fan speeds or the temperature zones to balance the drying.
Common Mistakes During Setup
Even experienced teams make errors during the initial phase. One frequent mistake is rushing the chemical dosing calibration. If the pumps are not calibrated correctly, the chemical concentration will be wrong, affecting the fabric hand and durability. Calibrate the pumps with a known volume of water before running chemical solutions. Measure the water that passes through the pump over a set period of time and compare it to the target flow rate. Adjust the pump settings until the measured flow matches the target. This ensures that the chemical is dosed accurately. If the pump is not calibrated, the chemical concentration will vary from batch to batch, leading to inconsistent fabric quality.
Another error is ignoring the fabric path alignment. Even a slight kink in the fabric guide rollers can cause uneven drying. Walk the line and check the tension at every point. The fabric should move smoothly without bouncing or fluttering. If it flutters, increase the tension slightly. If it sags, decrease the tension. Check the rollers for wear and ensure they are clean. A worn roller can leave marks on the fabric. A dirty roller can transfer dirt and oils onto the fabric. Clean the rollers regularly and replace them if they show signs of wear.
Do not skip the documentation. Record every setting, temperature, speed, and chemical concentration in a logbook or digital system. This baseline data is critical for future batches. If you get a defect later, you can compare the current settings to the baseline to find the change that caused the problem. Documentation also helps with training. New operators can refer to the baseline settings to understand the normal operating parameters. Without documentation, every batch is a new trial, leading to longer setup times and higher waste rates.
Final Verification and Production Readiness
The final step is a full line run with the intended fabric. Run a small batch of about one hundred meters. Monitor every machine and every parameter. Check the fabric quality at regular intervals. Look for evenness in color, hand feel, and dryness. Use a moisture meter to check the dryness of the fabric. The moisture content should be within the target range for the specific fabric type. If the moisture is too high, the fabric may feel damp and attract dirt. If the moisture is too low, the fabric may become brittle and prone to cracking. Check the hand feel by running your fingers over the fabric. It should feel smooth and even, without any stiffness or roughness. Check the color for any fading or variation. If there are any defects, stop the line and correct the issue. Do not push through a defect. A small error now can become a large waste problem later.
Once the trial batch is approved, clear the production floor of any non essential personnel. Ensure the safety guards are in place. Brief the operators on the emergency stop locations and the specific settings for the current fabric type. The operators should know how to adjust the settings if the fabric quality changes. They should also know how to handle a malfunction, such as a power failure or a chemical spill. A clear understanding of the safety procedures and the operating parameters is essential for a smooth production run.
Maintaining the Baseline
After the first production batch, review the data from the commissioning run. Compare the actual output to the target specifications. If the fabric weight is off, adjust the drying time or temperature. If the hand feel is too stiff, reduce the chemical dose. Make small adjustments and run a short test batch to verify the effect. Do not make multiple changes at once, as it will be difficult to determine which change caused the improvement. Record the new settings in the baseline document.
Update the standard operating procedure with the final settings. This document becomes the reference for all future production of that fabric type. Keep it accessible to the operators. The standard operating procedure should include the target parameters, the inspection points, and the troubleshooting steps. It should also include the chemical concentrations and the water temperatures for each stage of the process. A clear and up-to-date standard operating procedure ensures that all batches are produced with the same quality.
A stable finishing line setup is not a one time event. It is a continuous process of monitoring and adjustment. By following these steps, you create a reliable foundation for high quality textile finishing. Regular maintenance and monitoring are required to keep the line running efficiently. Check the filters, clean the rollers, and calibrate the dosing pumps on a regular schedule. These small tasks prevent large problems from developing. A well-maintained line produces consistent fabric quality and reduces waste, leading to better profitability.
Frequently asked questions
How long does a typical finishing line setup take?
The duration depends on the complexity of the line and the site readiness. A standard line can be installed in a few days, but commissioning and trial runs may take another week or more.
Can I install the line on a single floor?
Yes, most modern finishing lines are designed for single floor installation. However, the floor must be strong enough to support the weight of the equipment and the fabric.
What should I do if the fabric shrinks unevenly during setup?
Check the drying oven temperatures and airflow. Uneven shrinkage is usually caused by uneven drying. Adjust the fan speeds or oven temperatures to ensure the fabric dries at the same rate across the width.
Is it safe to run the line without a trial batch?
No. Always run a trial batch before full production. This allows you to catch and correct errors before committing to a large volume of fabric.
How often should I recalibrate the chemical dosing pumps?
Recalibrate them at least monthly, or after any significant change in chemical type or concentration. This ensures the fabric receives the correct treatment.