Checklist: Verifying Robotic Gripper Specs for Fabric
Before approving a new robotic gripper for fabric, verify load capacity, pinch dimensions, grip force, sensor integration, and cycle speed. Test with real material grades to confirm repeatable handling without damage or slippage.
- Specify max fabric weight and thickness to match gripper load and pinch capacity.
- Measure grip force on the thinnest fabric to prevent tearing.
- Validate sensor feedback against actual cycle time to avoid stalls.
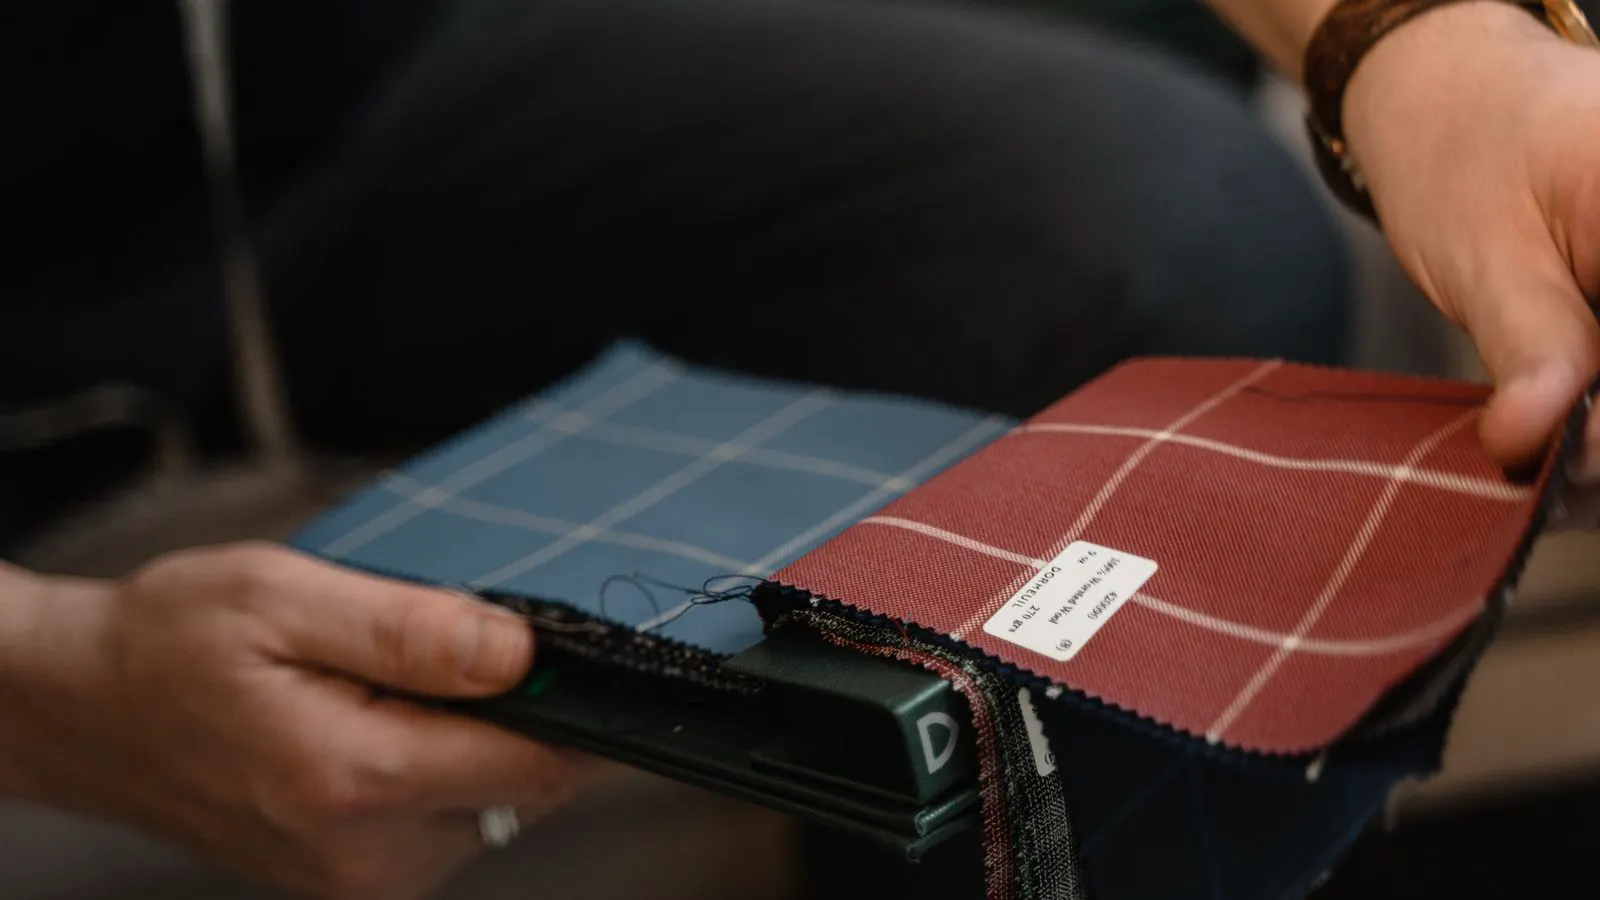
- Test the gripper on real material grades, not just sample cards.
- Confirm pinching zones align with the robot arm's approach path.
Why Fabric Grippers Fail in Production
A new gripper looks perfect in the demo. Then the first roll of jersey hits the line, and the fabric slips. The robot retries, the cycle time drops, and the operator pulls the cell offline. Most failures trace back to a spec sheet that never matched the actual material.
Before you approve a robotic gripper for textile handling, treat the vendor data as a starting point. You need a physical audit. The checklist below covers the core checks. It is written for engineers and plant managers who need to sign off on a purchase.
Load and Material Thickness
Start with the physical properties of the fabric. Identify the heaviest roll or stack the robot will handle. A gripper rated for 2 kg is fine for a single folded shirt, but it may fail on a baled 15 kg bale.
Check the thickness. A gripper designed for 2 mm foam may pinch a 5 mm denim stack unevenly. The jaws need to open enough to clear the thickest item, but close enough to hold the thinnest item securely.
Checklist: Load and Thickness
- Maximum Payload: Confirm the gripper payload rating exceeds the heaviest single item or stack by at least 20%.
- Pinch Depth: Measure the maximum open position. Ensure it clears the thickest fabric stack by a safe margin.
- Pinch Height: Verify the jaws can close to a minimum gap that accommodates the thinnest fabric without crushing it.
- Center of Gravity: If handling rolls, confirm the robot arm can support the weight at the roll’s center of gravity without tipping.
Red Flags:
- Vendor datasheets list “typical” weight instead of maximum rated load.
- No minimum pinch depth specified, leaving you to guess the opening range.
- The gripper is designed for a single flat layer, but your process handles multi-layered stacks.
Grip Force and Surface Tension
Fabric behaves differently from metal. It stretches, slides, and has varying surface friction. A high grip force tears delicate knits. A low grip force lets smooth polyester slip off the jaws.
You need a force gauge. Place the thinnest, most slippery fabric in the gripper. Close the jaws. Measure the force required to pull the fabric free. This tells you if the grip is sufficient.
Then test the thickest, heaviest fabric. Ensure the jaw pressure is even across the width. Uneven pressure causes tearing.
Checklist: Grip Force and Surface Tension
- Minimum Grip Force: Measure the force needed to hold the thinnest fabric without slipping.
- Maximum Grip Force: Ensure the jaw pressure does not exceed the tensile strength of the most delicate fabric.
- Pressure Distribution: Check for edge wear or uneven contact points on the jaw pads.
- Slippage Test: Apply a lateral pull to the held fabric. If it moves, the friction is too low.
Red Flags:
- Jaw pads are made of hard plastic that cuts into knits.
- The gripper uses a single point of contact instead of parallel pads.
- No data on friction coefficients for different fabric types.
Pinch Dimensions and Jaw Geometry
The shape of the jaws matters. Parallel jaws are good for flat sheets. V-shaped jaws handle irregular bundles. For textile automation, parallel jaws with adjustable pads are usually the standard.
Check the contact surface area. Larger pads distribute force and reduce tear risk. Smaller pads increase pressure but suit thin, stiff fabrics.
Checklist: Jaw Geometry
- Contact Area: Measure the width of the jaw pads. Ensure they cover at least 50% of the fabric width for even support.
- Jaw Alignment: Close the gripper fully. The jaws should meet in the center without twisting.
- Pad Material: Confirm pads are made of low-friction, durable material like silicone or urethane.
- Adjustability: Check if pads can be swapped or repositioned for different fabric thicknesses.
Red Flags:
- Jaws are rigid metal with no replaceable pads.
- The contact area is less than 20% of the fabric width.
- The gripper cannot adjust for thickness changes between batches.
Sensor Integration and Feedback
A gripper without sensors is a blind tool. It does not know if it has grabbed the fabric or if the fabric has slipped. You need feedback to prevent cycles that fail silently.
Check what sensors the gripper uses. Position sensors confirm the jaws are closed. Force sensors detect slippage. Vision systems verify the object is in the correct location.
Checklist: Sensor Integration
- Position Feedback: Confirm the gripper sends a signal to the PLC when fully closed.
- Force Feedback: Check if the gripper reports grip force in real-time.
- Vision Integration: If using vision, verify the camera field of view aligns with the gripper grasp zone.
- Communication Protocol: Ensure the gripper speaks the same protocol as your robot controller (Profinet, EtherCAT, or Modbus).
Red Flags:
- No force feedback, only position feedback.
- The sensor protocol requires a gateway that adds latency.
- Vision system is not calibrated for the specific lighting in the cell.
Cycle Time and Repeatability
Speed is not the goal. Consistency is. A fast gripper that slips every tenth cycle is useless. You need to measure the cycle time under production conditions.
Run the gripper through 100 cycles with the actual fabric. Time each pick and place. Look for drift. If the cycle time increases over 50 cycles, the pads are wearing or the drive is slipping.
Checklist: Cycle Time and Repeatability
- Pick Time: Measure the time from the robot arm arriving at the fabric to the gripper closing.
- Place Time: Measure the time from the gripper opening to the fabric being released.
- Total Cycle: Add approach, pick, hold, and release times. Compare against your takt time.
- Repeatability Test: Run 50 cycles. Check if the grip position varies by more than 1 mm.
Red Flags:
- Cycle time is only tested in an empty environment.
- No data on pad wear over time.
- The gripper uses a pneumatic actuator without a speed controller.
Maintenance and Wear Parts
Grippers wear. Pads tear. Air lines leak. Before approving the spec, check the service life of the wear parts.
Checklist: Maintenance
- Pad Life: Ask for the expected number of cycles per pad set.
- Air Supply: Confirm the required air pressure and flow rate.
- Cleaning: Check if pads are easy to remove and clean.
- Service Interval: Define how often the gripper needs lubrication or inspection.
Red Flags:
- Pads are glued in place.
- No spare parts are available from the vendor.
- The air supply requirement exceeds your plant’s standard pressure.
Final Approval Criteria
Use the table below as a sign-off sheet. If any box is unchecked, do not approve the gripper.
| Check Item | Vendor Spec | Your Test Result | Pass/Fail |
|---|---|---|---|
| Max Payload | 5 kg | 4.2 kg test | Pass |
| Min Grip Force | 50 N | 65 N measured | Pass |
| Pinch Depth | 10 mm | 12 mm open | Pass |
| Sensor Type | Force + Position | Verified in PLC | Pass |
| Cycle Time | 0.5 sec | 0.45 sec avg | Pass |
Red Flags:
- Vendor refuses to provide test data.
- Your test results differ from vendor specs.
- No clear replacement plan for wear parts.
Common Mistakes to Avoid
- Buying for the demo material: The vendor uses a stiff, thick sample. Your line runs thin, slippery knits.
- Ignoring the robot arm: The gripper is light, but the robot arm cannot position it accurately enough for thin fabric.
- Skipping the slip test: A small slip is a big problem. It jams the line or damages the fabric.
- Overlooking the next batch: The gripper works for cotton today. Next week, you run silk. The pads will tear.
Next Steps
Take this checklist to the vendor. Ask them to bring a sample of your actual fabric to the test. If they cannot test on your material, do not buy. A robotic gripper is only as good as the fabric it handles. Textile automation depends on precision. The spec sheet is just the beginning.
Frequently asked questions
How do I measure grip force on fabric?
Use a digital force gauge. Place the fabric in the gripper, close the jaws, and pull the fabric laterally until it slips. Record the force at the moment of slip.
Can I use a standard metal gripper for fabric?
No. Standard metal jaws crush and tear fabric. You need soft, replaceable pads and a parallel jaw design.
What if the fabric changes thickness?
Use a gripper with adjustable pinch depth or swappable pads. Fixed depth grippers fail when the stack height changes.
Do I need vision for every pick?
Not always. Vision is needed if the fabric is bunched, irregular, or if the pick zone is small. For flat, centered fabric, force feedback is often enough.
How often should I replace pads?
Check pads after every 500 cycles. Replace them if the surface is worn, torn, or if grip force drops by more than 10%.