How-To: Calibrating Tension on Power Loom Shuttle Systems
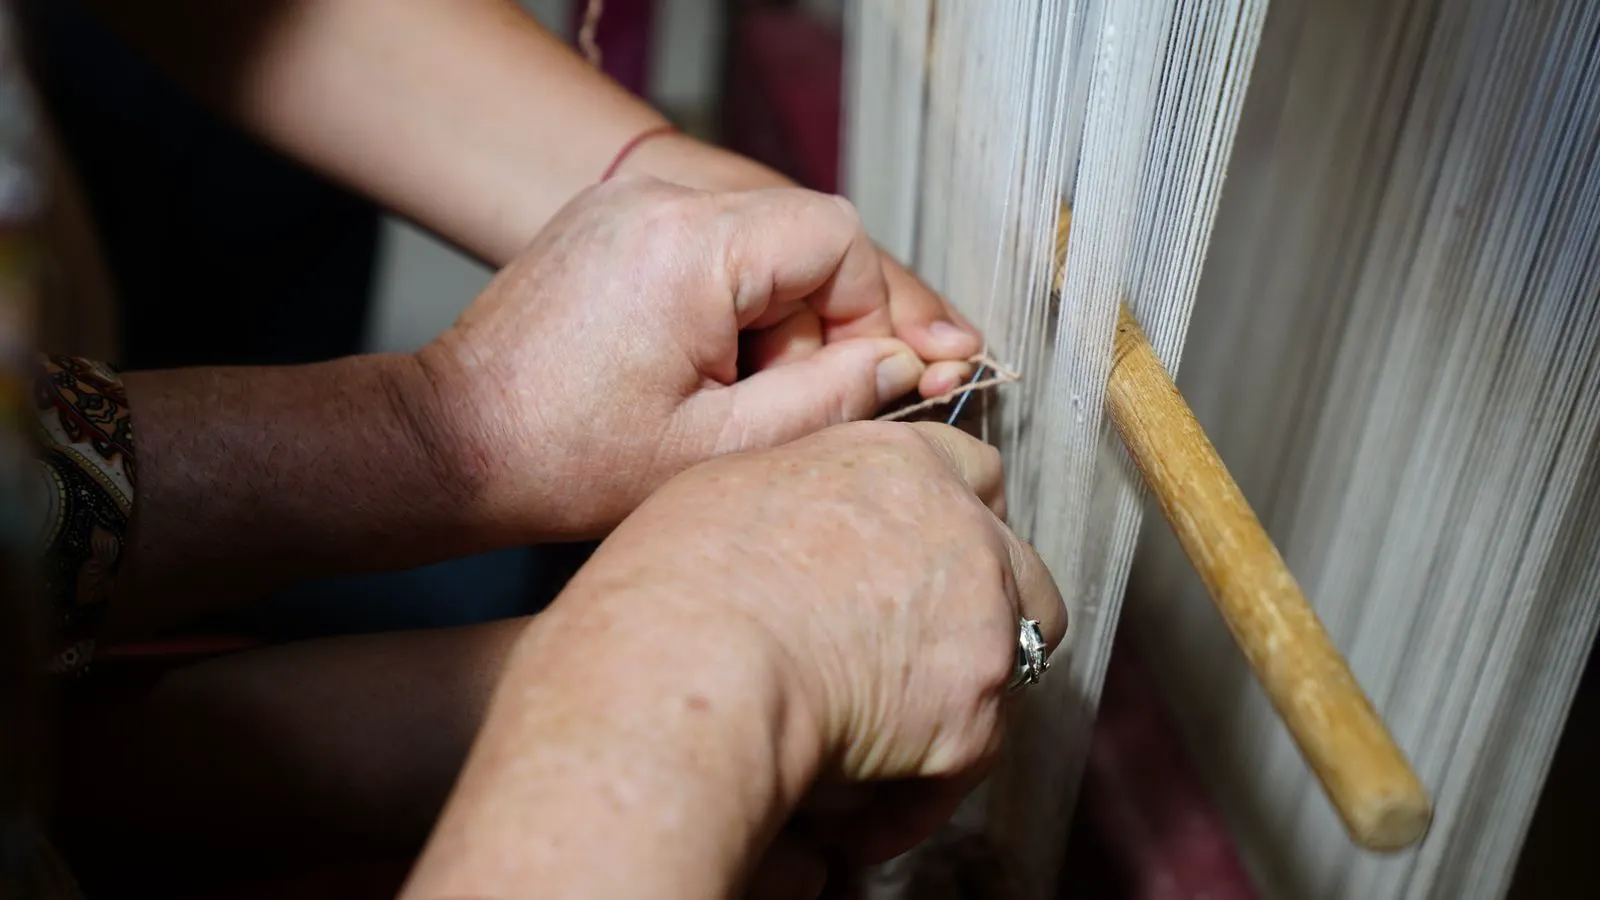
Calibrating loom shuttle tension requires checking the shuttle path, adjusting the tension springs, and verifying fabric quality. Proper setup prevents warp breakage, uneven picks, and fabric defects during high-speed production runs.
- Correct shuttle tension balances pick formation speed with warp thread stability to prevent breaks and loops.
- Adjust tension in small increments and re-check fabric after each change to avoid overcorrection.
- Inspect shuttle flight path, bearings, and return channels before changing spring tension.
- Record baseline settings and observed defects for each yarn type and loom speed.
Why Shuttle Tension Matters for Fabric Quality
Shuttle tension controls how the shuttle carries the weft through the shed and how the pick forms at the loom head. If the tension is too low, the shuttle may lag during the pick formation cycle. If it is too high, the shuttle fights the warp and increases friction at the pick-up points. Both problems show up in the fabric as loops, dropped picks, or broken weft threads.
The loom shuttle is not a free-flying component. It moves inside a shuttle race, contacts bearing surfaces, and transfers the weft to the fabric at a precise moment. The tension system sets the force needed to keep the shuttle moving with the pick-up pattern. A small change in spring tension or a worn bearing can change the feel of the entire weaving setup.
Before changing any tension setting, confirm that the warp and weft are the same type and count as the fabric sample. Yarn count, twist, and fiber content all change the force required for a smooth shuttle flight. A tension setting that works for a fine cotton yarn may not work for a heavier polypropylene yarn.
Prerequisites and Tools You Need
Set up a stable loom area before touching the shuttle system. Make sure the loom is powered off and locked out if the machine has a main drive interlock. Remove the loom guard panels that block access to the shuttle race and the shuttle tension assembly.
You will need the following:
- A torque wrench or calibrated spring tension gauge
- A soft mallet for checking bearing seating without damaging parts
- A flashlight or inspection lamp
- A small screwdriver or hex key set matching the loom service parts
- A clean lint-free cloth
- A notebook or tablet for recording baseline values
- A sample of the weft yarn you plan to use
If the shuttle has a replaceable tension spring, confirm the spring part number before starting. Some looms use a single spring for both forward and return motion. Others use separate springs or a single spring with an adjustable stop. The service manual for your specific loom will define the adjustment method.
Clear the shuttle race of lint, broken yarn, and metal shavings. A single fiber caught in the race can make a tension adjustment appear wrong. The shuttle should move freely by hand before you apply any spring force.
Step 1: Inspect the Shuttle Flight Path
Run your hand slowly along the shuttle race. Look for burrs, dents, or paint buildup on the bearing surfaces. Check the return channel where the shuttle reverses direction. A damaged race causes uneven drag, and no spring adjustment can fix a mechanical problem.
Listen for a grinding or scraping sound as the shuttle moves. If you hear it, stop and clean or repair the race before changing tension. A clean flight path is the baseline for every tension setting.
Reason: The shuttle must move without friction before you load the spring. If the race is damaged, the tension setting will only mask the problem.
Step 2: Check the Shuttle Bearings and Guides
Remove the shuttle and inspect the bearings or glides. Some looms use a plastic glide that wears into a groove. Others use a metal bearing with a lubricated surface. Look for flat spots, cracks, or embedded lint.
If the bearing is replaceable, install a new one. If it is a fixed glide, check for wear grooves that catch the shuttle tail. A worn glide creates a consistent drag point. That drag point changes the effective tension every time the shuttle passes it.
Reason: Worn bearings create variable drag. Variable drag makes tension feel inconsistent, even when the spring is set correctly.
Step 3: Set the Baseline Tension
Use the service manual value for the spring, or the factory default if you do not have one. Install the spring and tighten the retaining nut to the specified torque. Do not add tension beyond the baseline yet.
Record the spring part number, the nut torque, and the shuttle part number in your notebook. This baseline is your reference point for every adjustment. If you later need to return to the original setting, you will have the data.
Reason: A documented baseline prevents endless guessing. You can compare each adjustment against a known starting point.
Step 4: Run a Short Test Weave
Load a small length of warp. Use the same weft yarn as the production fabric. Run the loom at a low speed for 10 to 20 picks. Watch the shuttle flight and the pick formation.
Look for three signs:
- The shuttle reaches the pick-up point on time
- The weft thread does not loop or slack
- The fabric edge does not show a pulled or loose pick
If the shuttle lags, the tension is too low. If the shuttle slams into the pick-up point and the weft breaks, the tension is too high.
Reason: The first test weave shows whether the baseline is in the correct range. You will adjust from this point, not from theory.
Step 5: Adjust for Warp Breakage or Looping
If you see broken weft threads or loops on the fabric, increase the tension in small steps. Turn the spring adjusting nut a quarter turn, or move the stop pin one notch, depending on the loom design.
Run another short test. Check the fabric after each adjustment. Do not make more than one adjustment between checks. A large change can push the system past the correct setting.
Reason: Small increments keep the adjustment predictable. You can trace each defect back to a specific change.
Step 6: Adjust for High Friction or Warp Breakage
If the shuttle makes a loud impact sound or the warp thread breaks near the pick-up point, reduce the tension. A high-tension shuttle transfers too much force to the warp when it releases the weft. That force can snap a weak warp thread.
Reduce the tension one notch or one quarter turn. Test again. Look for a smoother impact and fewer warp breaks.
Reason: High tension protects the shuttle but stresses the warp. The goal is a balance, not maximum force.
Step 7: Verify the Return Motion
Check the shuttle return path separately from the forward flight. Some looms use a return spring or a gravity return. If the return spring is weak, the shuttle may not return at the correct speed.
Run the loom at a slightly higher speed. Listen for a delayed return. If the shuttle lags on the return, the return spring or the return channel is the problem, not the main tension spring.
Reason: A delayed return changes the timing of the next pick. The fabric shows it as a dropped pick or an uneven pick density.
Common Mistakes in Shuttle Tension Calibration
The most common mistake is adjusting tension without checking the shuttle race first. A dirty or damaged race creates drag that looks like low tension. The operator adds spring force to compensate, and the problem gets worse.
Another mistake is using a different weft yarn during the test. If you test with a heavier yarn than production, the tension will feel too low. If you test with a lighter yarn, it will feel too high. Always use the production weft.
A third mistake is changing more than one variable at a time. If you change the spring tension and the shuttle race lubrication in the same session, you cannot tell which change caused the result. Isolate one variable per adjustment.
Final Verification Step
After the tension is set, run a longer test weave of 200 to 500 picks. Cut a small sample of the fabric. Examine it under a light.
Check for:
- Even pick density along the width
- No broken weft threads
- No loose loops on the fabric edge
- No warp breaks near the pick-up points
- A smooth, quiet shuttle flight
If all checks pass, lock the adjustment nut to the service specification. Record the final tension value, the yarn type, the loom speed, and the date in your setup sheet. This record helps the next operator repeat the same result.
Tension Setting Reference
The table below shows general symptoms and the likely cause. It is a reference, not a substitute for the loom service manual.
| Symptom in Fabric or Sound | Likely Cause | First Check |
|---|---|---|
| Loops on fabric edge | Tension too low | Spring setting and weft yarn count |
| Broken weft threads | Tension too high or worn shuttle | Spring setting and shuttle tail wear |
| Warp breaks near pick-up | Tension too high or weak warp | Spring setting and warp tension |
| Loud impact sound | Tension too high or damaged race | Spring setting and race surface |
| Delayed shuttle return | Weak return spring or dirty channel | Return spring and return path |
| Intermittent drag | Worn bearing or lint in race | Bearing and race cleanliness |
How to Keep the Setting Stable
Shuttle tension is not a one-time adjustment. It changes as bearings wear, as the shuttle race collects lint, and as you change yarn. Keep a simple log for each loom. Record the date, the yarn, the speed, the tension value, and the defects you saw.
Lubricate the shuttle race and bearings according to the loom maintenance schedule. Use the lubricant specified by the loom manufacturer. The wrong oil can attract lint or degrade the glide material.
Inspect the shuttle every shift. Look for a cracked tail, a bent body, or a worn bearing surface. A damaged shuttle can mimic a tension problem. Replace it before changing the spring.
Linking Tension to Other Loom Systems
Shuttle tension works with the warp feeding system and the pick-up timing. If the warp feeding is too slow, the shuttle may meet too much resistance. If the pick-up timing is off, the shuttle reaches the pick-up point too early or too late.
If you have already calibrated warp feeding and pick-up timing but still see defects, check the shuttle tension next. If the shuttle tension is correct but defects remain, re-check the warp feeding and the pick-up timing. The three systems interact, so a defect in one can look like a problem in another.
Keep the adjustment process simple. Clean the race, check the bearings, set the baseline, test, adjust, and verify. That sequence prevents most shuttle tension problems and keeps the fabric quality stable.
Frequently asked questions
How often should I recalibrate loom shuttle tension?
Recalibrate after changing yarn, after a major maintenance stop, or when you notice new fabric defects. A quick check every shift is also useful for catching early wear.
Can I use a digital torque wrench for the shuttle spring nut?
Yes, if the loom service manual specifies a torque value. Use the correct wrench size and apply the torque in a straight pull to avoid cross-threading the nut.
What if the shuttle still lags after I increase the tension?
Check the shuttle race for lint, a damaged bearing, or a weak return spring. A lag that persists after tension changes is usually a mechanical problem, not a spring setting.
Does the weft yarn count affect shuttle tension?
Yes. A heavier or thicker weft yarn needs a different tension than a finer yarn. Always test with the production weft before locking the setting.
Can I adjust the return spring and the main tension spring at the same time?
No. Change one variable at a time and test after each change. If you change both at once, you cannot identify which change caused the result.