Checklist: Verifying Knitting Machine Electrical Safety
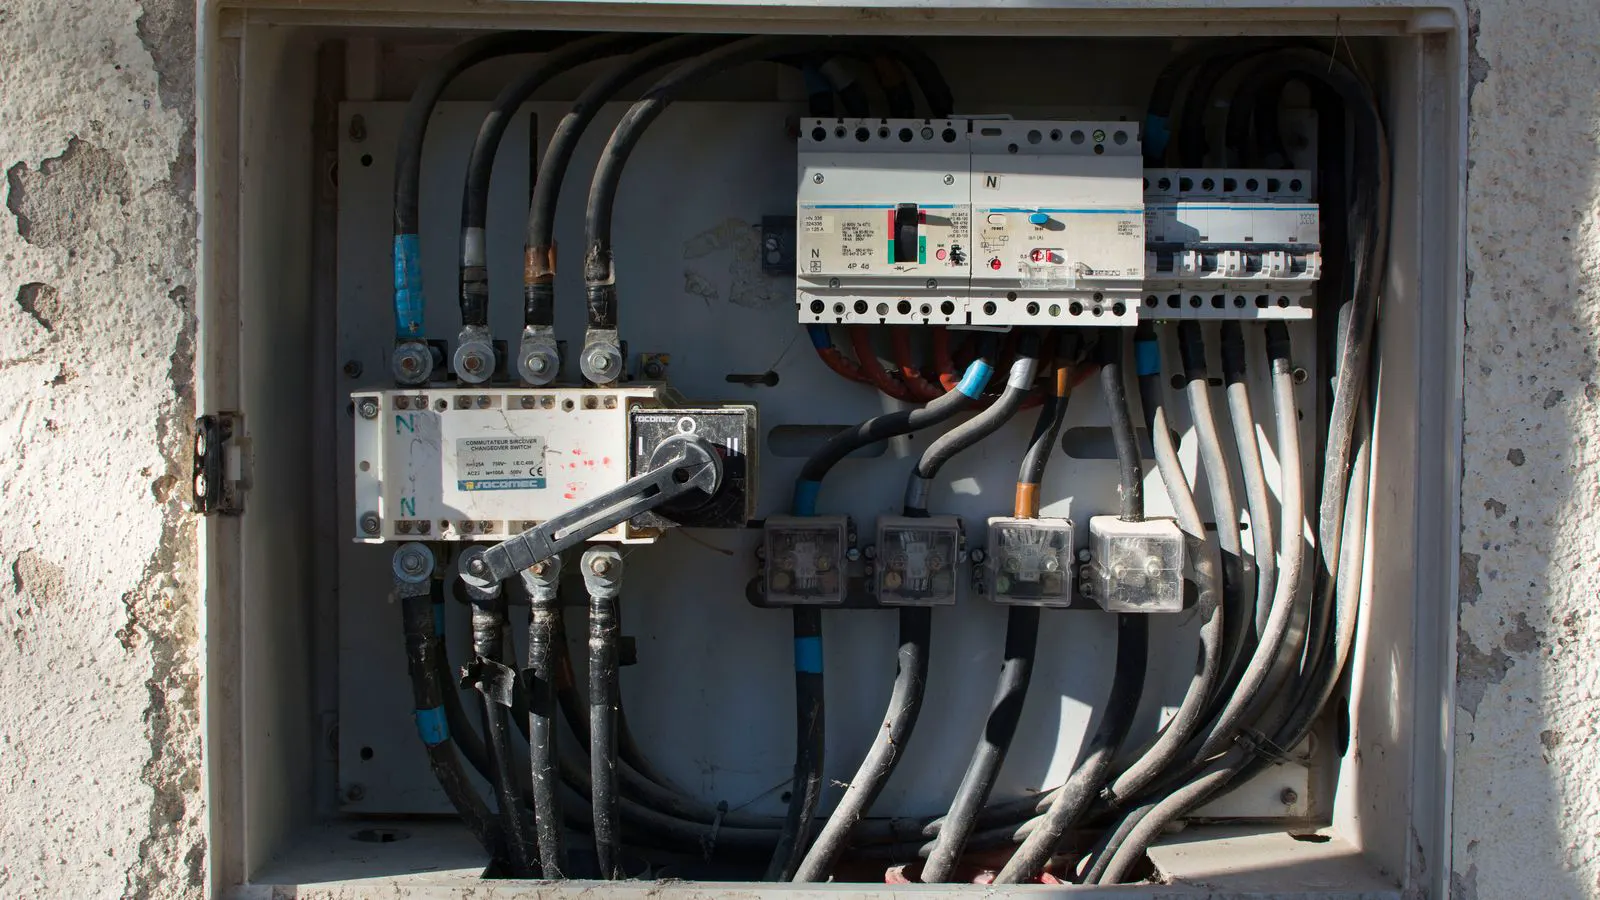
This audit checklist provides a practical list for importers and engineers to verify electrical compliance, insulation, and grounding on new knitting machines. It covers pre-commissioning checks for machine parts, red flags to watch for, and key textile machinery standards to confirm before operation.
- Verify insulation and grounding before powering on any new machine.
- Check that all machine parts, including needles and carriage guides, meet safety tolerances.
- Confirm that control panel labels and emergency stops function correctly.
- Keep a record of machine inspection findings for future maintenance.
- Treat missing or faded safety labels as a red flag.
Why Electrical Checks Matter Before Commissioning
New textile machinery arrives with complex internal wiring, control logic, and safety circuits. A defect in the electrical system can stop production or create a shock hazard before the first batch of fabric comes off the needles. Importers and plant engineers need a repeatable method to verify these systems before the machine leaves the loading dock.
This checklist focuses on the physical verification of knitting machine parts that interact with power. It separates the work into inspection themes so your team can assign clear owners. Each item includes what to look for and the specific warning signs that indicate a compliance failure.
Confirming Supply Voltage and Frequency
The first step is to match the incoming power to the machine requirements. Check the nameplate on the main cabinet or the data sheet provided by the supplier. Record the nominal voltage, frequency, and phase configuration.
In many regions, the supply is three phase at 400V. Some machines operate on single phase 230V. Mismatched voltage causes overheating in motors and transformers. This leads to premature failure of the carriage drive motor and the main spindle.
Checklist items:
- Locate the main electrical nameplate.
- Compare the rated voltage and frequency to the local grid supply.
- Verify the phase count if the machine uses a three phase motor.
- Check the rated current and compare it to the incoming breaker size.
Red flags:
- Nameplate data is missing, faded, or contradicts the sales documentation.
- The machine requires a voltage that the local grid cannot provide without a step down transformer.
- The breaker size is significantly larger than the machine rating, which reduces the ability to detect faults.
Inspecting Insulation and Wiring Integrity
Wiring inside the cabinet and along the carriage is exposed to heat, vibration, and oil mist. Poor insulation causes short circuits and ground faults. A visual inspection of the machine parts reveals wear that an electrical test might miss.
Look at the power cables entering the cabinet. Check the condition of the insulation at the entry points. Look for chafing, melting, or cracking. Inspect the internal wiring bundles. They should be secured with clips or glands, not loose or tied with electrical tape.
Checklist items:
- Open the main cabinet door safely.
- Inspect all incoming power cables for physical damage.
- Check internal wiring bundles for secure routing and no exposed copper.
- Look for signs of heat damage, such as discolored insulation or burnt marks on terminals.
- Verify that all cable glands are tight and sealed.
Red flags:
- Insulation is soft, sticky, or cracked.
- Wires are touching metal chassis parts without proper separation.
- There is visible soot or carbon tracking on terminal blocks.
- Cables are routed through areas with high heat or moving parts.
Verifying Grounding and Earth Continuity
A proper earth connection protects operators from shock if a live conductor fails. It also provides a path for fault current to trip the protective device. This is a critical part of machine inspection for any textile machinery standard that requires electrical safety.
Use a multimeter to check the continuity of the earth path. Connect the resistance meter between a known earth point and the machine chassis. The reading should be very low, typically well below one ohm. Test the earth continuity of the cabinet, the carriage base, and the control panel housing.
Checklist items:
- Identify the earth bar inside the main cabinet.
- Check the continuity from the earth bar to the machine frame.
- Check the continuity from the control panel housing to the main frame.
- Verify that the protective earth conductor is not shared with other equipment.
- Inspect the earth connection point at the machine base.
Red flags:
- The earth bar is loose or has few connections.
- The continuity reading is high or fluctuates.
- The earth wire is thin or damaged.
- There is no dedicated earth connection for the control panel.
Inspecting Control Panels and Safety Devices
The control panel is where the operator interacts with the electrical system. Every button, light, and relay must function as intended. The emergency stop must cut power to the moving parts immediately.
Check the emergency stop circuits. Press the emergency stop button. The machine should stop the carriage and spindle. Verify that the safety relays in the cabinet de-energize. Do not rely only on the visual indicator light.
Inspect the safety interlocks. Open the cabinet door or the carriage guard. The machine should stop or prevent start. This protects the operator from moving needles and the carriage while working on the machine.
Checklist items:
- Test the main emergency stop button.
- Test the safety interlocks on doors and guards.
- Check that all indicator lights are labeled and functional.
- Inspect the condition of the control buttons and switches.
- Verify that the reset function for the emergency stop is clear and safe.
Red flags:
- The emergency stop does not stop the machine immediately.
- The safety interlocks can be bypassed with a simple tool.
- Control labels are missing or do not match the function.
- Buttons are sticky or difficult to press.
Reviewing Documentation and Machine Parts Compliance
The machine should come with a complete set of electrical drawings and compliance documents. These include the wiring diagram, the single line diagram, and the electrical safety certificate. The machine parts list should match the physical installation.
Check that the machine parts and accessories listed in the documentation are present. If the machine includes a specific control module or safety relay, verify its model number against the documentation. This ensures that any future spare parts are compatible.
Checklist items:
- Review the electrical wiring diagram.
- Compare the installed machine parts to the parts list.
- Check the electrical safety certificate and date of test.
- Verify that the machine has a unique serial number that matches the documentation.
- Check for any service notes or warnings from the manufacturer.
Red flags:
- The wiring diagram does not match the physical installation.
- The electrical certificate is missing or older than one year.
- The machine serial number is scratched or missing.
- Critical safety components are substituted with non certified equivalents.
Final Pre-Commissioning Review
Before the machine is put into production, conduct a final walk around. Look for any loose machine parts or wiring that may have been disturbed during transport. Check that all guards are in place and secured.
Ensure that the operator manual is present and in the language required by local regulations. The manual should include electrical safety instructions and troubleshooting guides. Brief the operators on the location of the emergency stop and the safety interlocks.
Checklist items:
- Walk around the machine and check for any loose hardware.
- Verify that all safety guards are installed and locked.
- Confirm that the operator manual is present and legible.
- Brief the operators on electrical safety procedures.
- Record the commissioning date and the name of the inspector.
Red flags:
- Safety guards are missing or damaged.
- The operator manual is missing or in an unclear language.
- The commissioning record is incomplete.
- Operators are unfamiliar with the safety features.
Quick Reference Table
The table below summarizes the key inspection points. Use this as a quick reference during the machine inspection process.
| Inspection Area | Key Check | Red Flag |
|---|---|---|
| Supply Voltage | Match nameplate to local grid | Voltage mismatch or missing data |
| Wiring Integrity | Check insulation and routing | Cracked, chafed, or loose wires |
| Grounding | Test earth continuity | High resistance or loose earth bar |
| Safety Devices | Test emergency stop and interlocks | Delayed stop or bypassable safety |
| Documentation | Verify parts and certificates | Missing diagrams or old certificates |
Frequently asked questions
What is the most common electrical safety issue found on new knitting machines?
Poor insulation or damaged wiring is the most common issue. It often occurs during transport or if the machine is installed in a dusty environment.
How often should I inspect the electrical system of a knitting machine?
Perform a full electrical safety inspection before commissioning and at least once a year. More frequent checks are needed if the machine operates in a high dust or high humidity environment.
Can I use a multimeter to check the grounding of a knitting machine?
Yes, a multimeter in continuity or resistance mode is suitable for checking earth continuity. The reading should be very low. If the reading is high, the earth connection needs repair.
What should I do if I find a red flag during machine inspection?
Do not commission the machine. Contact the supplier and request a correction. Document the issue with photos and a written report.
Are textile machinery standards different for different countries?
Yes, electrical safety standards vary by region. Always check the specific textile machinery standards applicable to your location. The machine should meet both the manufacturer specifications and local regulations.